
>>

Crispy, sweet-and-salty banana chips made in the air fryer with just 3 ingredients. A healthy, crunchy snack ready in under an hour.
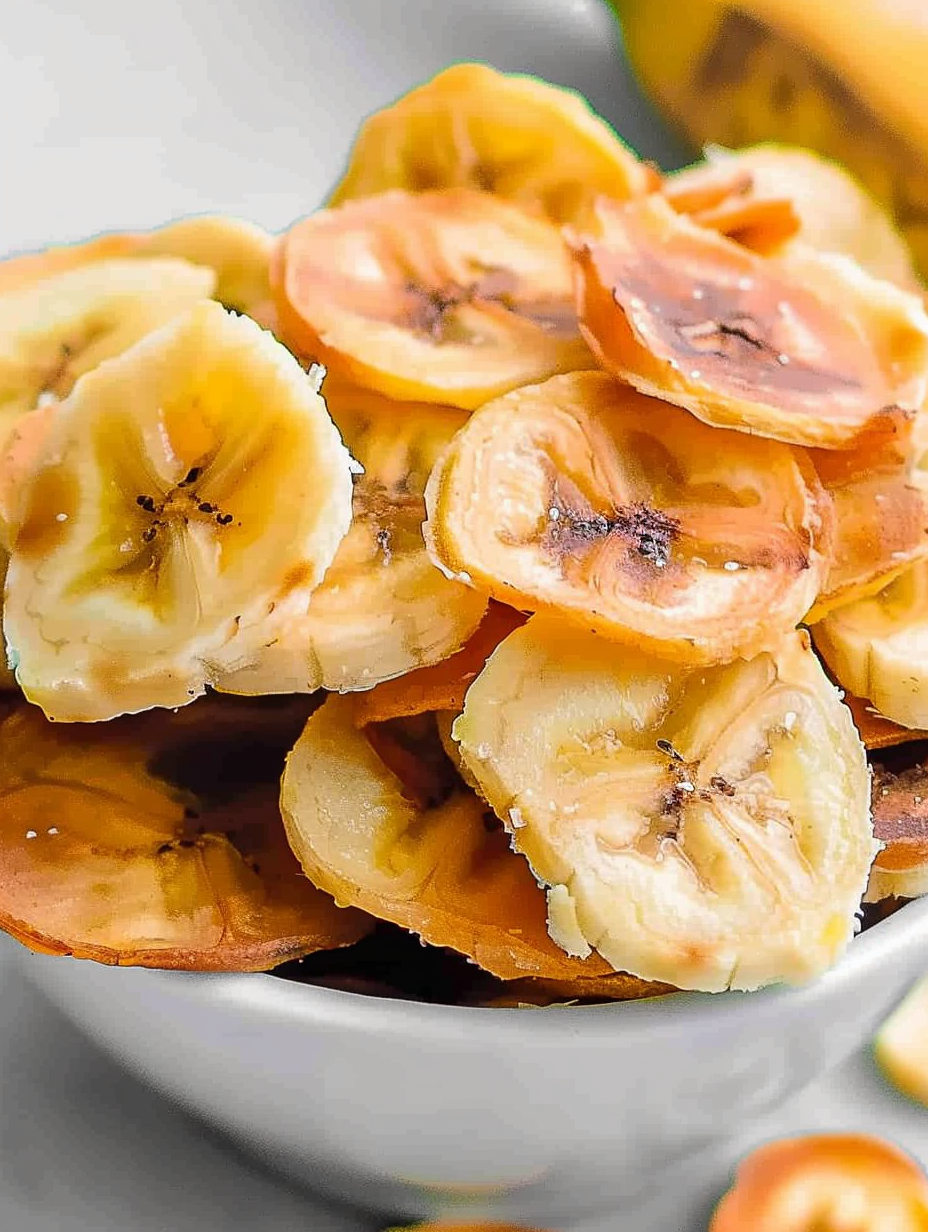
This simple Air Fryer Banana Chips recipe has been my go-to crunchy snack ever since I discovered how easy it is to transform everyday bananas into a shelf-stable treat. I first tried making these one rainy afternoon when the kids wanted something sweet but I wanted to avoid deep frying or heavy oil. The result was a thin, crisp chip with bright banana flavor, a whisper of lemon brightness, and just the right hint of salt. The texture is satisfyingly crunchy yet light, and they keep their crispness when stored properly—perfect for packing into lunches or enjoying with afternoon tea.
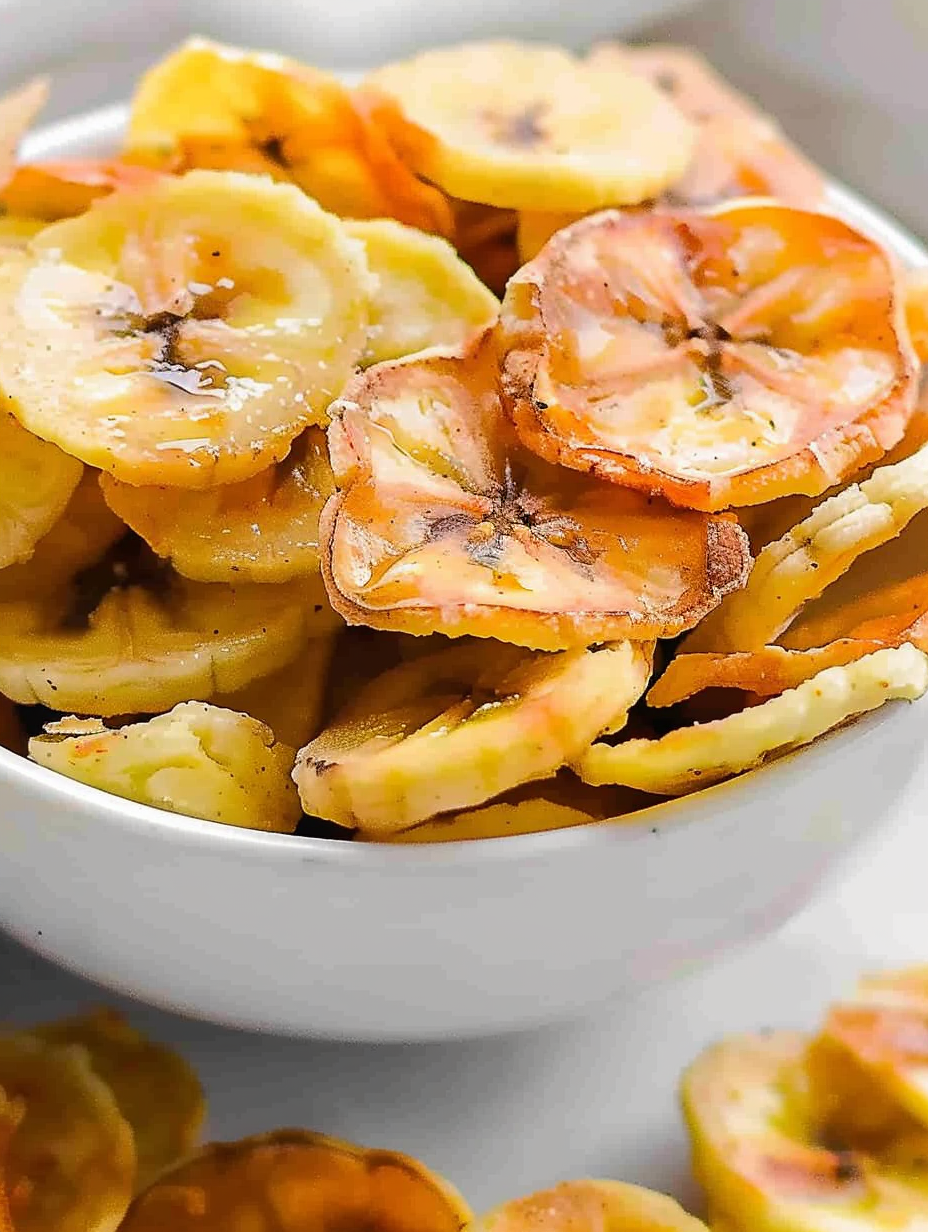
I usually make a batch with Lady Finger bananas because their small, firm profile yields consistently thin slices that crisp evenly. This method works with most firm bananas; just avoid overly ripe fruit, which will turn chewy and caramelize rather than crisp. The technique is straightforward: thin, uniform slices, an acid wash to preserve color and add brightness, a light mist of oil for browning, and patience while the air fryer slowly dehydrates the slices to crisp perfection. The first time my partner tried them, they disappeared before dinner—my highest compliment.
In my experience this is a wonderful project to do with kids: they can help slice (with supervision) and spritz the oil. I love how a handful of pantry staples turns into something special that delights even picky eaters. Over time I've tweaked the lemon dose and the air-fry time to get a reliably crisp chip without burning.
My favorite part about this method is how forgiving it is: slight variations in thickness or banana size rarely ruin the batch—just separate the thinner slices early. Family and friends often ask for a second bag because the sweet-and-salty balance hits that nostalgic snack spot without the guilt of store-bought varieties.
To keep the chips crisp, make sure they are completely cool before storing. Use an airtight container with a small paper towel inside to absorb moisture. Store at room temperature away from heat; refrigeration can introduce moisture and make them soft. For long-term storage, freeze in a single layer on a tray first, then transfer to a freezer bag and remove excess air—this prevents sticking. To re-crisp slightly after storage, pop chips into the air fryer at 300°F (150°C) for 2–3 minutes, watching carefully to avoid burning.
If you don’t have lemons, use 1 teaspoon of white vinegar or apple cider vinegar diluted with 1 tablespoon of water—this helps with color retention and brightness. For oil, brush a small amount of olive oil or use coconut oil spray for a slightly tropical flavor; coconut oil will promote faster browning because of its saturated fat content. If bananas are too ripe, try slicing and baking at a slightly lower temperature until they dry more slowly, though texture and flavor will differ. For a savory twist, dust with smoked paprika or chili powder before the final crisping.
Serve chips as a snack with Greek yogurt dip for a sweet-meets-tangy combo, or alongside spiced nut mixes for a picnic. They pair beautifully with creamy cheeses or a drizzle of dark chocolate for dessert. For parties, layer chips on a board with dried fruit and roasted nuts—their sweet crunch provides great contrast with salty cheeses and charcuterie. Garnish with a light dusting of cinnamon-sugar for a dessert-style chip.
Thin fried or dried banana slices are a popular snack across tropical regions where bananas are abundant—from Latin American to Southeast Asian cuisines. Traditional preparations might use deep frying or sun-drying; the air fryer modernizes the approach, offering a lower-fat alternative while still delivering the familiar texture and flavor. This adaptation marries traditional snack ideas with contemporary kitchen tech for a simple, accessible treat.
In winter, add warm spices like ground cinnamon and nutmeg before the final few minutes to create a cozy, spiced chip. In summer, sprinkle with finely grated lime zest for a refreshing twist. During the holidays, dip half of each chip in melted dark chocolate and let them set on parchment—these make charming edible gifts.
For meal prep, batch-make multiple trays at once and store in mason jars or airtight containers labeled with the date. Keep the production line efficient: slice all bananas, toss with lemon, and air fry in consecutive batches, checking a few minutes earlier for thinner slices. Use a cooling rack to cool large batches simultaneously. The chips make portable, shelf-stable snacks for school lunches or quick hunger fixes.
These air-fried banana chips are an approachable, healthy snack project that turns a couple of ordinary bananas into something special. They’re proof that simple techniques and minimal ingredients can deliver big flavor—give them a try and tweak the seasoning to make them your own.
Slice the bananas uniformly—this is the single most important step for even crisping.
Use a light mist of spray oil rather than pouring oil to keep the chips dry and prevent sogginess.
Allow chips to cool completely on a wire rack before storing to preserve crunch.
Check slices at the halfway point and separate any pieces that are sticking; thinner pieces may finish sooner.
If chips soften after storage, re-crisp them for 2–3 minutes in the air fryer at 300°F (150°C).
This nourishing air fryer banana chips recipe is sure to be a staple in your kitchen. Enjoy every moist, high protein slice — it is perfect for breakfast or as a wholesome snack any time.
Yes — fully cooled chips keep crisp in an airtight container at room temperature for up to one week. For longer storage, freeze and thaw briefly before serving.
Use a mandoline for ultra-thin slices or a sharp knife and steady slicing for best results. Aim for 1/16–1/8 inch thickness.
Avoid overripe bananas with dark spots; they have higher sugar and will caramelize instead of crisping.
This Air Fryer Banana Chips recipe makes perfectly juicy, tender, and flavorful steak every time! Serve with potatoes and a side salad for an unforgettable dinner in under 30 minutes.
Preheat your air fryer to 212°F (100°C). Low, steady heat dehydrates the slices and yields a crisp texture without burning the natural sugars.
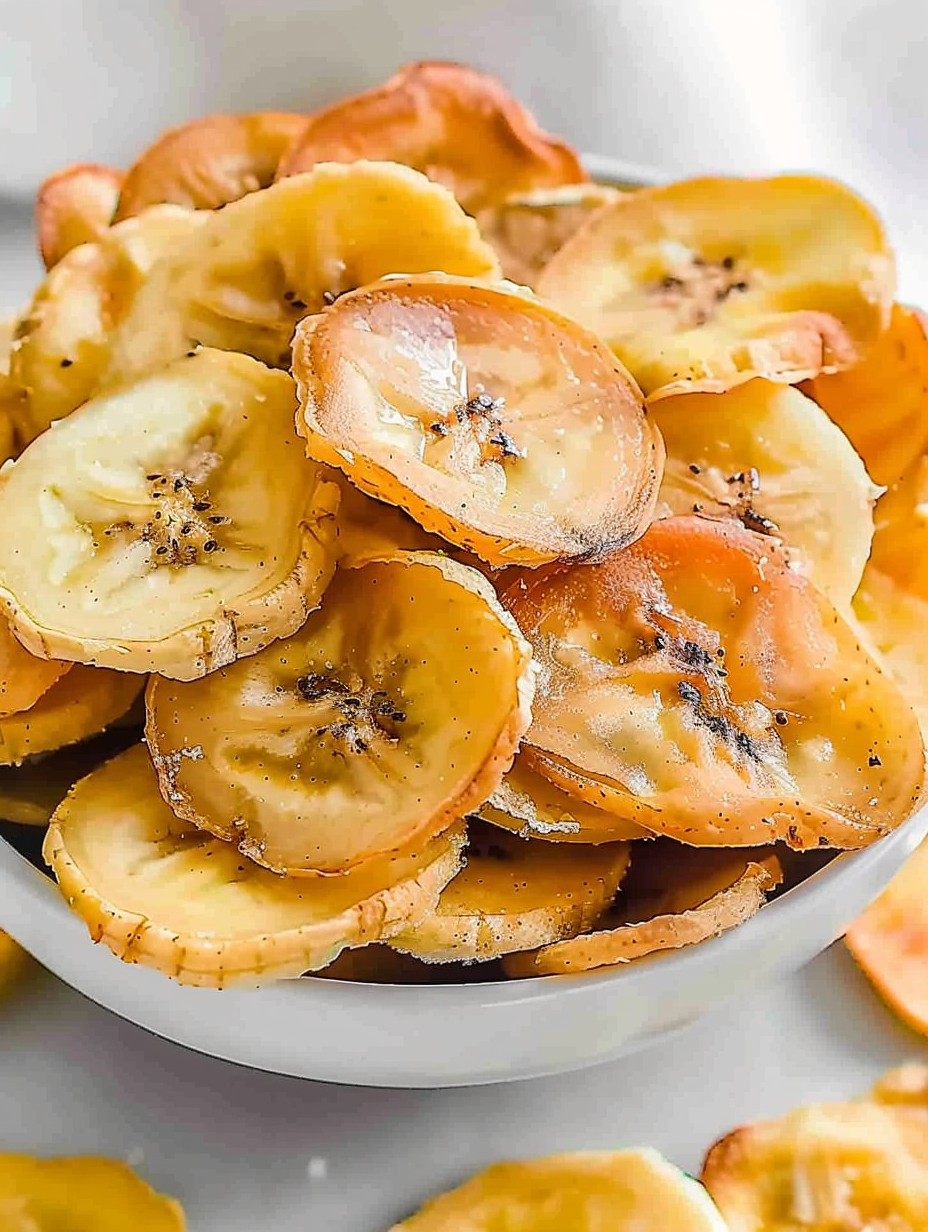
Slice bananas into 1/16–1/8 inch rounds using a mandoline or a sharp knife. Uniform thickness ensures even cooking; thinner slices crisp faster.
In a small bowl, gently toss the banana slices with 1 tablespoon lemon juice and a pinch of salt to preserve color and add balance.
Spray one side of the slices lightly with cooking spray, arrange in a single layer in the air fryer basket, then mist the top side. Avoid overlap to ensure airflow.
Air fry at 212°F (100°C) for 40 minutes, checking at 20 minutes to separate any stuck slices and to remove thinner pieces if they finish early.
Transfer chips to a cooling rack to crisp fully. Once cool, store in an airtight container with a paper towel to absorb moisture for up to one week.
Last Step: Please leave a rating and comment letting us know how you liked this recipe! This helps our business to thrive and continue providing free, high-quality recipes for you.
Leave a comment & rating below or tag
@velvetyum on social media!

Tender grilled zucchini rolled with a basil-kissed ricotta filling, nestled in marinara, and baked until the mozzarella bubbles and turns golden.

Golden, garlicky rounds with a deep-fried crunch made lighter in the air fryer. A fast, vitamin-packed side everyone devours.

Tender chicken meatballs simmered in marinara, finished with melted mozzarella and basil for cozy, weeknight Italian comfort in every bite.
Leave a comment & rating below or tag @velvetyum on social media!
Enjoyed this recipe? Share it with friends and family, and don't forget to leave a review!
This recipe looks amazing! Can't wait to try it.
Comments are stored locally in your browser. Server comments are displayed alongside your local comments.

Join to receive our email series which contains a round-up of some of our quick and easy family favorite recipes.
