
>>

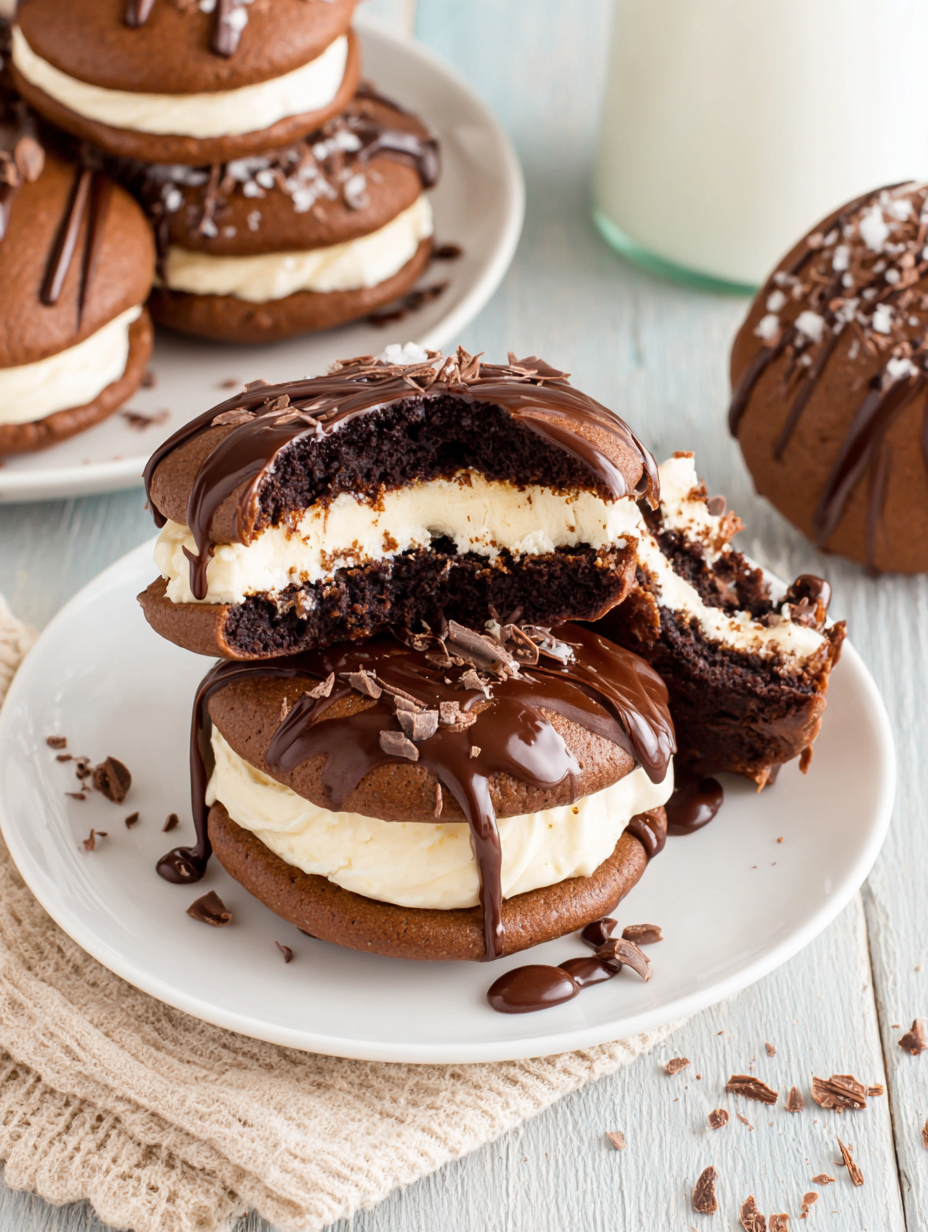
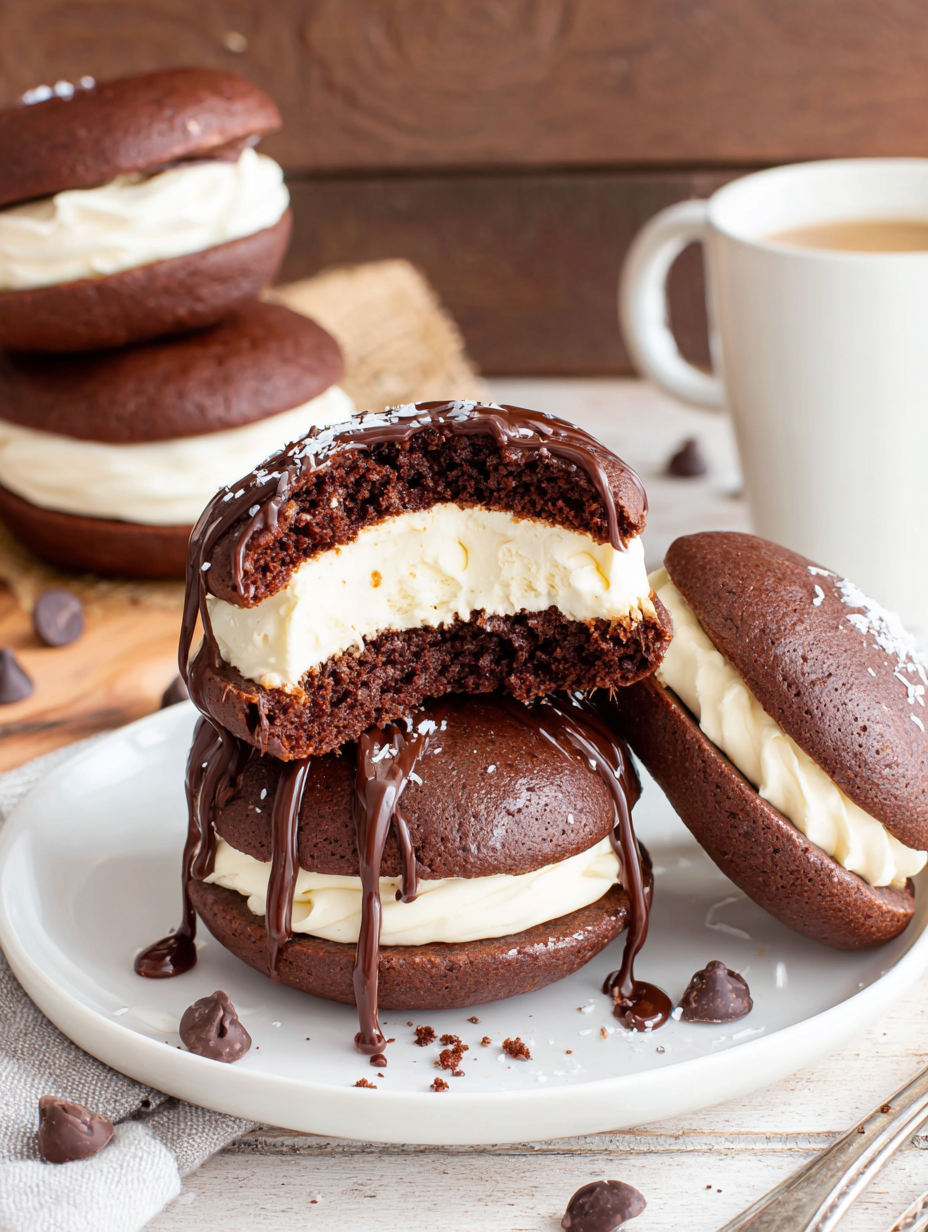
Bake up nostalgic chocolate cakes sandwiching a pillowy marshmallow-vanilla filling—classic whoopie pies that melt in your mouth and are perfect for sharing.

This recipe for classic whoopie pies has been a crowd-pleaser in my kitchen for years. I first perfected these when I wanted to recreate the cookie-shop treats I loved as a child, and after a weekend of trial batches I landed on a balance of tender, cake-like discs and a marshmallow-forward filling that isn’t overly sweet. The texture contrast—soft chocolate exterior with a cool, creamy center—brings back childhood lunchtime memories while feeling grown-up enough to serve at parties. I discovered that a touch of malted milk powder and a whisper of coffee extract deepen the chocolate without making the flavor overtly coffee-forward.
What makes these pies special is their comforting simplicity and the little technical tricks that keep them reliably soft: resting the batter for 15 minutes, using cake flour for a tender crumb, and chilling the filling slightly if it gets too loose. I often make a double batch and freeze them—wrapped individually, they thaw to a perfect texture. On one memorable holiday, I brought a platter of these to a potluck where almost everyone asked for the recipe; seeing people reach for seconds and then thirds convinced me to write these instructions down clearly so you can get the same delighted reactions at home.
I learned from my first test runs that patience with the batter rest and gentle scooping make all the difference. Family members always comment on the soft center and the way the filling peeks out of the sandwich—small touches like swirling the tops for smooth edges matter. These pies have become my go-to for bake sales and holiday trays because they travel well and look polished even when made in large batches.
My favorite thing is how these travel to picnics without falling apart; the filling softens at room temperature but stays contained. The combination of malted notes and dark chocolate always gets compliments, and when I make them for family gatherings they disappear faster than any other dessert.
Store finished sandwiches in a single layer in an airtight container at room temperature for up to 24 hours. For longer storage, refrigerate for 3 to 4 days—bring to room temperature before serving for the best mouthfeel. To freeze, wrap each pie in plastic wrap then foil and place in a freezer-safe resealable bag for up to 3 months. Thaw overnight in the refrigerator and bring to room temperature before serving. When dipping in chocolate, allow the coating to fully set at room temperature or briefly in the refrigerator to avoid smudging.
If you can’t find cake flour, make a substitute by replacing 2 1/4 cups all-purpose flour minus 3 tablespoons per cup with cornstarch—but cake flour is preferred for tenderness. If black cocoa is unavailable, use an equal amount of additional Dutch-process cocoa; expect a slightly lighter color. For dairy-free variations use dairy-free margarine and a non-dairy heavy cream alternative, and choose vegan marshmallow fluff (rare but available). To make buttermilk at home, stir 1 tablespoon white vinegar or lemon juice into 1 cup milk and let stand 5 minutes.
Serve these with a glass of cold milk, coffee, or a scoop of vanilla bean ice cream for an indulgent pairing. For a festive platter, alternate dipped and plain pies and add colorful sprinkles. They pair well with berry compote or a citrusy salad to cut richness at a dinner party. Smaller bite-sized whoopies are excellent on cookie trays and make charming party favors when wrapped individually in parchment and tied with twine.
The whoopie pie is an American classic with roots in New England and Pennsylvania—both Maine and Pennsylvania claim the original. Traditionally, they were simple home-baked treats, sometimes called black moon pies or gob cakes regionally. The form—two cake-like cookies sandwiching a marshmallow or buttercream filling—reflects American tastes for portable, sweet confections that could be packed into lunchboxes or enjoyed at picnics. Over the decades variations have included pumpkin whoopies for fall and flavored fillings like lemon or maple for regional twists.
For autumn, stir 1/2 teaspoon pumpkin pie spice into the batter and swap marshmallow fluff for a lightly spiced maple buttercream. In spring, fold finely grated orange zest into the filling and add a smear of raspberry jam to the base layer for brightness. Holiday versions benefit from using peppermint extract in the drizzle and crushed candy canes as garnish. Lighten them for summer by making mini whoopies and serving chilled with a berry coulis.
Prep the dry and wet components separately and store them in airtight containers in the fridge for up to 24 hours if you want to finish baking later. Fillings can be made a day ahead and kept chilled; bring them back to room temperature and re-whip briefly before assembling. When planning for events, bake discs a day ahead and store layers separated with parchment in a single layer to prevent sticking; assemble the day of the event for the freshest texture.
These classic whoopie pies bridge nostalgia and refined technique—simple enough for a weeknight bake yet impressive for any celebration. Share them with friends or tuck a few into lunches; they truly delight across generations.
Let the batter rest for 15 minutes before baking to hydrate the flour and improve texture.
Use cake flour for the softest crumb; if substituting with all-purpose, remove 3 tablespoons per cup and add cornstarch.
Chill the filling briefly if it becomes too soft while assembling to firm the structure.
Smooth peaks on scooped mounds with a wet finger to create round tops that bake evenly.
This nourishing best classic whoopie pie recipe is sure to be a staple in your kitchen. Enjoy every moist, high protein slice — it is perfect for breakfast or as a wholesome snack any time.
Cool the cake rounds completely before filling to prevent the filling from melting and becoming runny.
Yes — freeze wrapped pies for up to 3 months and thaw overnight in the refrigerator.
This Best Classic Whoopie Pie recipe makes perfectly juicy, tender, and flavorful steak every time! Serve with potatoes and a side salad for an unforgettable dinner in under 30 minutes.
In a stand mixer, beat brown sugar, salted butter, vanilla bean paste, coffee extract, and salt on medium-high for 4 minutes, scraping halfway.
Mix in the large room-temperature egg for 1 minute until fully incorporated, scraping the bowl afterward.
Whisk cake flour, Dutch-process cocoa, malted milk powder, black cocoa, baking powder, baking soda, and espresso powder in a separate bowl.
Add dry ingredients in three parts to the mixer, alternating with buttermilk, beginning and ending with dry; mix until combined and avoid overmixing.
Fold batter, let rest 15 minutes to hydrate, and preheat oven to 350°F while lining baking sheets with parchment.
Scoop batter with a #40 scoop onto prepared pans, smooth peaks with a wet finger, and bake 9 to 11 minutes until tops spring back.
Cool on the pan 5 to 10 minutes then transfer to a wire rack to cool completely before filling.
Cream butter and shortening with vanilla and salt, beat in powdered sugar and heavy cream gradually, then fold in marshmallow fluff and adjust seasoning.
Scoop filling onto one round, sandwich with another, press to edges, and optionally dip in melted wafers and decorate with sprinkles.
Last Step: Please leave a rating and comment letting us know how you liked this recipe! This helps our business to thrive and continue providing free, high-quality recipes for you.
Leave a comment & rating below or tag
@velvetyum on social media!

Tender grilled zucchini rolled with a basil-kissed ricotta filling, nestled in marinara, and baked until the mozzarella bubbles and turns golden.

Golden, garlicky rounds with a deep-fried crunch made lighter in the air fryer. A fast, vitamin-packed side everyone devours.

Tender chicken meatballs simmered in marinara, finished with melted mozzarella and basil for cozy, weeknight Italian comfort in every bite.
Leave a comment & rating below or tag @velvetyum on social media!
Enjoyed this recipe? Share it with friends and family, and don't forget to leave a review!
This recipe looks amazing! Can't wait to try it.
Comments are stored locally in your browser. Server comments are displayed alongside your local comments.

Join to receive our email series which contains a round-up of some of our quick and easy family favorite recipes.
