
>>

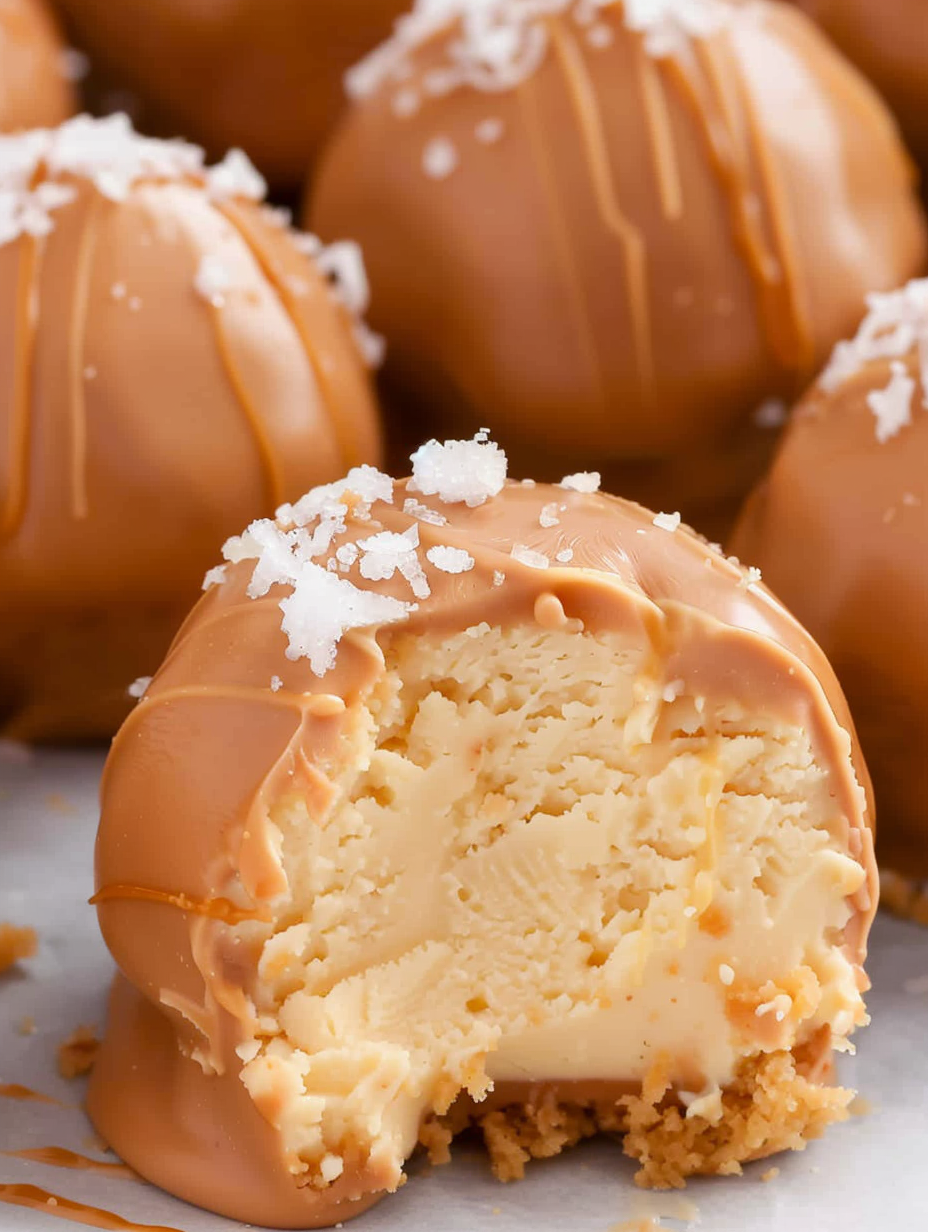
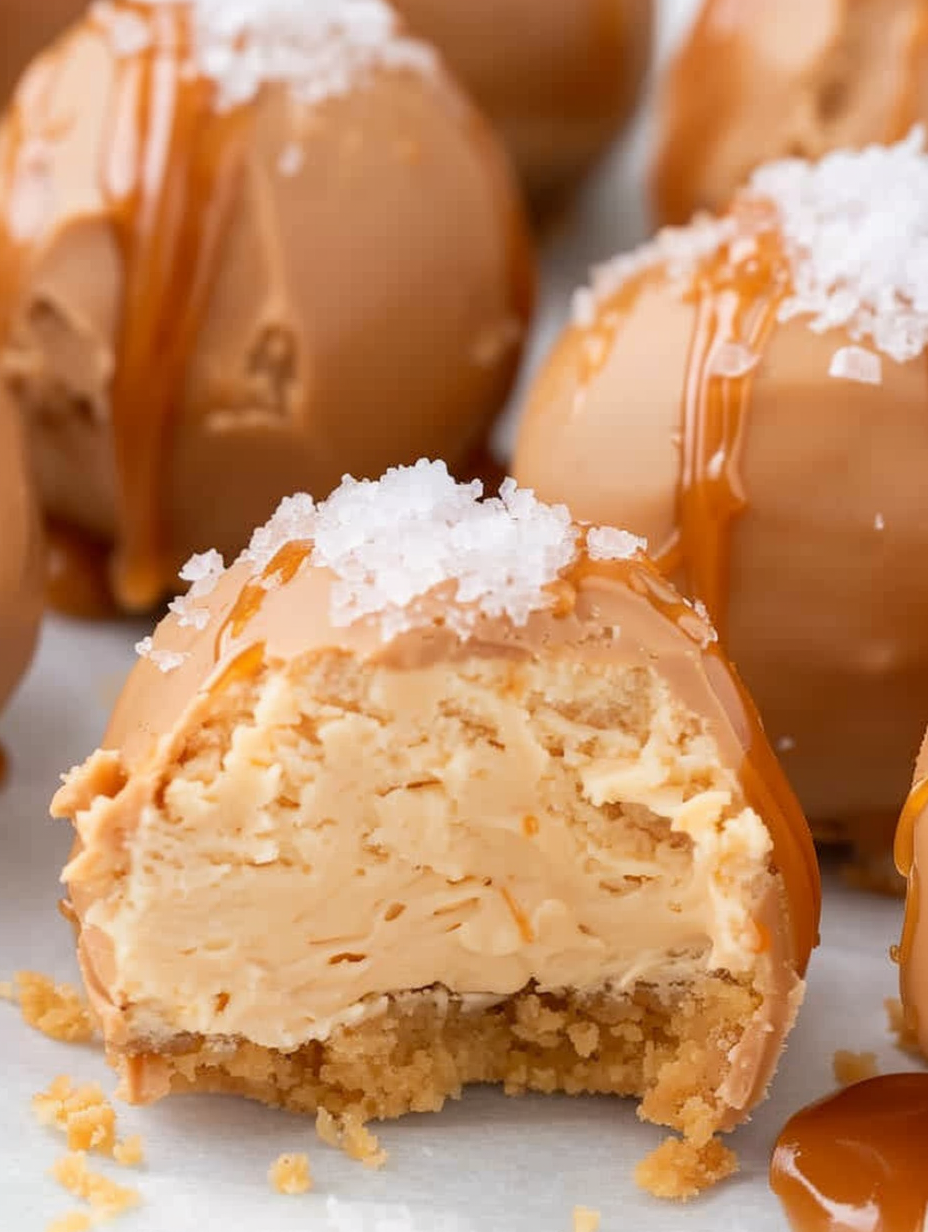
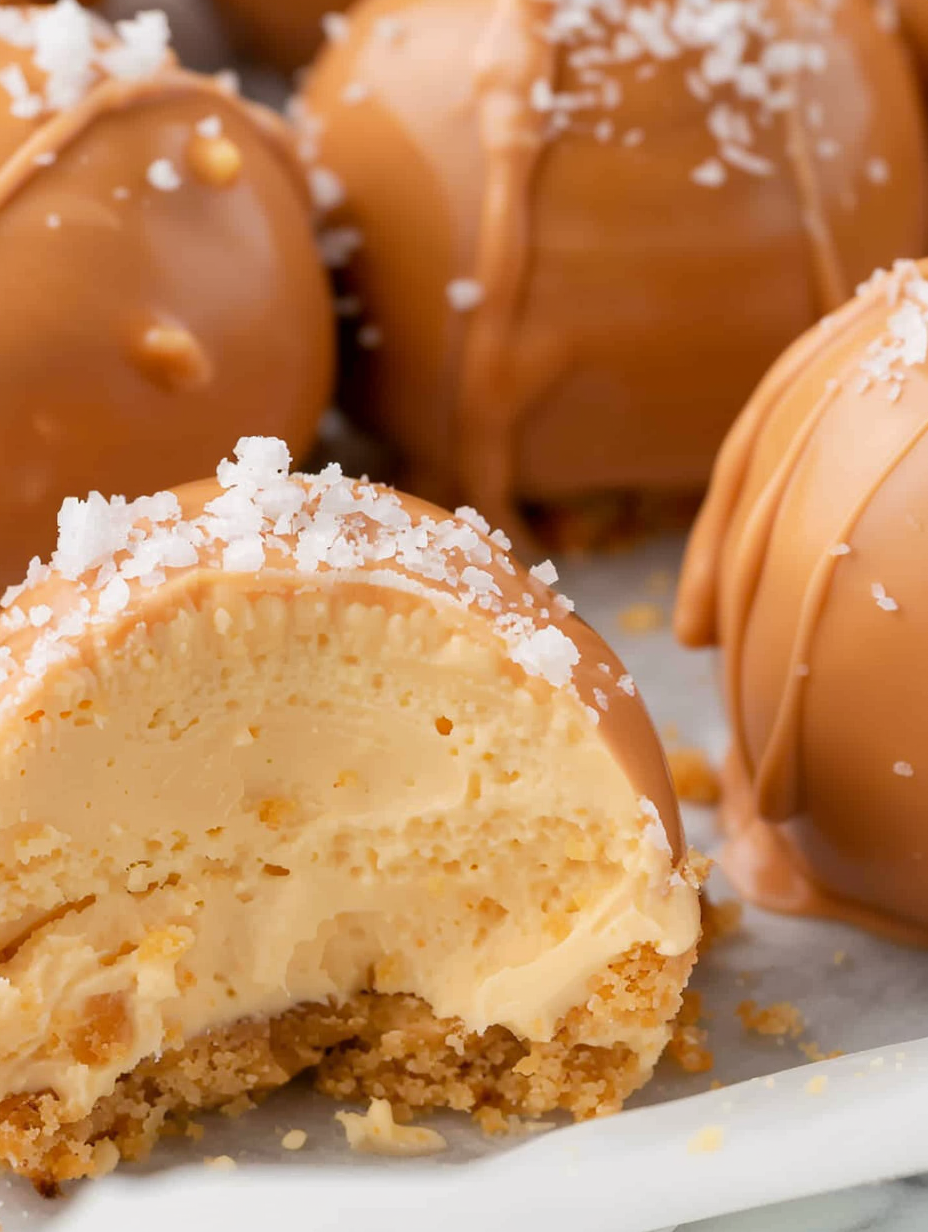
Mini caramel cheesecake bites: creamy cheesecake centers rolled in salted caramel coating for an addictive, make-ahead party treat.
In my experience, these have been requested repeatedly at holiday potlucks; guests always ask if they were 'baked' because the texture is so silky. I like to prepare the dough the night before, so on party day I only need to dip and decorate — it saves time and keeps my kitchen calm before guests arrive.
My favorite part is how forgiving the dough is: if it gets a little soft while rolling, a 10-minute chill usually puts it right back. Over the years I learned to dip quickly and place on parchment to keep the coating smooth and glossy; a gentle tap of the fork removes excess and leaves a polished finish.
Store finished bites in a single layer or with parchment between layers in an airtight container in the refrigerator for up to 7 days. For longer storage, freeze them in a rigid container with parchment separators for up to 3 months. To thaw, transfer to the refrigerator for several hours or overnight; avoid thawing at room temperature as condensation can dull the coating. If you plan to transport them, keep chilled in a cooler or insulated bag to prevent the coating from softening.
If you need to adjust sweetness or texture, swap the salted caramel melts for milk or dark chocolate, then sprinkle a pinch of sea salt while the coating is wet to preserve the sweet-salty contrast. For a gluten-free version, use a certified gluten-free yellow cake mix with equivalent weight (around 15 ounces). To dial back sugar, use a less-sweet candy coating and reduce caramel flavoring to 1 teaspoon; note that sweetness and mouthfeel will change slightly.
Present bites on a tiered dessert tray or in small paper liners for a neat, bite-sized display. They pair beautifully with strong coffee or a dark roast to cut the richness, and a small dusting of flaky sea salt on top of each bite right after dipping adds a professional finish. For a festive touch, drizzle with dark chocolate or sprinkle with crushed toffee.
Mini filled confections like these borrow from classic American candy and dessert traditions — combining convenience cake mix with cream cheese creates a no-bake confection similar to butterballs and truffle-style sweets that became popular in the mid-20th century. The salted caramel shell nods to modern flavor trends that celebrate contrast: salt to lift sweetness and enhance flavor complexity.
In winter, fold in a pinch of cinnamon or nutmeg to the dough for warming spice. For summer gatherings, consider using a lighter white chocolate coating with a touch of lemon zest for brightness. Around the holidays, top with crushed peppermint or toasted hazelnuts for an attractive seasonal variation.
Make the dough up to 2 days ahead; keep it tightly sealed in the refrigerator and roll/dip on the day of serving for the freshest coating appearance. Alternatively, roll the chilled dough into balls and freeze on a tray; once solid, transfer to a freezer bag and dip straight from frozen, adding a minute or two to melting/setting time.
These caramel cheesecake bites are small treats with a lot of personality — easy to make, easy to share, and memorable enough to become a regular on any dessert table. I hope they become a favorite in your home too.
Heat-treat the dry cake mix in the microwave to eliminate the raw flour risk before combining with cream cheese.
Chill the mixture for a full 2 hours so the dough firms and rolls cleanly; brief refreezing helps if it becomes sticky while shaping.
If candy melts are too thick, stir in 1/2 teaspoon vegetable shortening to thin and create a smoother dip.
This nourishing caramel cheesecake bites recipe is sure to be a staple in your kitchen. Enjoy every moist, high protein slice — it is perfect for breakfast or as a wholesome snack any time.
This Caramel Cheesecake Bites recipe makes perfectly juicy, tender, and flavorful steak every time! Serve with potatoes and a side salad for an unforgettable dinner in under 30 minutes.
Place the dry yellow cake mix in a microwave-safe bowl. Microwave in two 30-second intervals, stirring after each. Allow to cool completely before using.
In a medium bowl, beat 8 ounces of softened cream cheese with 2 teaspoons caramel flavoring on medium-high for 1 1/2 to 2 minutes until smooth.
Sprinkle the cooled cake mix over the cream cheese and fold gently until just incorporated to form a scoopable dough.
Cover tightly and refrigerate for 2 hours to firm the mixture for easy rolling.
Line a baking sheet with parchment. Use a 1-tablespoon scoop to portion the dough, roll into balls, and space on the sheet.
Melt 12 ounces salted caramel candy melts in a microwave-safe bowl in 30-second intervals, stirring well between bursts until smooth.
Dip each chilled ball into the melted coating, tap off excess on a fork, and transfer to parchment with a toothpick. Allow coating to harden before serving.
Last Step: Please leave a rating and comment letting us know how you liked this recipe! This helps our business to thrive and continue providing free, high-quality recipes for you.
Leave a comment & rating below or tag
@velvetyum on social media!

Tender grilled zucchini rolled with a basil-kissed ricotta filling, nestled in marinara, and baked until the mozzarella bubbles and turns golden.

Golden, garlicky rounds with a deep-fried crunch made lighter in the air fryer. A fast, vitamin-packed side everyone devours.

Tender chicken meatballs simmered in marinara, finished with melted mozzarella and basil for cozy, weeknight Italian comfort in every bite.
Leave a comment & rating below or tag @velvetyum on social media!
Enjoyed this recipe? Share it with friends and family, and don't forget to leave a review!
This recipe looks amazing! Can't wait to try it.
Comments are stored locally in your browser. Server comments are displayed alongside your local comments.

Join to receive our email series which contains a round-up of some of our quick and easy family favorite recipes.
