
>>

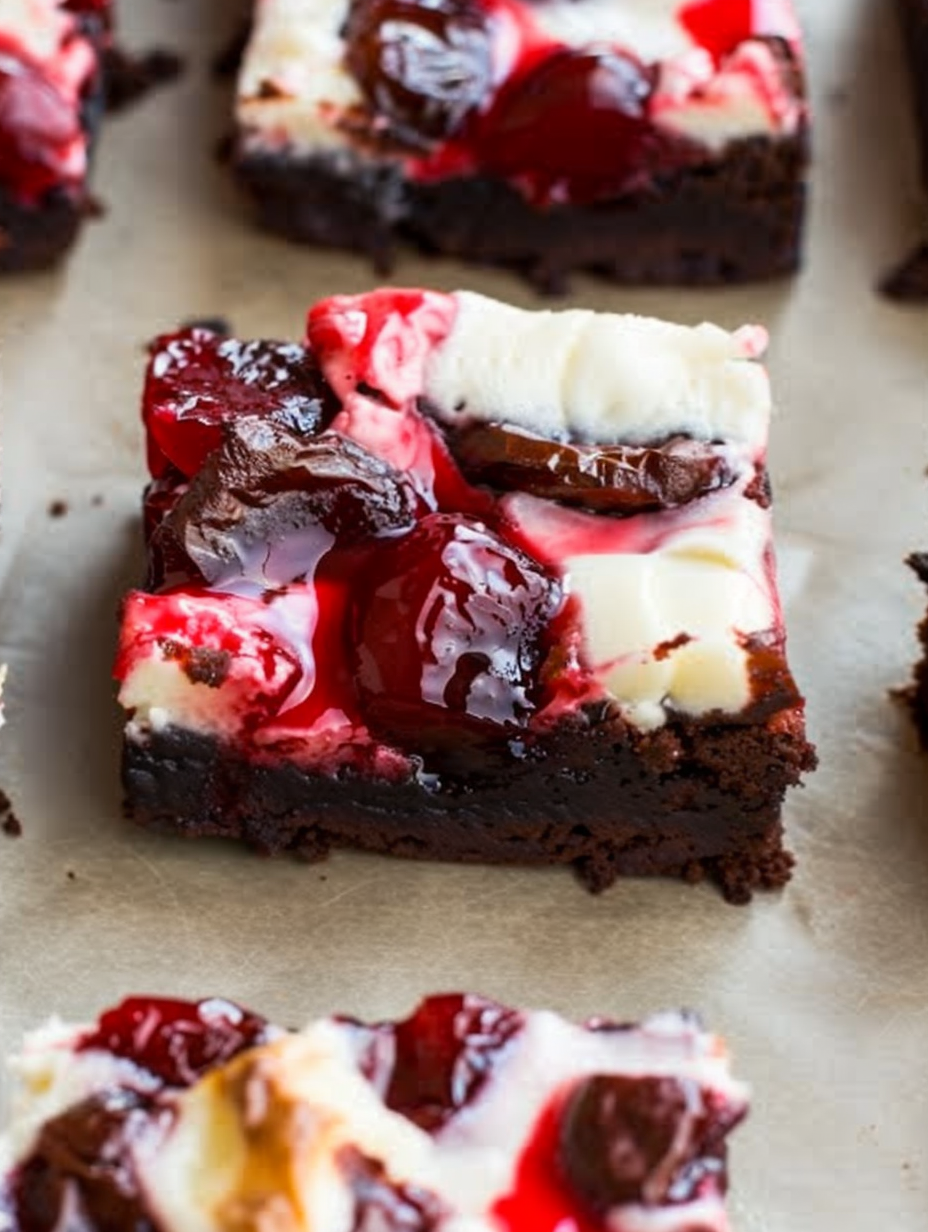
Fudgy chocolate bars topped with a creamy cheesecake layer and vibrant cherry pie filling—these cherry cheesecake brownies are the ultimate dessert for any occasion.
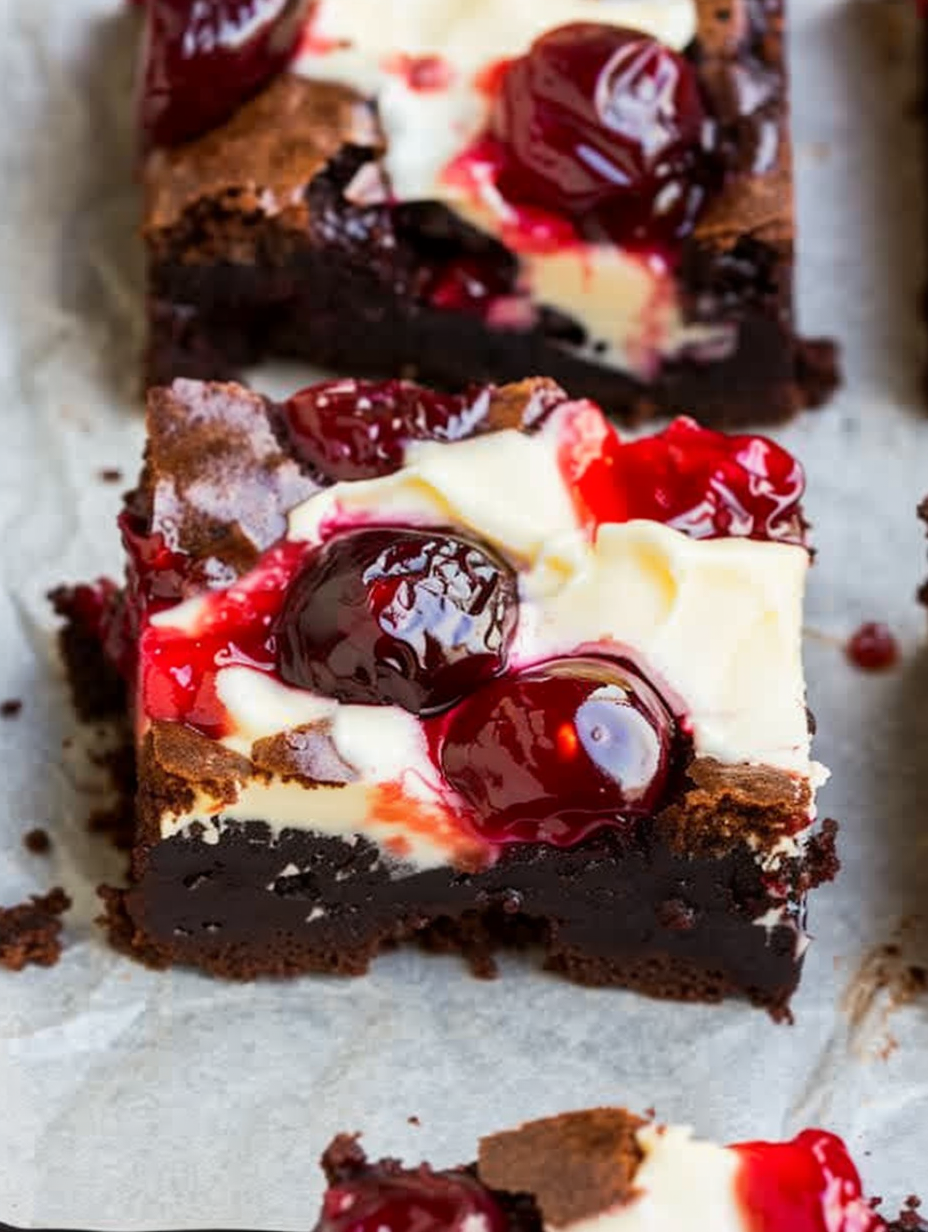
These Cherry Cheesecake Brownies began as a happy accident the first winter I wanted something both chocolatey and bright to cut through the heaviness of the season. The moment I spooned warm cherry filling over a ribbon of cheesecake sitting on a dense, fudgy brownie base, I knew I'd found something special. The contrast of textures—rich, sticky brownie; silky, tangy cheesecake; juicy, slightly tart cherries—creates a bar that everyone reaches for at potlucks and holiday tables. I first made this for a family gathering and watched the tray disappear so quickly that I started doubling the batch for company after that.
I discovered the balance between the layers through trial and error: too little cheesecake and the cherries feel out of place; too much brownie and the top becomes dry. The version I share here uses a homemade brownie batter that stays fudgy after baking and a simple cream cheese mixture that holds its shape but stays silky. If you're a fan of classic cherry cheesecake or fudgy brownies, this is the hybrid you'll come back to again and again. The bars travel well, slice nicely after chilling, and are forgiving enough for bakers of any level.
When I serve these at gatherings, I get the usual chorus of, "Who made these?!"—and then polite silence as everyone enjoys the first bite. My niece once declared them the best dessert ever at a summer picnic, and I still think of that sunny afternoon whenever I make them.
What I love most about these is how often they surprise guests—the combination feels decadent but delivers a comforting, homey vibe. Friends have told me they taste like a grown-up version of a childhood favorite, and that balance of nostalgia and sophistication is exactly why I keep this recipe in regular rotation.
Store cooled bars in an airtight container in the refrigerator for up to 5 days. For longer storage, individually wrap bars in plastic wrap and place in a freezer-safe bag for up to 3 months; thaw overnight in the refrigerator. If serving straight from the fridge, let sit 10–15 minutes at room temperature to bring out the chocolate flavors. To reheat, warm a single bar for 10–12 seconds in the microwave to revive gooeyness without melting the cheesecake layer.
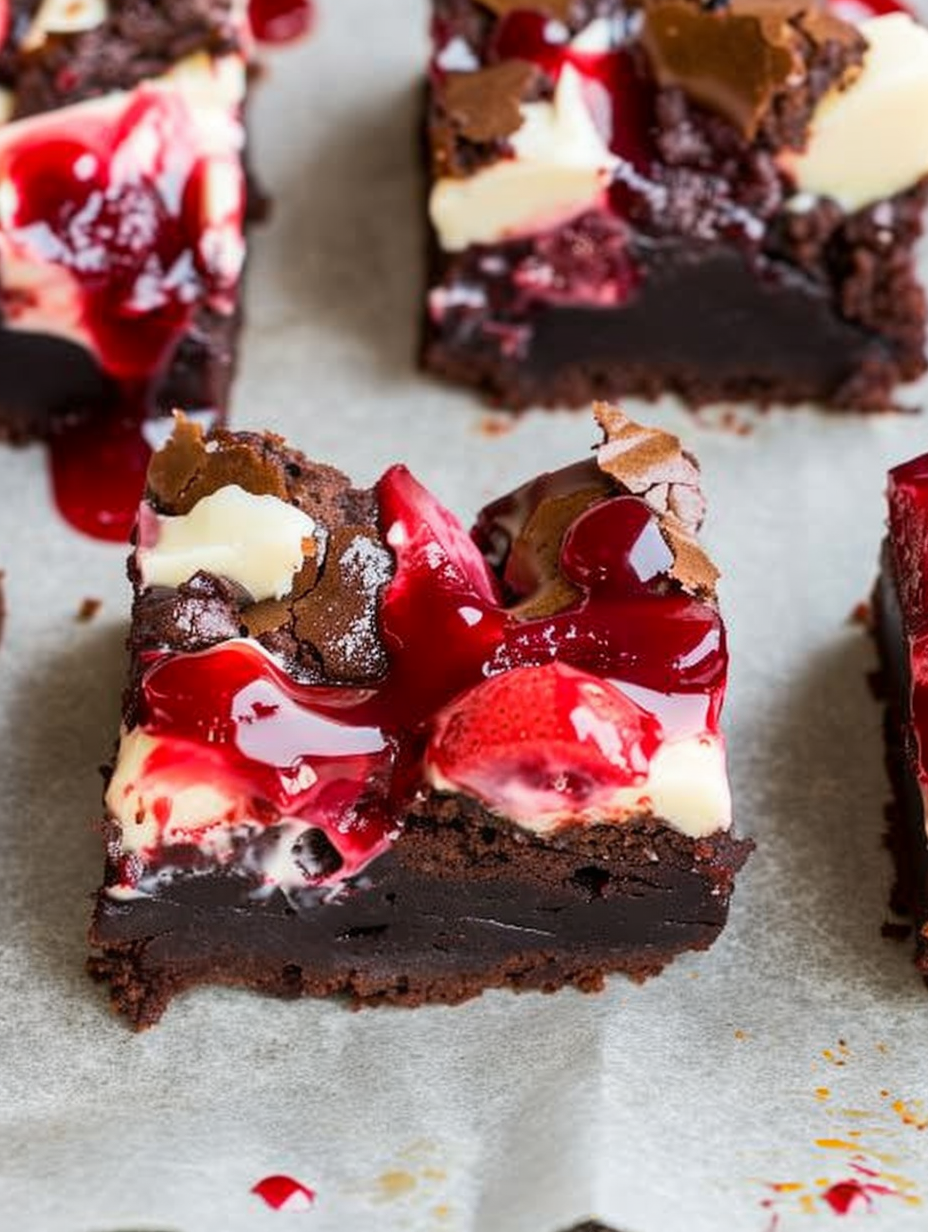
Swap whole wheat flour for all-purpose using a 1:1 ratio if you prefer a lighter crumb. Use Dutch-process cocoa for a deeper, less acidic chocolate flavor; for a brighter note use natural cocoa. Light cream cheese will work but may yield a slightly less creamy filling—avoid whipped or spreadable versions as they contain stabilizers. Try raspberry or blueberry pie filling in place of cherries for a different fruit profile, adjusting the amount to avoid a watery top layer.
Serve bars slightly chilled with a dollop of lightly sweetened whipped cream or a small scoop of vanilla ice cream for contrast. Garnish with a few fresh cherries or a dusting of cocoa powder. These make a great dessert for barbecues, holiday buffets, or weekday treats—and they pair beautifully with a robust coffee or a sweet dessert wine for special occasions.
The mash-up of dense chocolate squares with a cheesecake layer and fruit topping takes inspiration from American layered desserts that blend familiar favorites. Much like the classic cherry cheesecake, these bars marry two beloved formats: the fudgy American brownie and the creamy American-style cheesecake. Regional bakers have long experimented with combining brownies and cheesecake into swirls and layered bars, and cherries are a traditional pairing because their bright acidity cuts through rich dairy and chocolate.
In summer, swap canned cherry filling for warmed fresh cherries macerated with a little sugar and lemon zest for brightness. In winter, use spiced cherry compote with a pinch of cinnamon and orange zest for a cozy twist. For holiday tables, top each bar with a sprinkle of toasted almond slices and a drizzle of dark chocolate for a festive finish.
These bars are ideal for make-ahead planning: bake one day ahead, chill overnight, and cut right before serving. For portioned lunches, slice into uniform bars and store in a single layer in an airtight container with parchment between layers. If you’re sending them to events, place in a lined bakery box with parchment to prevent sticking and protect the cheesecake layer during transport.
There’s something quietly joyful about a dessert that delivers both nostalgia and a little wow factor—these Cherry Cheesecake Brownies do just that. Make them for the next gathering and watch how quickly they become a requested favorite.
Chill the bars for at least 2 hours before slicing to get clean edges and prevent the cheesecake layer from smudging.
Use room-temperature cream cheese to avoid lumps in the filling; beat until smooth before adding to the pan.
If your batter is very thick, warm the melted butter slightly more (not hot) to help the sugar dissolve and create a smoother batter.
Test doneness by checking that the brownie portion yields moist crumbs on a toothpick rather than raw batter—the cheesecake can still wobble slightly.
To prevent overflow of cherry filling, spoon it in dollops and avoid spreading aggressively; this keeps the layers distinct.
This nourishing cherry cheesecake brownies recipe is sure to be a staple in your kitchen. Enjoy every moist, high protein slice — it is perfect for breakfast or as a wholesome snack any time.
This Cherry Cheesecake Brownies recipe makes perfectly juicy, tender, and flavorful steak every time! Serve with potatoes and a side salad for an unforgettable dinner in under 30 minutes.
Line a 9x13-inch pan with foil or parchment and spray lightly with cooking spray. Preheat oven to 350°F (175°C). Proper lining ensures easy removal and clean edges when slicing.
Whisk melted butter and 2 1/2 cups sugar until smooth. Add 1 tablespoon vanilla and 4 large eggs, whisking until combined. Stir in 1 1/2 cups flour, 1 cup cocoa, and 1/2 teaspoon salt until just combined; avoid overmixing to keep the batter fudgy.
Spread just over half of the brownie batter into the prepared pan with a spatula to form an even base; the layer can be slightly rustic and doesn't need to be perfectly smooth.
Beat 8 ounces softened cream cheese with 1 egg, 1 teaspoon vanilla, and 1/3 cup sugar on medium speed until smooth and lump-free. Spread gently over the brownie base using an offset spatula.
Spoon cherry pie filling in dollops over the cream cheese, then drop spoonfuls of the remaining brownie batter across the top. Use a spoon to nudge batter into gaps but don't overwork—the top will bake into a marbled finish.
Bake at 350°F (175°C) for 30–35 minutes until the center appears set. Slight jiggle is fine due to the layered fillings; aim for moist crumbs on a toothpick inserted into the brownie portion.
Cool to room temperature, then refrigerate for a few hours if possible. Lift from pan using foil overhang and slice into 16 bars. Store refrigerated up to 5 days or freeze for longer storage.
Last Step: Please leave a rating and comment letting us know how you liked this recipe! This helps our business to thrive and continue providing free, high-quality recipes for you.
Leave a comment & rating below or tag
@velvetyum on social media!

Tender grilled zucchini rolled with a basil-kissed ricotta filling, nestled in marinara, and baked until the mozzarella bubbles and turns golden.

Golden, garlicky rounds with a deep-fried crunch made lighter in the air fryer. A fast, vitamin-packed side everyone devours.

Tender chicken meatballs simmered in marinara, finished with melted mozzarella and basil for cozy, weeknight Italian comfort in every bite.
Leave a comment & rating below or tag @velvetyum on social media!
Enjoyed this recipe? Share it with friends and family, and don't forget to leave a review!
This recipe looks amazing! Can't wait to try it.
Comments are stored locally in your browser. Server comments are displayed alongside your local comments.

Join to receive our email series which contains a round-up of some of our quick and easy family favorite recipes.
