
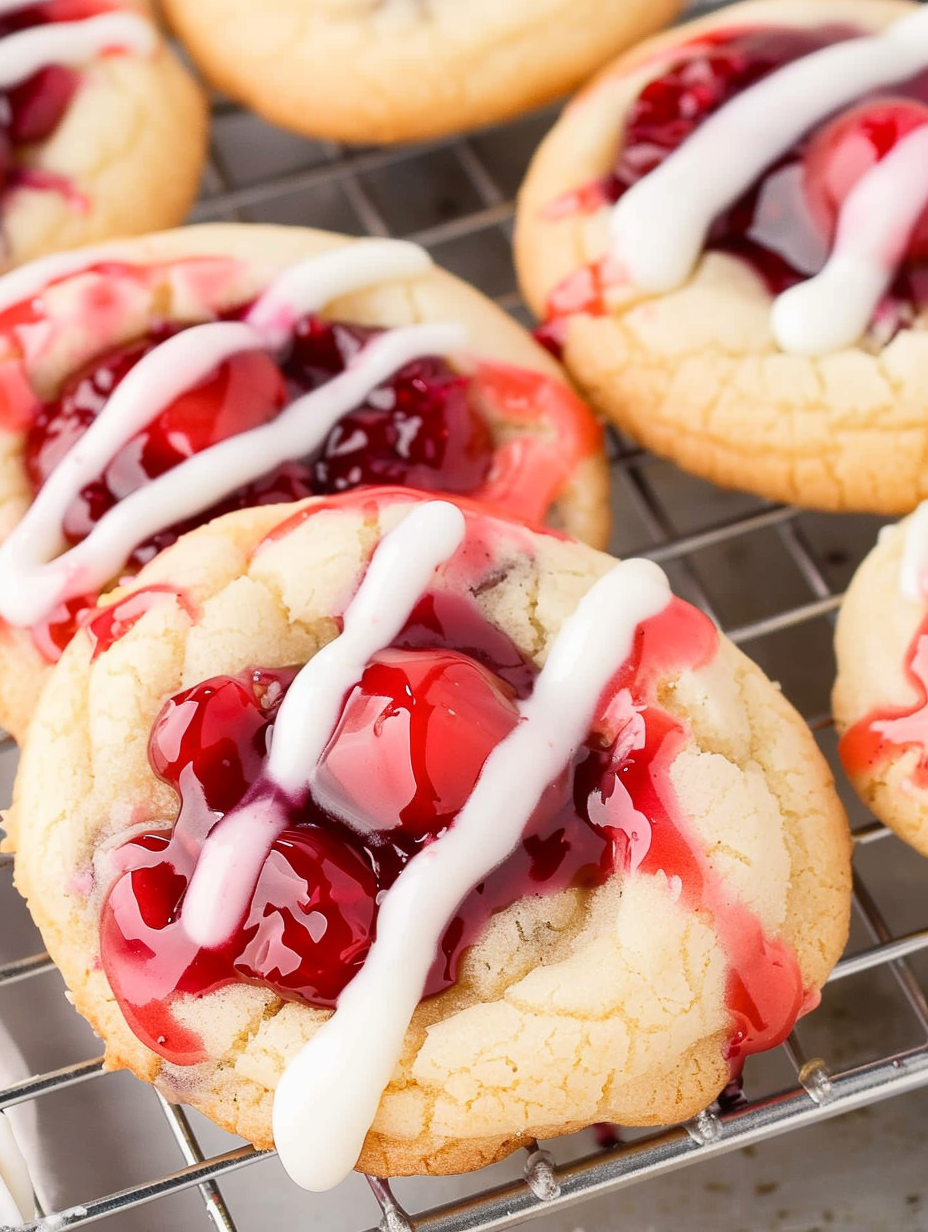
Cherry Pie Cookies

Buttery thumbprint-style cookies filled with bright cherry pie filling and a vanilla glaze — an easy, crowd-pleasing dessert perfect for gatherings or weeknight baking.
This recipe is one of those small joys that made me fall in love with simple baking. Cherry Pie Cookies combine a tender, buttery cookie base with a spoonful of bright, jammy cherry pie filling — the contrast of soft crumb and slightly syrupy fruit is more than the sum of its parts. I first made these on a rainy afternoon when I wanted something nostalgic but quick; the canned filling and a basic cookie dough came together in under 30 minutes and immediately transported me back to summer picnics and church bake sales. Since that first batch they’ve become my go-to for last-minute parties because they look like effort but come together with pantry staples.
These are not fussy: the dough is forgiving, the filling can be canned or homemade, and a simple powdered-sugar glaze gives the whole cookie a pretty finish. Texturally, the edge of the cookie crisps just slightly while the center stays soft and tender around the fruit. The cherry keeps the cookie from being cloyingly sweet and the tiny amount of vanilla in both dough and glaze lifts the flavors. I love keeping a jar of cherry pie filling in the pantry — it turns this basic dough into something seasonal and celebratory in minutes.
Why You'll Love This Recipe
- Fast to pull together: ready in about 30 minutes from start to finish, which makes them ideal for last-minute guests or after-school baking projects.
- Pantry-friendly: uses common staples like butter, sugar, flour, and a can of pie filling — no specialty ingredients required.
- Make-ahead and freezer-friendly: dough can be portioned and frozen, and baked cookies store well for gifting or lunchboxes.
- Kid-friendly and hands-on: forming the little indents and spooning in filling is an easy way to get kids involved in baking.
- Customizable: swap the cherry filling for apricot, blueberry, or a nutella dollop for different occasions and tastes.
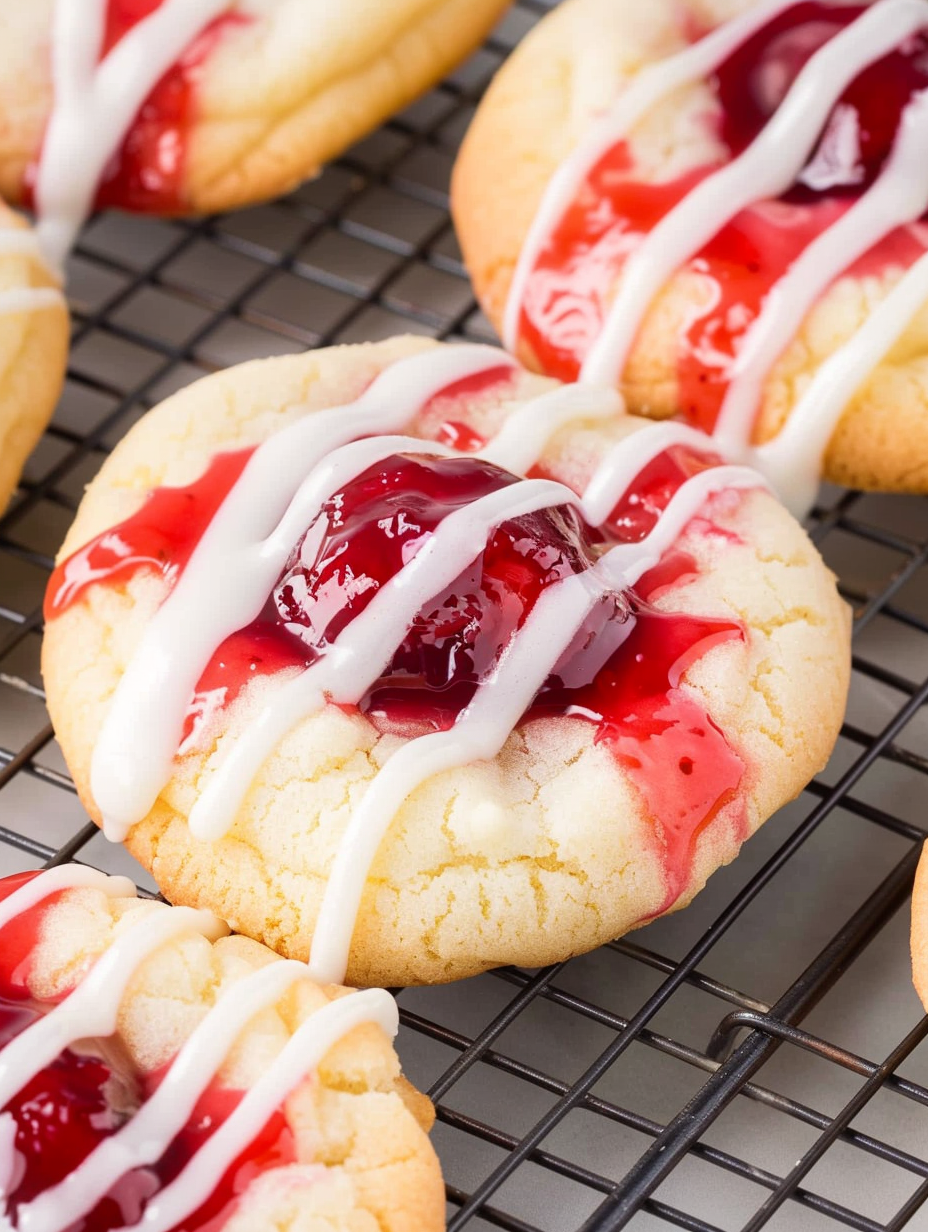
- Great presentation: the filled centers and glossy glaze make these suitable for potlucks, cookie exchanges, or tea time.
On a personal note, my family’s reaction to these cookies has been immediate and enthusiastic — the first time I took a tray to a neighborhood gathering they were gone within an hour. I’ve learned to double the batch for holiday cookie swaps. The simplicity of the dough lets the cherry flavor shine, and I often experiment with tiny tweaks to the glaze or a sprinkle of coarse sugar before baking for extra sparkle.
Ingredients
- Unsalted butter (1/2 cup): Use good-quality butter (e.g., Plugrá or Kerrygold) for a rich flavor; butter at room temperature gives the best creaming action and tender crumb.
- Granulated sugar (1/2 cup): Regular granulated sugar helps with spreading and caramelization at the edges; measure by spooning into a cup and leveling off.
- Large egg (1): Brings structure and moisture; use a room-temperature egg to help the dough emulsify smoothly.
- Vanilla extract (1/2 teaspoon): Pure vanilla adds depth; add a touch more if you like a stronger aroma.
- All-purpose flour (1 1/2 cups): I prefer King Arthur or Gold Medal for consistent results; spoon into measuring cup and level for accuracy.
- Baking powder (1/2 teaspoon): Provides a light lift so the cookie remains tender instead of dense.
- Salt (1/4 teaspoon): Balances sweetness and enhances the buttery flavor; use fine salt for even distribution.
- Cherry pie filling (about 1 can): Any brand will do — I often use store-brand or Del Monte; if using homemade filling, allow it to cool before spooning.
- Powdered sugar (1/2 cup): For the glaze; sifted to avoid lumps and achieve a silky finish.
- Milk (1-2 tablespoons): Use whole milk or 2% for a richer glaze; add gradually until you reach a drizzle-able consistency.
- Vanilla for glaze (1/4 teaspoon): Mirrors the dough and ties the flavors together.
Instructions
Preheat and prepare: Set the oven to 350°F (175°C). Line two baking sheets with parchment paper and position oven racks in the middle and upper-middle if you bake two sheets at once. This ensures even heat circulation and prevents the bottoms from browning too quickly. Cream butter and sugar: In a large bowl or stand mixer fitted with the paddle, cream 1/2 cup softened butter and 1/2 cup granulated sugar on medium speed until pale and fluffy, about 2–3 minutes. Scrape the bowl down once so air is incorporated evenly — this aeration keeps the cookies tender. Incorporate egg and vanilla: Add 1 large room-temperature egg and 1/2 teaspoon vanilla extract. Mix until combined and smooth; the mixture should look slightly glossy and homogeneous. Mix dry ingredients: Whisk together 1 1/2 cups all-purpose flour, 1/2 teaspoon baking powder, and 1/4 teaspoon salt in a separate bowl. Gradually add to the wet ingredients on low speed until just combined. Avoid overmixing to keep the crumb tender. Portion and indent: Use a tablespoon or cookie scoop to portion dough into tablespoon-sized balls and place them 1 1/2 inches apart on the prepared sheets. Press a thumb or the back of a teaspoon into the center of each ball to create a well for the filling; if the dough springs back, chill for 5 minutes and try again. Fill and bake: Spoon about 1/2 to 3/4 teaspoon of cherry pie filling into each indentation. Bake for 12–15 minutes, rotating the sheets halfway through if needed, until edges are lightly golden but centers still look soft. Watch carefully in the last 2 minutes to prevent the filling from bubbling over and burning. Cool and glaze: Allow cookies to cool on the sheet for 3–4 minutes, then transfer to a wire rack. Whisk together 1/2 cup powdered sugar, 1–2 tablespoons milk, and 1/4 teaspoon vanilla until smooth. Drizzle thinly over cooled cookies using a spoon or small piping bag.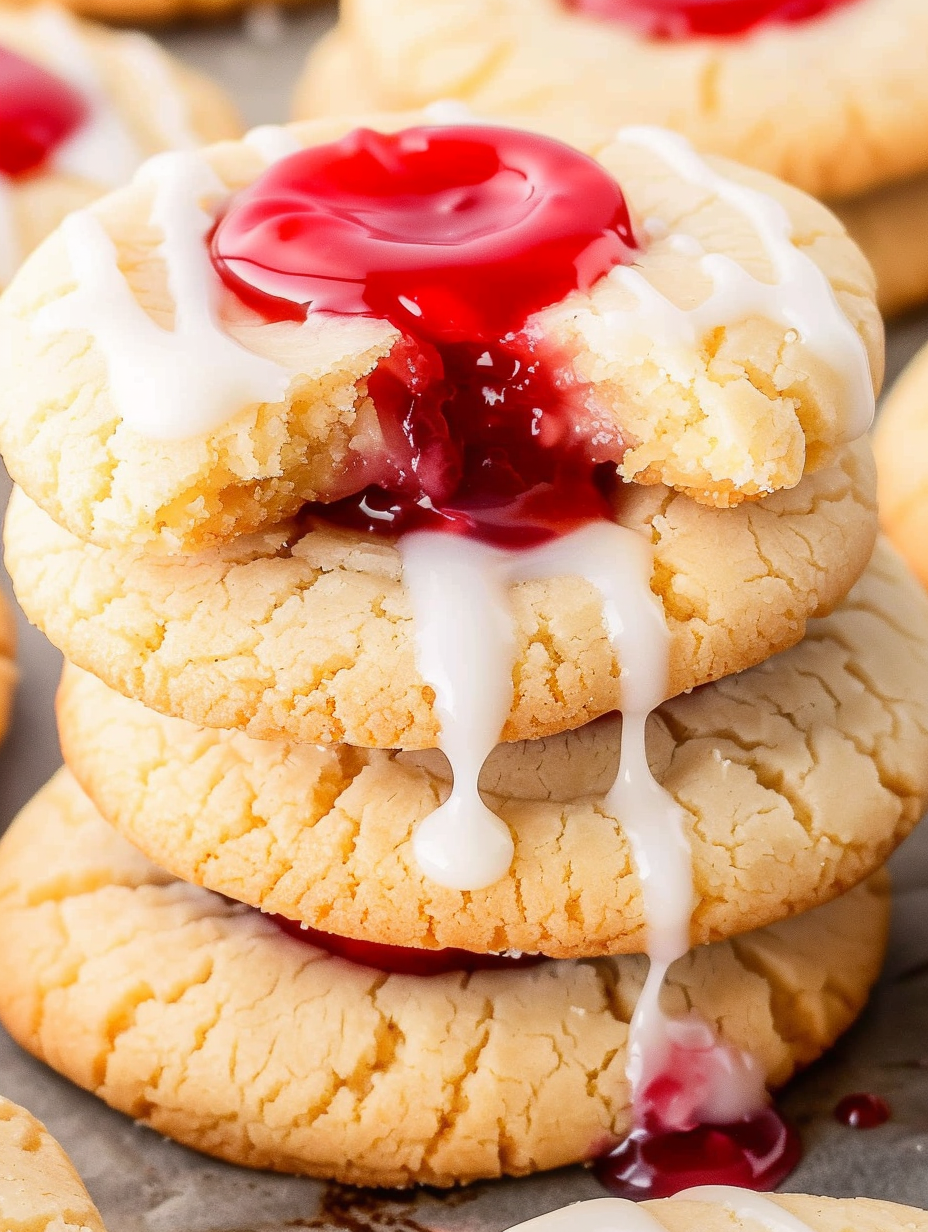
You Must Know
- These keep well at room temperature for 2 days in an airtight container; refrigerate for up to 5 days.
- They freeze great: freeze baked cookies in a single layer, then transfer to a freezer-safe container for up to 3 months.
- Nutrition per cookie (approx.): 109 kcal, 17 g carbs, 5 g fat, 1 g protein — great for a small sweet treat without overindulging.
- Use room-temperature ingredients for more even mixing and a uniform texture.
- Avoid overfilling centers to prevent syrupy overflow during baking.
My favorite part about these cookies is how adaptable they are — I’ve swapped the cherry for other jarred fillings and even jam when pie filling wasn’t available. They’ve been a staple at summer potlucks and winter cookie exchanges alike; once I brought a tin to a neighbor and returned to find just the crumbs left and a thank-you note on my doorstep. That kind of simple baking satisfaction never gets old.
Storage Tips
Store cooled cookies in a single layer in an airtight container at room temperature for up to 48 hours. If stacking, separate layers with parchment to protect the glaze. For longer storage, flash-freeze the baked cookies on a tray until firm, then transfer to a zip-top freezer bag and freeze for up to 3 months. Thaw at room temperature for 30–60 minutes; if desired, warm briefly in a 300°F (150°C) oven for 4–5 minutes to refresh crisp edges.
Ingredient Substitutions
If you don’t have cherry pie filling, use thick jam or preserves (reduce to 1/2 teaspoon per cookie to avoid excess moisture). For a dairy-free version, substitute vegan butter and use a plant-based milk in the glaze. To make them gluten-free, swap in a 1:1 gluten-free flour blend and chill the dough slightly before shaping, as GF doughs can be stickier. Expect slight texture changes: jams yield a denser center while pie filling gives more syrupy pockets.
Serving Suggestions
Serve these on a dessert platter with a dusting of powdered sugar or alongside vanilla ice cream for a nostalgic twist. They’re lovely with black tea or a strong coffee; for holiday gatherings, arrange on a tiered stand garnished with fresh mint and a few whole cherries. They also make charming edible gifts — stack in cello bags tied with ribbon for cookie exchanges or teacher gifts.
Cultural Background
Thumbprint-style cookies have roots in many baking traditions, often appearing as European holiday treats where a sweet center — jam, curd, or chocolate — accents a buttery shortbread-like base. The use of pie filling nods to classic American desserts, marrying a pie flavor with bite-sized cookies. Over time, home bakers adapted these treats into quick, shareable cookies suitable for gatherings where an entire pie would be impractical.
Seasonal Adaptations
Switch fillings with the seasons: use apricot or peach in summer, spiced apple butter in fall, and cranberry-orange preserves for winter holidays. Add a pinch of cinnamon or nutmeg to the dough for autumnal warmth, or stir a little almond extract into the glaze for an extra layer of flavor. For festive occasions, sprinkle coarse sugar on the dough before baking or use colored glaze.
Meal Prep Tips
For efficient batch baking, portion the dough into tablespoon-sized balls on a tray and freeze them until firm. Store frozen balls in a bag and bake straight from frozen, adding an extra 2–3 minutes to the baking time. This method ensures you can bake a small batch any time. Alternatively, bake a full sheet and freeze baked cookies for quick desserts through the week.
These Cherry Pie Cookies are a little piece of comfort that travels well — they’re equally suited to weekday treats and festive dessert tables. Don’t be afraid to make them your own: tweak the filling, experiment with glazes, and enjoy the bubbly, jewel-like centers that make these cookies so charming.
Pro Tips
Chill the dough for 5 minutes if it becomes too sticky while shaping to make indenting easier.
Use a small cookie scoop for uniform cookies so baking time is consistent across the batch.
Avoid overfilling centers — use about 1/2 teaspoon of filling per cookie to prevent overflow during baking.
If glaze is too thick, add milk a few drops at a time until it reaches a drizzleable consistency.
This nourishing cherry pie cookies recipe is sure to be a staple in your kitchen. Enjoy every moist, high protein slice — it is perfect for breakfast or as a wholesome snack any time.
Tags
Cherry Pie Cookies
This Cherry Pie Cookies recipe makes perfectly juicy, tender, and flavorful steak every time! Serve with potatoes and a side salad for an unforgettable dinner in under 30 minutes.
Ingredients
Cookies
Glaze
Instructions
Preheat and prepare
Preheat oven to 350°F (175°C). Line baking sheets with parchment paper and arrange racks to allow even heat circulation.
Cream butter and sugar
In a large bowl or stand mixer, cream 1/2 cup softened butter and 1/2 cup granulated sugar until pale and fluffy, about 2–3 minutes.
Add egg and vanilla
Add 1 large room-temperature egg and 1/2 teaspoon vanilla extract and mix until smooth and glossy.
Combine dry ingredients
Whisk together 1 1/2 cups all-purpose flour, 1/2 teaspoon baking powder, and 1/4 teaspoon salt. Gradually add to wet ingredients on low speed until just combined.
Portion dough and create wells
Scoop tablespoon-sized portions of dough onto prepared sheets, 1 1/2 inches apart. Press a thumb or spoon into the center of each to form a well.
Fill and bake
Spoon about 1/2–3/4 teaspoon cherry pie filling into each well. Bake 12–15 minutes until edges are lightly golden; watch to prevent over-browning.
Cool and glaze
Cool on the sheet 3–4 minutes then transfer to a rack. Whisk 1/2 cup powdered sugar with 1–2 tablespoons milk and 1/4 teaspoon vanilla; drizzle over cooled cookies.
Last Step: Please leave a rating and comment letting us know how you liked this recipe! This helps our business to thrive and continue providing free, high-quality recipes for you.
Nutrition
Did You Make This?
Leave a comment & rating below or tag
@velvetyum on social media!
Categories:
You might also like...

Cheesy Zucchini Rollatini
Tender grilled zucchini rolled with a basil-kissed ricotta filling, nestled in marinara, and baked until the mozzarella bubbles and turns golden.

Crispy Zucchini and Squash
Golden, garlicky rounds with a deep-fried crunch made lighter in the air fryer. A fast, vitamin-packed side everyone devours.

Chicken Parmesan Meatballs
Tender chicken meatballs simmered in marinara, finished with melted mozzarella and basil for cozy, weeknight Italian comfort in every bite.
Did You Make This?
Leave a comment & rating below or tag @velvetyum on social media!
Rate This Recipe
Share This Recipe
Enjoyed this recipe? Share it with friends and family, and don't forget to leave a review!
Comments (1)
This recipe looks amazing! Can't wait to try it.
Comments are stored locally in your browser. Server comments are displayed alongside your local comments.

Hi, I'm Emma!
What's Popular

30-Minute Meals!
Join to receive our email series which contains a round-up of some of our quick and easy family favorite recipes.