
>>

A no-cook, colorful holiday treat that tastes like red velvet cake—quick to make and perfect for gifting or party trays.
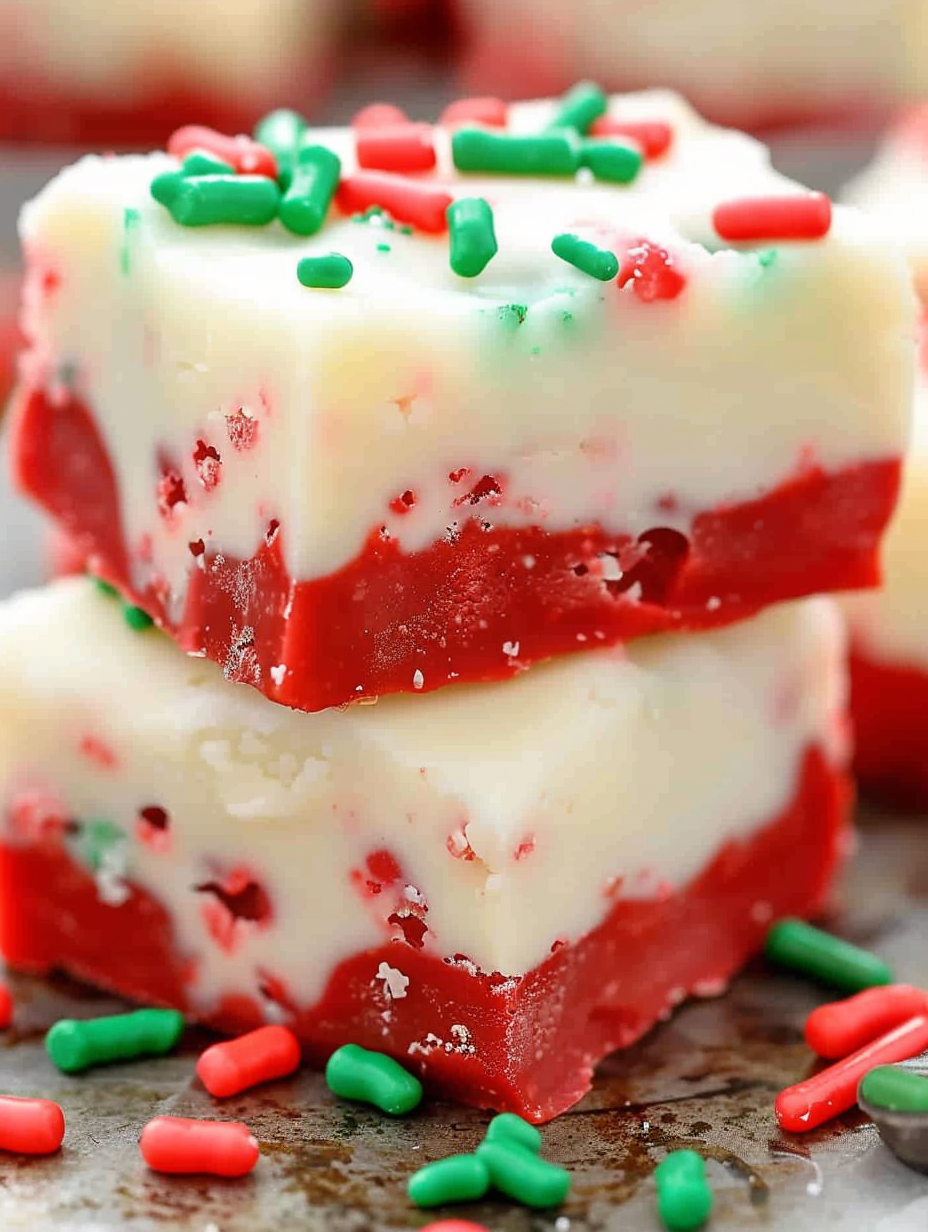
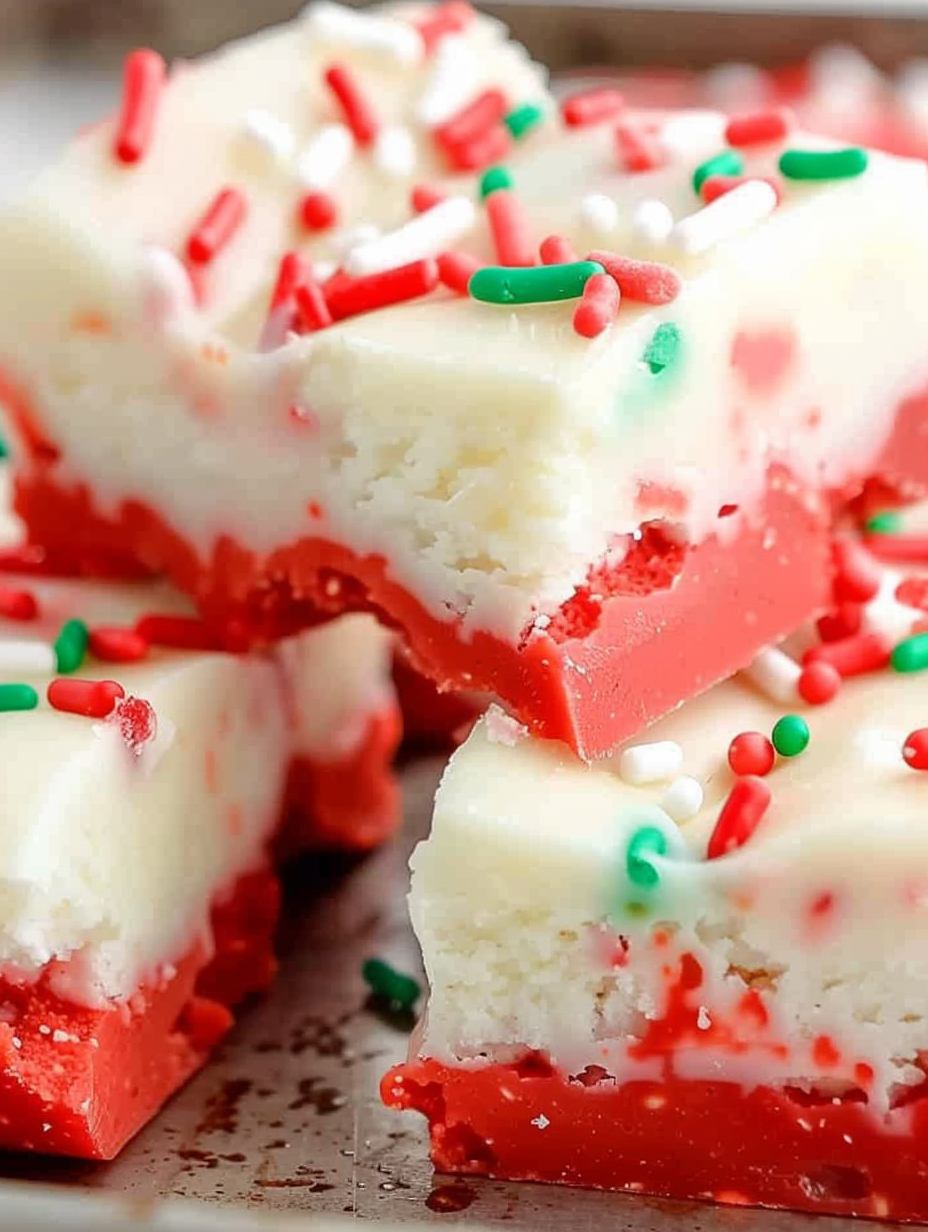
This Christmas Cake Batter Fudge is my go-to quick sweet during the holiday season. I first made it one chilly December afternoon when a last-minute cookie exchange request collided with a pantry full of white chocolate chips. The result was delightfully reminiscent of red velvet cake, with a creamy, melt-in-your-mouth texture and cheerful red-and-white layers that make the whole tray look festive without fuss. It’s a real crowd-pleaser: kids love the color and sprinkles, while adults keep sneaking pieces from the plate between conversations.
I discovered how forgiving this treat is when I had to improvise on a busy day. There’s no stovetop or oven required; everything melts in the microwave and sets in the fridge. The texture is smooth and velvety, thanks to the sweetened condensed milk, and the divided batter lets you create a candy that tastes like cake without baking. I often bring a pan to holiday parties, where it vanishes before the coffee is poured. This recipe is perfect for making with helpers—let a child stir in the sprinkles for extra holiday cheer.
On my first try I brought a pan to a neighbor’s cookie swap and returned with an empty container and three recipe requests. The simplicity surprised everyone; people often assume layered treats take a long time, but this one proves you can deliver seasonal flair with minimal effort. I now keep a couple of spare 8x8 pans and a few seasonal sprinkles in my pantry for emergency entertaining.
My favorite part of this recipe is how it brings everyone together. I often make two pans—one to serve and one to gift. Neighbors appreciate the colorful slices tucked into small boxes, and I’ve had friends report that the layered look fooled guests into thinking they were slices of actual cake. The simplicity allows me to focus on presentation, so I brighten the plate with fresh cranberries or a dusting of powdered sugar for a festive touch.
Store leftover pieces in an airtight container in the refrigerator for up to 7 days. For longer storage, freeze individual squares on a baking sheet until firm, then transfer to a freezer-safe bag and freeze for up to 3 months. Thaw in the fridge overnight to avoid condensation. Use parchment between layers to prevent sticking. If you plan to transport the fudge, keep it on a chilled tray or pack with ice packs to maintain texture during travel.
If you prefer a dairy-free version, use dairy-free white chocolate chips and a vegan condensed milk alternative; texture will be slightly different but still creamy. For a less sweet variation, reduce sprinkles and use a high-quality, less-sweet white chocolate. If you can’t find red velvet mix, substitute 2 tablespoons of cocoa powder plus a few drops of red food coloring and 1 tablespoon of flour, though the boxed mix gives the most reliable color and flavor balance.
Slice into small squares and serve on a festive platter with complementary treats such as peppermint bark, salted caramel bites, or fresh berries. For a party, place the squares in mini cupcake liners to make them easy to pick up. Pair with strong coffee or spiced tea to balance the sweetness. For gifting, wrap stacks of five squares in parchment and tie with ribbon for an attractive homemade present.

Adapt the colors and flavors for other holidays: swap red velvet mix for strawberry cake mix for a spring twist or use green-tinted white chocolate and matcha powder for a St. Patrick’s version. For Valentine’s Day swap sprinkles for heart-shaped confetti. Around Thanksgiving, add a teaspoon of pumpkin spice to the white layer for a warm twist. The base technique allows you to experiment with color and small amounts of seasoning without changing the method.
Make multiple pans at once and stack them in the refrigerator if space allows, rotating batches into guests’ hands throughout a party. For boxed gifts, cut uniformly and place squares in decorative tins lined with parchment. Label containers with the date and any allergen notes. When prepping with children, assign them sprinkle duties and measuring to involve them in the process while you handle the microwave steps safely.
Final thought: This layered fudge is a tiny celebration of color and flavor that requires minimal effort but delivers maximum holiday cheer. Whether you’re filling cookie trays, gifting neighbors, or making a quick treat with kids, this recipe is designed to be forgiving, festive, and utterly delicious.
Measure the cake mixes by spooning into the cup and leveling for accuracy to avoid clumps in the batter.
Work quickly when layering to keep the edges distinct; use a spatula to gently smooth the top without mixing layers.
Wipe your knife between cuts and chill the knife briefly in between slices for cleaner edges.
This nourishing christmas cake batter fudge recipe is sure to be a staple in your kitchen. Enjoy every moist, high protein slice — it is perfect for breakfast or as a wholesome snack any time.
Yes. Store in an airtight container in the refrigerator for up to 7 days or freeze for up to 3 months.
Use dairy-free white chips and vegan condensed milk alternative; texture may be slightly different.
Recipe data validation failed
Please check the recipe data format. See console for details.

Tender grilled zucchini rolled with a basil-kissed ricotta filling, nestled in marinara, and baked until the mozzarella bubbles and turns golden.

Golden, garlicky rounds with a deep-fried crunch made lighter in the air fryer. A fast, vitamin-packed side everyone devours.

Tender chicken meatballs simmered in marinara, finished with melted mozzarella and basil for cozy, weeknight Italian comfort in every bite.
Leave a comment & rating below or tag @velvetyum on social media!
Enjoyed this recipe? Share it with friends and family, and don't forget to leave a review!
This recipe looks amazing! Can't wait to try it.
Comments are stored locally in your browser. Server comments are displayed alongside your local comments.

Join to receive our email series which contains a round-up of some of our quick and easy family favorite recipes.
