
>>

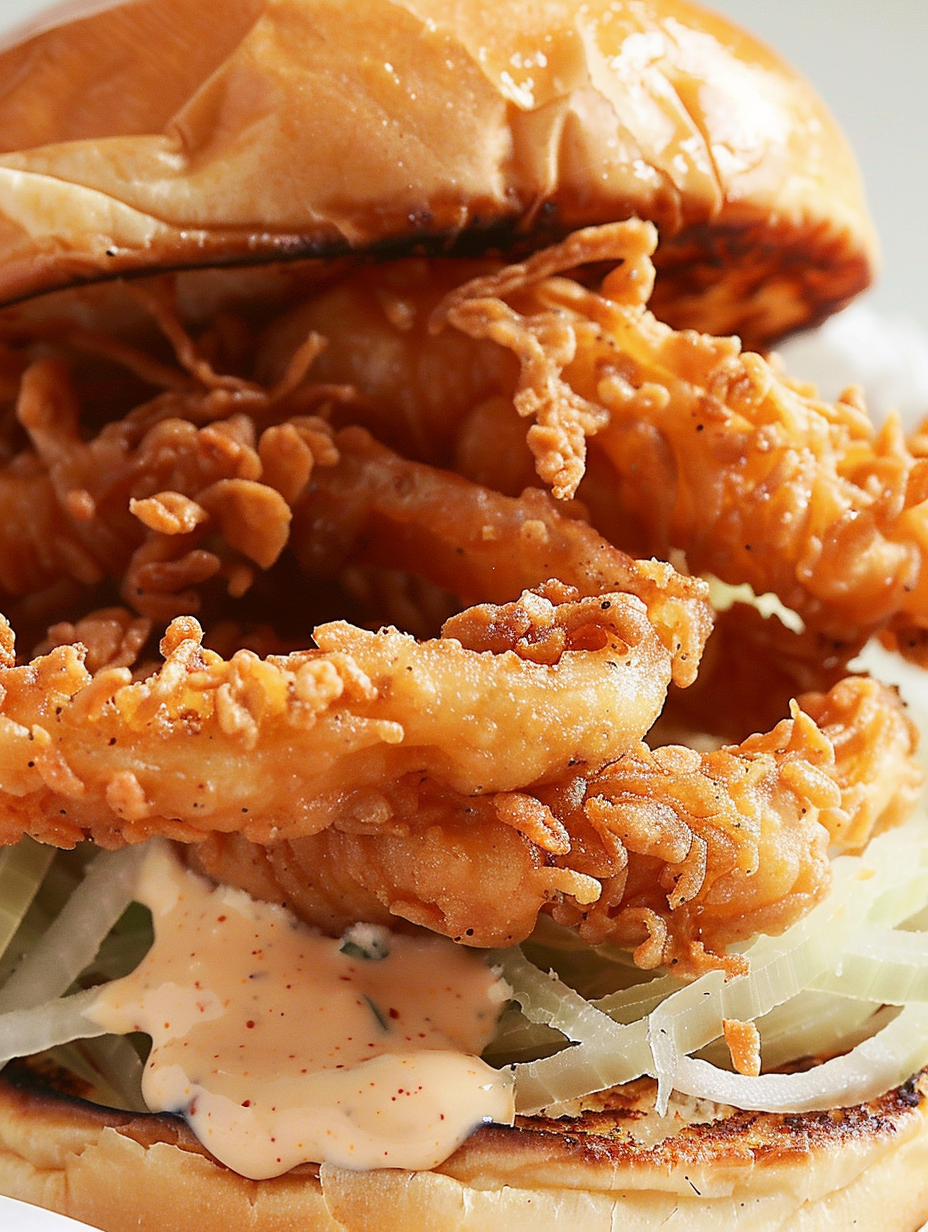
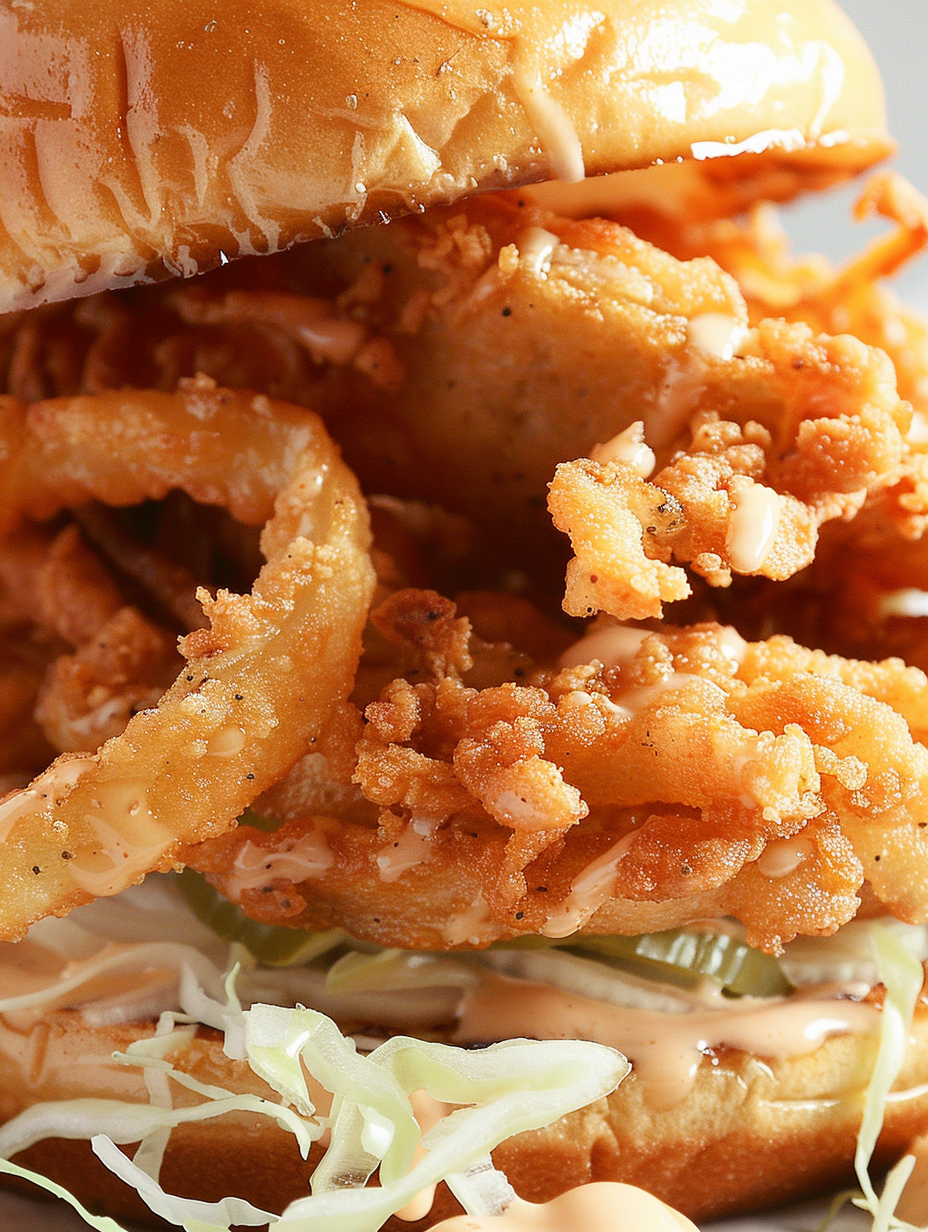
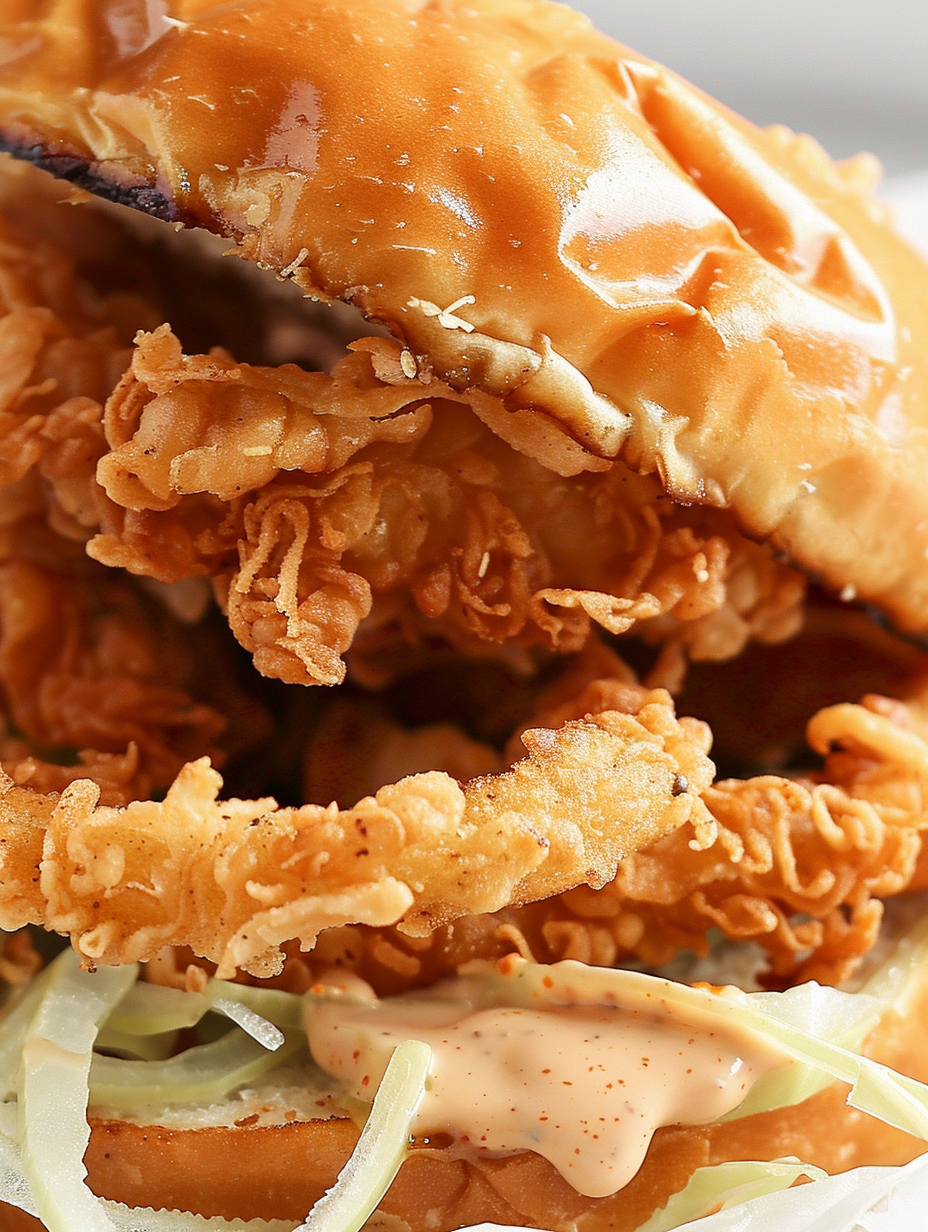
Thinly sliced onions soaked in reduced-fat buttermilk, dredged in seasoned flour, and fried to golden, airy crispness—perfect as a snack or side.
When I first served these at a summer cookout, neighbors came over asking for the recipe before the plate was even empty. My teenage son declared them better than store-bought onion rings, which is high praise in our house. Over time I learned little adjustments—soak at least an hour, fry in small batches, and cool in a single layer—that transformed a good result into consistently great results.
One of my favorite things about this preparation is how adaptable it is—when friends drop by unexpectedly, I can soak onions ahead and fry quickly with consistent results. The first time I plated these on pulled pork sandwiches, the contrast of sweet onion crunch and smoky meat turned a simple sandwich into something memorable. Even picky eaters in my family, who usually avoid raw onion, happily accept these crisp strands as a topping.
Store cooled pieces in an airtight container at room temperature for up to 24 hours to preserve crispness; refrigeration will draw moisture in and soften them. For longer storage, freeze in a single layer on a baking sheet until solid, then transfer to a freezer bag for up to 3 months. Reheat from frozen in a preheated 350°F (175°C) oven for 5 to 8 minutes on a baking sheet to restore crispness. Avoid microwaving as it causes sogginess. Use parchment or a wire rack while reheating to allow hot air circulation.
For a dairy-free alternative, substitute a thin plant-based yogurt thinned with a tablespoon of lemon juice for the buttermilk; results will be slightly less tangy but still tenderize the onion. Swap all-purpose flour for a 1:1 gluten-free flour blend for a gluten-free option—expect a slightly different texture and be sure the blend contains xanthan or another binder. For extra crunch, toss a small portion of crushed cornflakes into the flour mix just before dredging. If you prefer a spicier profile, add 1/2 teaspoon cayenne or 1 teaspoon chili powder to the dredge.
Serve as a standalone snack with dipping sauces like ranch, aioli, or a smoked paprika ketchup. They make a classic topping for burgers, grilled steaks, pulled pork, or barbecued chicken, adding texture and onion flavor. Use as a garnish on loaded baked potatoes, creamy macaroni, or Caesar-style salads for an added crunch. For a party platter, pair with sliced pickles, thick-cut fries, and sliders for a nostalgic, crowd-pleasing spread.
During summer use sweet Vidalia onions for a milder, sweeter profile that pairs beautifully with grilled foods. In winter when onions are sharper, add an extra 15 to 30 minutes of buttermilk soak to mellow the bite. For holiday gatherings, season the flour with a pinch of ground sage and a tablespoon of finely grated Parmesan for a savory twist. In autumn, toss the hot onion strings with a little maple syrup and chili powder for a sweet-heat glaze before serving alongside roasted meats.
To streamline, slice and separate onions up to a day ahead and store them in the fridge in a sealed container. Combine the dry dredge in a large zip bag or container so it’s ready to use. Soak onions for up to 2 hours ahead and keep chilled; fry batches right before serving. If you plan to make a large quantity, schedule frying in stages and hold finished batches loosely tented in a 200°F oven on a wire rack to keep warm and crisp for service.
A friend told me these transformed a simple backyard burger night into a highlight that guests raved about, with leftovers making perfect salad toppers the next day. Another time I brought them to a potluck and people asked for the recipe twice. Small technique changes—especially cooling in a single layer and frying at consistent temperature—are what my neighbors and family noticed most when I taught them how to make these.
These golden, delicate strands bring so much texture and flavor to ordinary meals; they’re a small culinary luxury that’s easy to achieve at home. Try making them with friends the next time you cook outdoors—the process is quick, social, and absolutely worth the crispy payoff.
Use a mandoline for uniformly thin slices but take care to use a guard for safety.
Always fry in small batches to keep oil temperature steady and prevent clumping.
Cool on a wire rack set over a baking sheet rather than paper towels to avoid steam and sogginess.
Season immediately after frying so the salt adheres while pieces are still warm.
This nourishing crispy fried onion strings recipe is sure to be a staple in your kitchen. Enjoy every moist, high protein slice — it is perfect for breakfast or as a wholesome snack any time.
Soak at least 1 hour in the refrigerator; a 1 to 2 hour soak softens the raw bite and helps the coating stick.
Heat oil to 375°F and fry in small batches for about 45–60 seconds until golden and crisp. Maintain temperature between 350–375°F.
Cool on a wire rack in a single layer. Store at room temperature up to 24 hours and re-crisp in a 350°F oven for 5–8 minutes.
This Crispy Fried Onion Strings recipe makes perfectly juicy, tender, and flavorful steak every time! Serve with potatoes and a side salad for an unforgettable dinner in under 30 minutes.
Use a mandoline or sharp knife to slice the onion very thin for strings or slightly thicker for rings. Separate into individual layers and remove any inner membrane pieces so each piece fries evenly.
Place separated onion layers in a shallow dish or resealable bag and pour 1 cup reduced-fat buttermilk over them. Refrigerate for at least 1 hour to tenderize and help the coating adhere.
Whisk together 2 cups all-purpose flour, 2 teaspoons kosher salt, 2 teaspoons baking powder, 2 teaspoons smoked paprika, 2 teaspoons onion powder (optional), 2 teaspoons garlic powder, and 1/2 teaspoon black pepper in a large bowl until evenly mixed.
Heat canola oil in a heavy pot to 375°F (190°C), filling the pot to about 2–3 inches deep. Use a thermometer to monitor and maintain oil temperature between 350–375°F during frying.
Working in small batches, shake off a few onion pieces and toss them in the seasoned flour until fully coated. Immediately drop coated pieces into the hot oil and fry until deep golden and crisp, about 45–60 seconds per batch.
Use a slotted spoon to transfer fried pieces to a wire rack set over a baking sheet or to a paper towel-lined tray, arranging in a single layer. Season with fine salt while warm.
Repeat the coating and frying process until all onions are crisp. Serve hot or at room temperature as a side, garnish, or snack. Re-crisp in a 350°F oven for 5–8 minutes if necessary.
Last Step: Please leave a rating and comment letting us know how you liked this recipe! This helps our business to thrive and continue providing free, high-quality recipes for you.
Leave a comment & rating below or tag
@velvetyum on social media!

Tender grilled zucchini rolled with a basil-kissed ricotta filling, nestled in marinara, and baked until the mozzarella bubbles and turns golden.

Golden, garlicky rounds with a deep-fried crunch made lighter in the air fryer. A fast, vitamin-packed side everyone devours.

Tender chicken meatballs simmered in marinara, finished with melted mozzarella and basil for cozy, weeknight Italian comfort in every bite.
Leave a comment & rating below or tag @velvetyum on social media!
Enjoyed this recipe? Share it with friends and family, and don't forget to leave a review!
This recipe looks amazing! Can't wait to try it.
Comments are stored locally in your browser. Server comments are displayed alongside your local comments.

Join to receive our email series which contains a round-up of some of our quick and easy family favorite recipes.
