
>>

Golden, double-battered onion rings with a tender sweet interior and a tangy, creamy Blossom-style dip — perfect as an appetizer or piled on burgers.
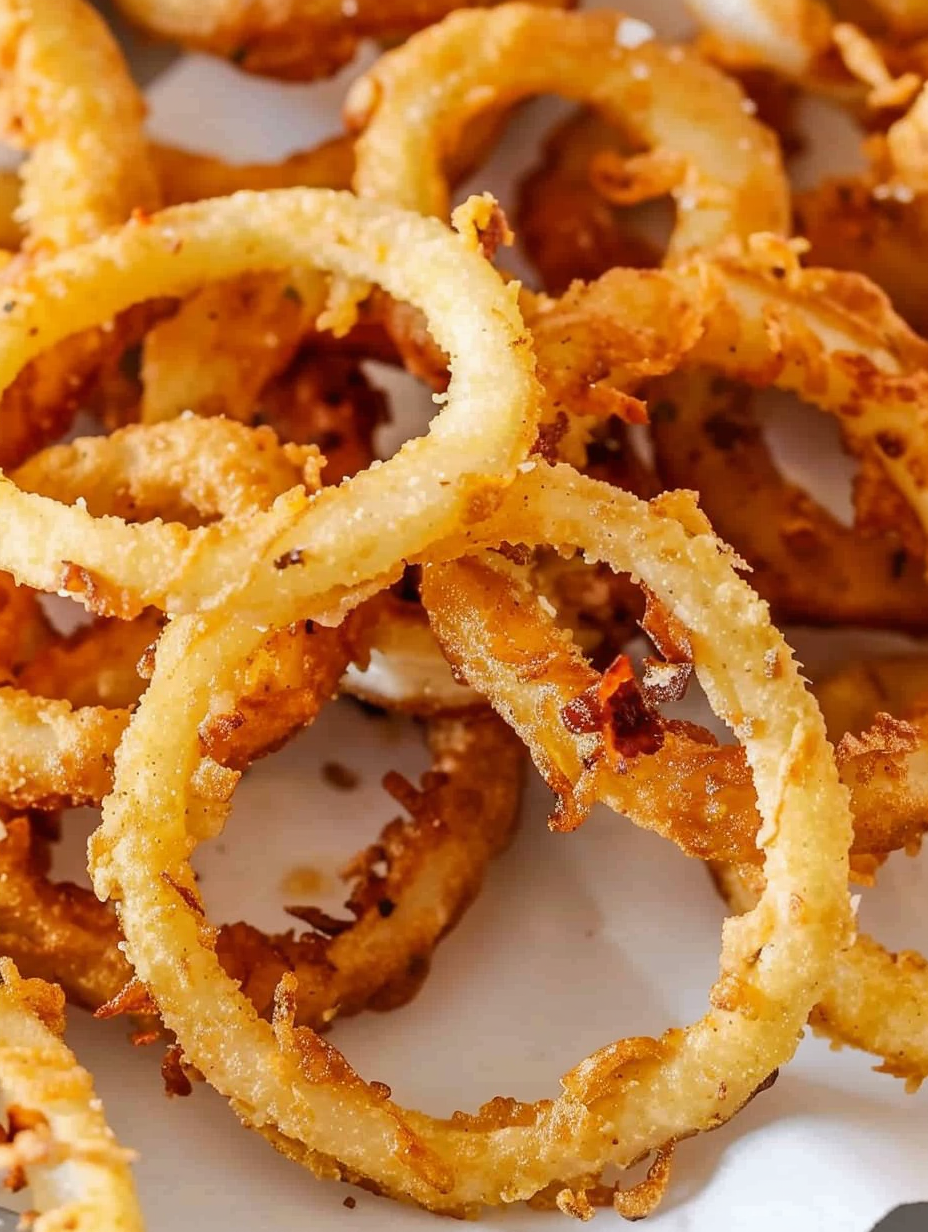
This recipe for crispy onion rings has been a neighborhood favorite ever since I first experimented with a double-batter technique on a rainy Saturday afternoon. I wanted something with a satisfyingly crunchy exterior that didn’t overpower the sweet, tender onion inside. After a few tweaks — switching to a touch of sour cream in the wet mix and repeating the dip-and-dredge for an extra-crisp coating — the result became our go-to for gatherings and weeknight burgers. The contrast of the golden shell and the soft onion is what keeps everyone coming back for more.
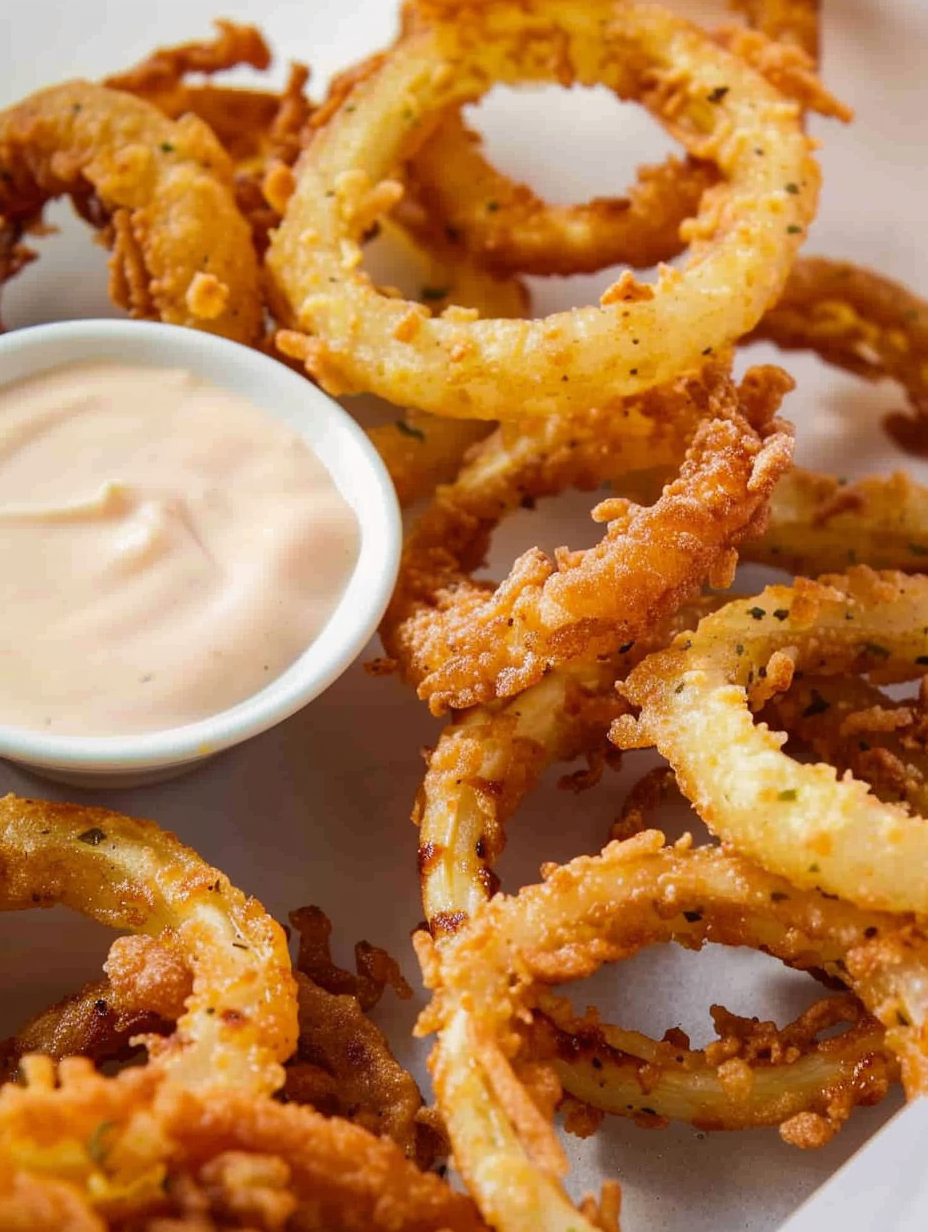
I first discovered this approach while craving diner-style rings at home. The technique is simple but deliberate: brined milk for acidity, a tangy dairy lift from the sour cream, and a seasoned flour dredge applied twice to form a sturdy crust that fries evenly. The frying temperature is crucial — set your oil to 375°F and you’ll get rings that are crisp on the outside and perfectly tender inside without soaking up excess oil. Serve them immediately with a bright dipping sauce; my family calls the Blossom-style sauce “addictive.”
My friends always ask for the recipe after a game night. Once I started serving these with a small bowl of the Blossom dip they disappeared even faster — people would come back just to dunk one more before the plate was empty. It’s become the thing I make when I want to impress without fuss.
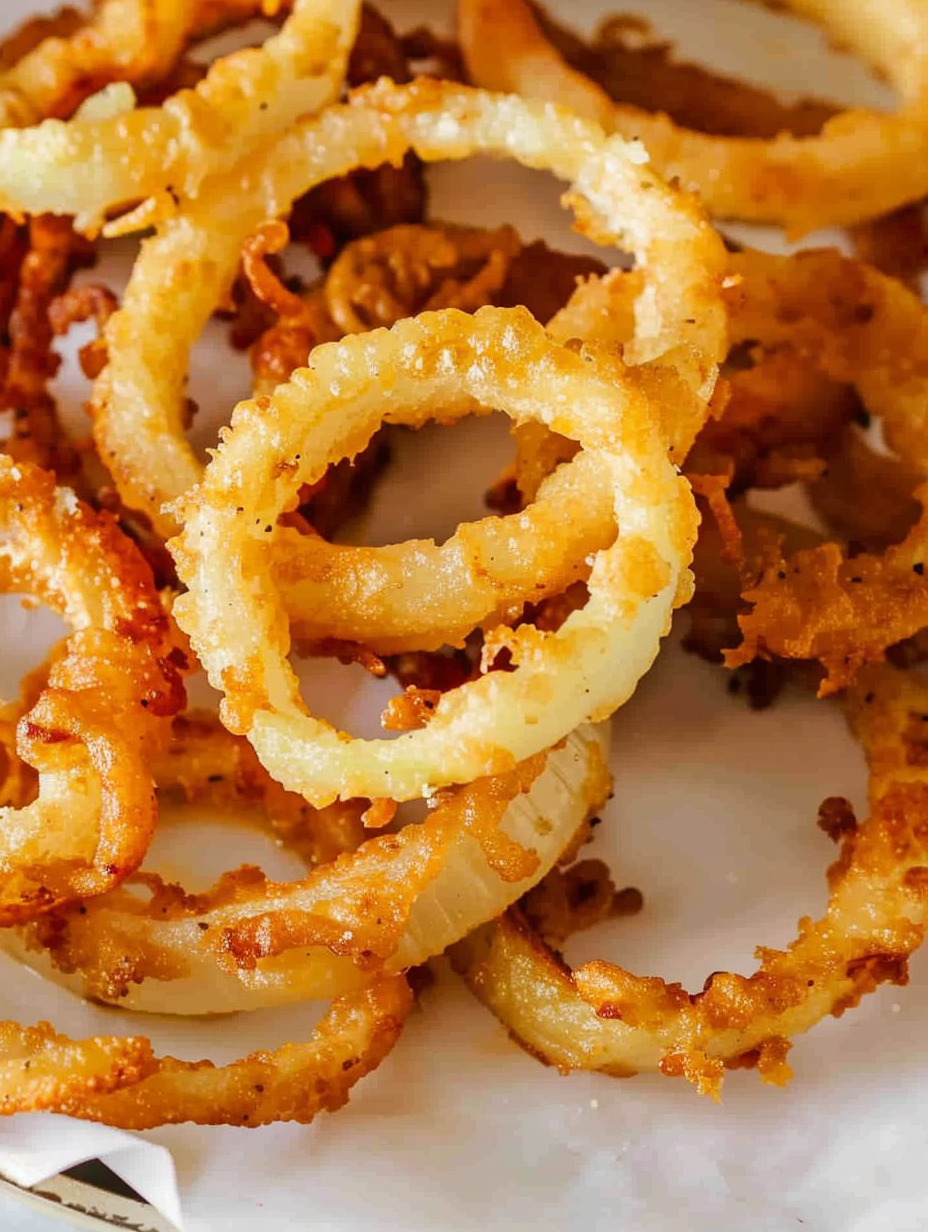
One of my favorite things about this method is how robust the coating is; it survives being stacked on a burger and still crunches. At a summer cookout, guests kept commenting on the perfect texture—crispy outside, silky inside—so the rings became the unofficial snack champion of the night. I also appreciate that the dip can be made days ahead, freeing you up to focus on frying and chatting with friends.
Store leftover rings in a single layer in an airtight container with paper towels to absorb moisture for up to 2 days in the refrigerator. For longer storage, freeze in a single layer on a tray until firm, then transfer to a freezer-safe bag for up to 3 months. Reheat from frozen in a 425°F oven on a wire rack for 8–12 minutes to re-crisp the crust — avoid microwaving, which makes them soggy.
If you need a gluten-free version, substitute a 1-to-1 gluten-free flour blend; expect slightly different browning and a more delicate crust. For dairy-free, replace milk and sour cream with unsweetened plain almond or oat yogurt and a splash of lemon to mimic acidity; the texture will be a touch lighter. Swap smoked paprika or cayenne in the dry mix to add depth or heat if desired.
Serve rings hot with the Awesome Blossom dipping sauce, a simple garlic aioli, or a smoky chipotle mayo. They pair beautifully with grilled burgers, a crisp iceberg wedge, or as part of a party platter with chicken tenders and fries. Garnish with chopped parsley and a lemon wedge for a fresh contrast to the fried crispness.
Onion rings have roots in American diner and fair food traditions where quick frying and handheld portability were prized. Variations exist worldwide — from tempura onion slices in Japan to beer-battered rings in British-style pubs — but the aim is universal: a satisfying crisp exterior paired with the sweetness of cooked onion. This version leans on classic American double-batter techniques to deliver that nostalgic crunch.
In winter, use storage onions and add a pinch of smoked paprika and nutmeg to deepen flavor. For summer, try sweet Vidalias and a lighter dipping sauce with lemon zest and chopped chives to brighten the plate. For holiday gatherings, swap out the dipping sauce for a cranberry-horseradish relish to pair with richer mains.
For entertaining, pre-slice onions and keep them covered in the fridge. Whisk the wet mix and hold it chilled while you work. Partially pre-dredge (one wet and one dry pass) and finish the second dip right before frying so the crust stays fresh. Use an electric fryer with a thermostat for consistent results when cooking large batches.
These onion rings are the kind of simple pleasure that transforms a casual meal into something memorable — they crunch, they comfort, and they bring people to the table. Try the double-batter method once and you’ll see why it’s my go-to for reliably crisp, crowd-pleasing results.
Maintain oil temperature between 350°F and 375°F to prevent greasy or over-browned rings.
Double-dredge each ring to build a sturdy crust that holds up to dipping and stacking on burgers.
Dry the onion rings on paper towels briefly after slicing to help the batter adhere.
Fry in small batches to avoid dropping oil temperature and overcrowding, which causes sogginess.
This nourishing crispy onion rings with awesome blossom dipping sauce recipe is sure to be a staple in your kitchen. Enjoy every moist, high protein slice — it is perfect for breakfast or as a wholesome snack any time.
Keep oil at 375°F for best texture. If oil is too cool the rings soak oil; if too hot they brown before cooking through.
Make the dipping sauce up to 48 hours ahead and store it refrigerated in an airtight container.
This Crispy Onion Rings with Awesome Blossom Dipping Sauce recipe makes perfectly juicy, tender, and flavorful steak every time! Serve with potatoes and a side salad for an unforgettable dinner in under 30 minutes.
Heat oil in a Dutch oven or deep fryer to 375°F. Use a thermometer to monitor temperature so the rings fry evenly and remain crisp.
Whisk 1 cup milk with 1 tablespoon white vinegar and let sit 5 minutes. Whisk in 1/2 cup sour cream until smooth to create a clingy wet mix.
Combine 1 cup all-purpose flour with 1/2 tablespoon salt, 1/4 teaspoon black pepper, and 1 teaspoon garlic powder. Whisk to remove lumps.
Dip each onion ring in the wet mix, dredge in flour, dip again, and dredge a second time. Place finished rings on a plate until ready to fry.
Fry 3-4 double-battered rings at a time at 375°F for about 3 minutes, flipping halfway. Remove when crisp and light golden brown.
Transfer to paper towels to drain and sprinkle with salt while hot. Serve immediately with the dipping sauce or keep warm briefly in a low oven.
Last Step: Please leave a rating and comment letting us know how you liked this recipe! This helps our business to thrive and continue providing free, high-quality recipes for you.
Leave a comment & rating below or tag
@velvetyum on social media!

Tender grilled zucchini rolled with a basil-kissed ricotta filling, nestled in marinara, and baked until the mozzarella bubbles and turns golden.

Golden, garlicky rounds with a deep-fried crunch made lighter in the air fryer. A fast, vitamin-packed side everyone devours.

Tender chicken meatballs simmered in marinara, finished with melted mozzarella and basil for cozy, weeknight Italian comfort in every bite.
Leave a comment & rating below or tag @velvetyum on social media!
Enjoyed this recipe? Share it with friends and family, and don't forget to leave a review!
This recipe looks amazing! Can't wait to try it.
Comments are stored locally in your browser. Server comments are displayed alongside your local comments.

Join to receive our email series which contains a round-up of some of our quick and easy family favorite recipes.
