
>>

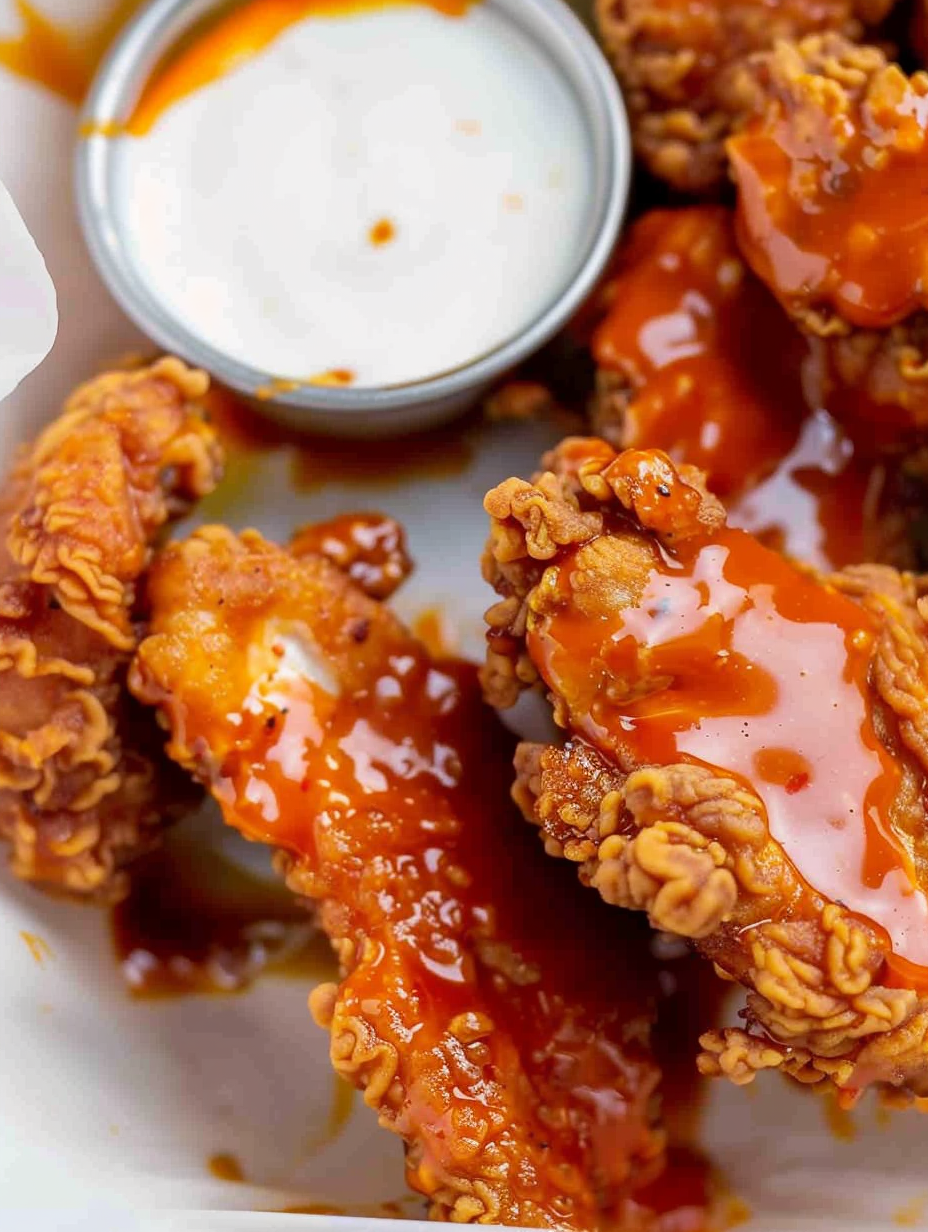
Buttermilk-soaked, double-dredged chicken tenders fried until ultra-crispy and tossed in a homemade Buffalo wing sauce—perfect for game day or weeknight dinners.
This recipe is my go-to when I want something that hits the perfect balance of crunchy, tangy, and a little bit fiery. I discovered this method during a backyard game-day experiment: I wanted tenders with a real crackle to the crust but also the bright, vinegary lift of a classic Buffalo sauce. After a few tweaks—adding a buttermilk soak, a double-dredge, and a simple stovetop sauce—the result became a household favorite that everyone asks for again and again. The texture is the star: crackling exterior, juicy interior, and a saucy finish that clings to every ridge.
I remember the first time I served these to a crowd; friends kept reaching into the platter between bites and someone asked for seconds before they’d finished the first tender. That moment convinced me this method works: the buttermilk tenderizes and adds flavor, the flour-and-egg double coating creates exceptional crispness, and the warm Buffalo sauce turns ordinary tenders into something special. These are perfect for casual entertaining, kid-friendly dinners, or when you’re craving a bar-style snack at home.
On a personal note, this recipe taught me the value of small technique changes: a short buttermilk soak and a second flour coat made an immediate difference. My kids prefer them plain while adults reach for the Buffalo sauce; everyone is happy. It’s become a staple whenever I want something familiar but a bit elevated.
My favorite aspect of this method is how forgiving it is: the buttermilk soak gives a margin for juicy results while the double coat protects the meat during frying. Over the years I've seen guests add the tenders to salads, tacos, or slider buns—all work wonderfully. The sauce is quick to whisk up and can be mellowed with extra melted butter or tightened with more vinegar depending on your taste.
Store leftovers in an airtight container in the refrigerator for up to 3 days. To preserve crunch, place tenders on a baking rack inside the container or separate layers with parchment paper. Reheat in a 375°F oven for 8–10 minutes, flipping halfway, until internal temperature reaches 165°F. For frozen storage, flash-freeze pieces on a tray until firm, then transfer to a freezer bag; reheat from frozen in a 400°F oven for about 12–15 minutes for best texture.
If you don't have buttermilk, make a quick substitute by combining 1 cup milk with 1 tablespoon white vinegar or lemon juice and letting it sit 5 minutes. Swap canola oil for peanut or sunflower if you prefer a higher smoke point. For a gluten-free version, use a one-to-one gluten-free flour blend that contains xanthan gum; note the crust texture will differ slightly. To reduce dairy, use a dairy-free butter alternative in the Buffalo sauce, though flavor and mouthfeel will be milder.
Serve on a large platter with individual dipping bowls of blue cheese and ranch, and celery sticks for crunch. For a heartier option, make sandwiches using soft brioche buns, shredded lettuce, and pickles; drizzle additional sauce for heat. Pair with crisp fries or a simple coleslaw to cut through richness. Garnish with chopped chives or a squeeze of lemon for brightness when serving to guests.
Buffalo sauce originated in Buffalo, New York, and has become a cornerstone of American bar food culture. The original pairing—hot sauce and butter—was revolutionary for its simplicity and balance of heat and richness. This version adapts those classic flavors to hand-cut tenders rather than wings, making it more approachable for family-style meals while preserving the taste profile of the original Buffalo wing tradition.
In summer, serve these with a crisp cucumber salad and lighter dipping sauces to keep the meal fresh. In colder months, add a warm side such as roasted sweet potatoes or corn pudding. For holidays, make a platter of par-fried tenders kept warm in the oven and bring them out in batches—guests love the novelty and the familiar, comforting flavors.
To streamline weeknight dinners, cut and soak tenders the night before. Set up the dredging station and refrigerate the coated pieces on a baking sheet covered with plastic wrap; fry directly from chilled to reduce prep time. For large gatherings, par-fry until pale golden, freeze on trays, then finish at 375°F for 8–10 minutes when ready to serve so everything comes out hot and crisp.
These tenders have become a delicious staple in my rotation—versatile, crowd-pleasing, and reliably crispy. Give the technique a try, tweak the heat to suit your family, and make this one your own.
Pat chicken dry before soaking to prevent excess dilution of the buttermilk and to help the coating adhere.
Keep oil temperature steady at 350°F; use an instant-read thermometer and avoid overcrowding the pot.
Drain fried tenders on a wire rack to preserve crispness and prevent steaming that softens the crust.
If sauce seems too thin, simmer a minute longer to reduce; if too thick, whisk in a teaspoon of hot water at a time.
This nourishing extra-crispy buffalo chicken tenders recipe is sure to be a staple in your kitchen. Enjoy every moist, high protein slice — it is perfect for breakfast or as a wholesome snack any time.
This Extra-Crispy Buffalo Chicken Tenders recipe makes perfectly juicy, tender, and flavorful steak every time! Serve with potatoes and a side salad for an unforgettable dinner in under 30 minutes.
Trim chicken breasts and cut each into four even tenders. Combine tenders with 1 cup buttermilk and 1 teaspoon hot sauce in a bowl, cover, and refrigerate for 30 minutes to tenderize.
Whisk 2 large eggs in one shallow bowl. In another bowl mix 2 cups flour, 2 1/2 teaspoons salt, 3/4 teaspoon pepper, 1/8 teaspoon paprika, 1/8 teaspoon garlic powder, and 1/8 teaspoon baking powder.
Remove tenders from buttermilk, let excess drip, coat in flour, dip in beaten eggs, then return to flour for a second coating. Press flour lightly so it adheres.
Heat 3 inches of canola oil in a Dutch oven to 350°F. Fry tenders in small batches for 5–7 minutes until golden brown and internal temperature is 165°F. Drain on a wire rack.
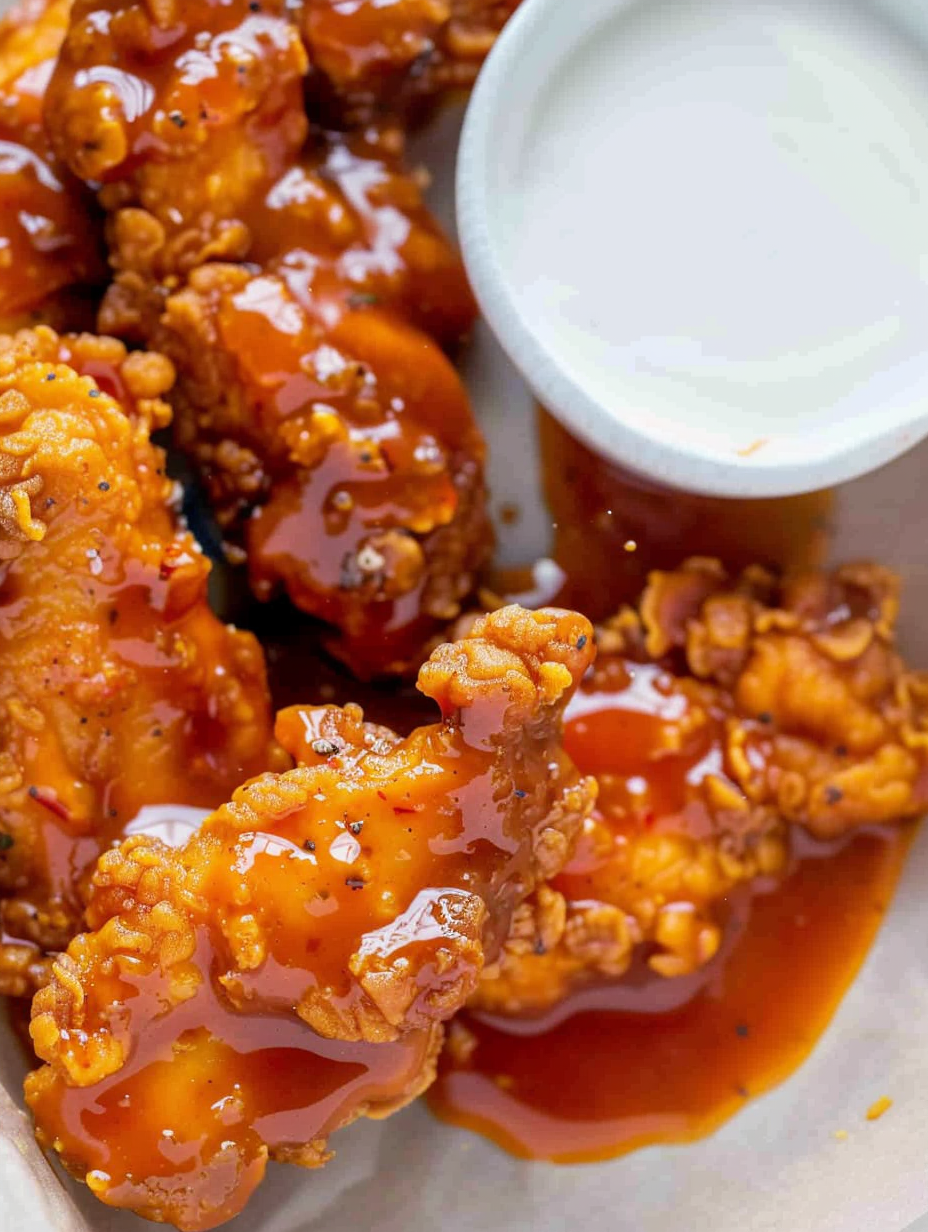
In a small saucepan combine 2/3 cup Frank's RedHot, 1/2 cup unsalted butter, 1 tablespoon white vinegar, and 1/4 teaspoon Worcestershire. Warm and whisk until glossy and slightly reduced.
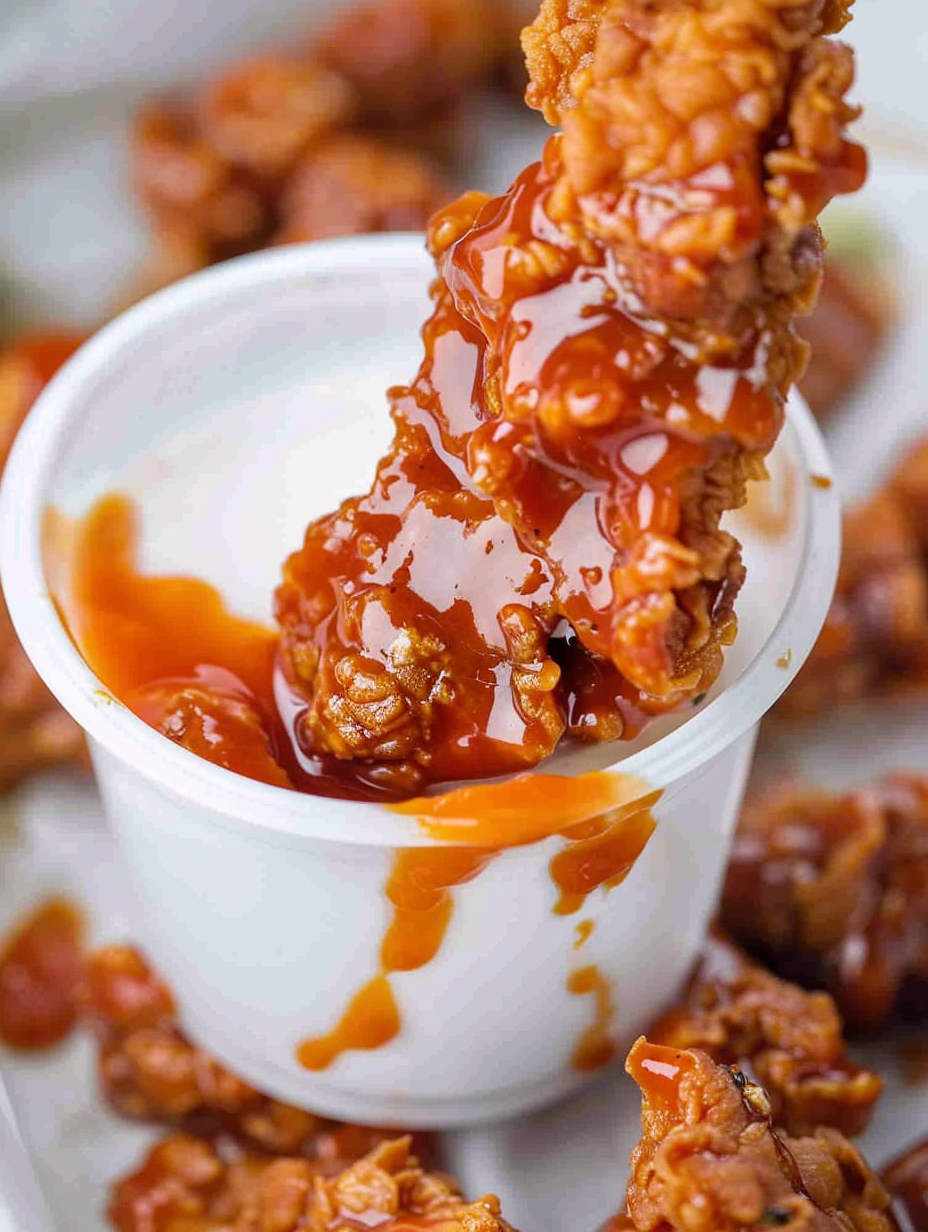
Place hot tenders in a bowl, pour sauce over them, and toss gently to coat. Serve immediately with celery and blue cheese or ranch dip.
Last Step: Please leave a rating and comment letting us know how you liked this recipe! This helps our business to thrive and continue providing free, high-quality recipes for you.
Leave a comment & rating below or tag
@velvetyum on social media!

Tender grilled zucchini rolled with a basil-kissed ricotta filling, nestled in marinara, and baked until the mozzarella bubbles and turns golden.

Golden, garlicky rounds with a deep-fried crunch made lighter in the air fryer. A fast, vitamin-packed side everyone devours.

Tender chicken meatballs simmered in marinara, finished with melted mozzarella and basil for cozy, weeknight Italian comfort in every bite.
Leave a comment & rating below or tag @velvetyum on social media!
Enjoyed this recipe? Share it with friends and family, and don't forget to leave a review!
This recipe looks amazing! Can't wait to try it.
Comments are stored locally in your browser. Server comments are displayed alongside your local comments.

Join to receive our email series which contains a round-up of some of our quick and easy family favorite recipes.
