
Fun, portable Halloween apple pops dipped in dark cocoa and orange chocolate, decorated with sprinkles — a kid-friendly holiday treat ready in under 35 minutes.
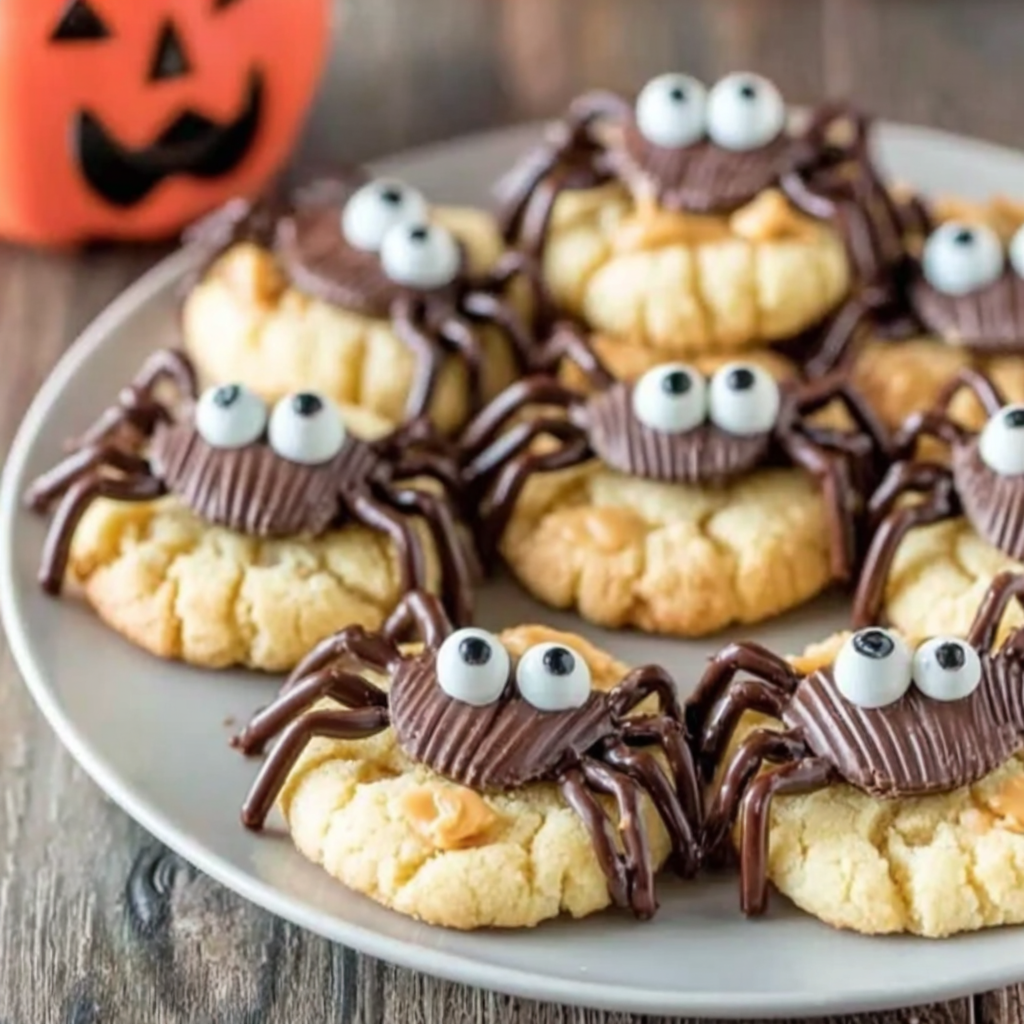
This Halloween chocolate covered apple pop idea started as a way to keep treats simple, tidy, and a little less sticky for small hands at a neighborhood party. I discovered the combination on a cool October afternoon when I wanted to serve something festive that still felt like fruit. The first tray I made disappeared in less than ten minutes, and the kids loved the pops so much they asked to help with the chocolate and sprinkles. What makes these pops special is the contrast between the crisp, tart apple and the sweet, glossy chocolate coating. The dark cocoa wafer gives a nearly bittersweet backbone while the orange melting wafers add bright color and seasonal flair.
Because they are served on sticks, these apple slices are much easier to pass around at gatherings and perfect for little fingers at a classroom party where sticky hands can be a problem. I created a quick technique to keep the slices sturdy enough for a stick and to achieve a clean, professional-looking coating without drips. The result is a crunchy, slightly tart bite wrapped in chocolate that sets quickly and stores well for several hours if you need to prep them ahead. These are one of my favorite last-minute holiday projects that still look like you spent the afternoon crafting something special.
In my experience this little project brings guests together: when I set out bowls of orange and dark chocolate with trays of apple slices, everyone drifts to the table. The mixture of kids and adults at my last Halloween gathering produced a dozen decorative ideas I had not thought of — candy corn borders, crushed Oreo “spooky soil,” and tiny edible eyes. It is an easy way to produce a festive centerpiece that doubles as dessert.
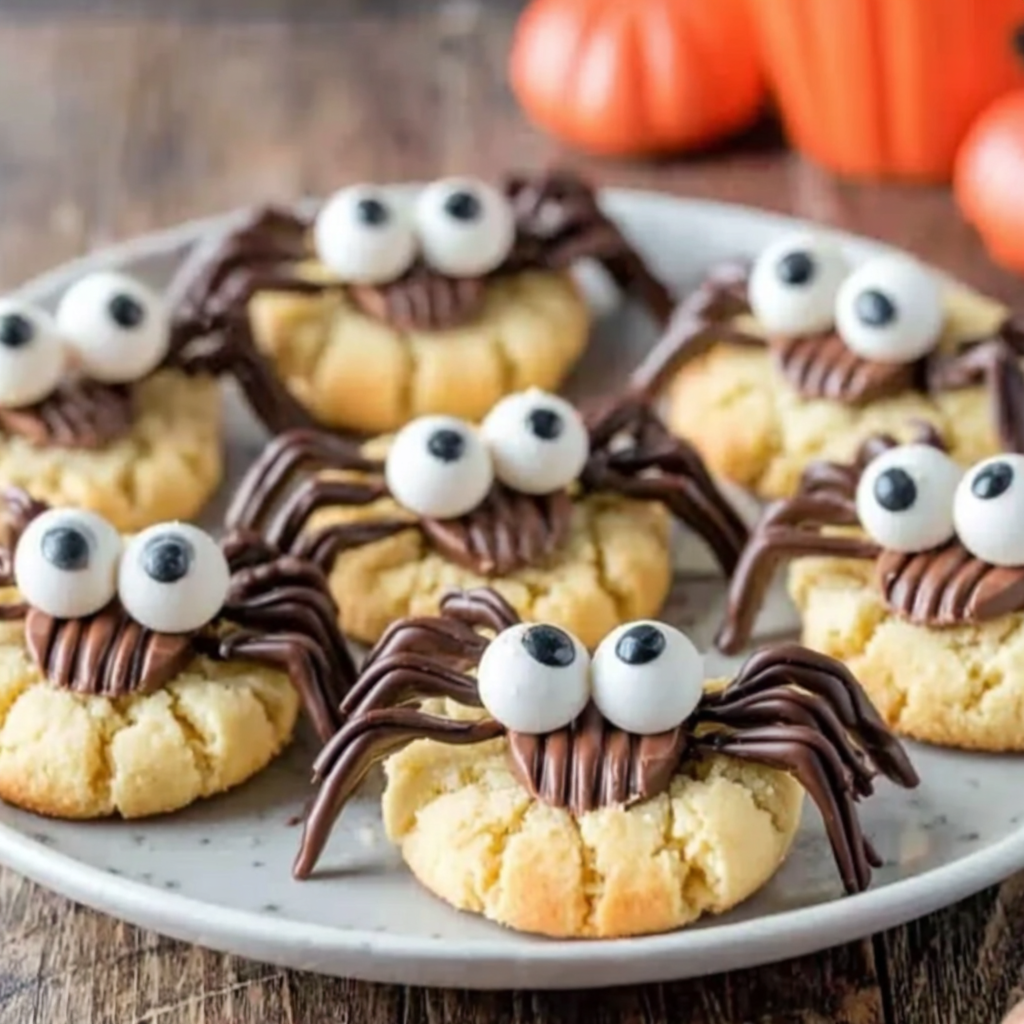
My favorite aspect is the way the pops bring a crowd together. At my last Halloween gathering the kids lined up at the table like it was a tiny artisan shop and took pride in their decorated work. Adults got nostalgic and experimented with bold sprinkle combinations. The quick set time allowed me to refresh trays between trick or treaters so the display always looked full and tempting.
Store finished pops in a single layer on a parchment-lined tray covered loosely with plastic wrap in the refrigerator for up to 24 hours. Avoid stacking coated pops directly on one another as decorations can stick and damage the finish. If you need to hold them longer, freeze laid flat for up to 3 months in an airtight container separating layers with parchment. Thaw in the refrigerator for 30 minutes before serving to avoid condensation on the chocolate surface. For short holds, keep them at cool room temperature away from direct sun and warm lights.
If you prefer, substitute semi-sweet chocolate chips plus a teaspoon of coconut oil for each 2 ounces of wafers and temper carefully; the result will taste richer but may take longer to set. For a dairy-free version use certified dairy-free melting wafers or compound chocolate labeled vegan. Swap Granny Smiths for Pink Lady or Honeycrisp if you prefer a sweeter interior; increase the thickness of the slices slightly to maintain a sturdy pop with sweeter apples. White wafers with orange oil-based food coloring also work when orange wafers are unavailable.
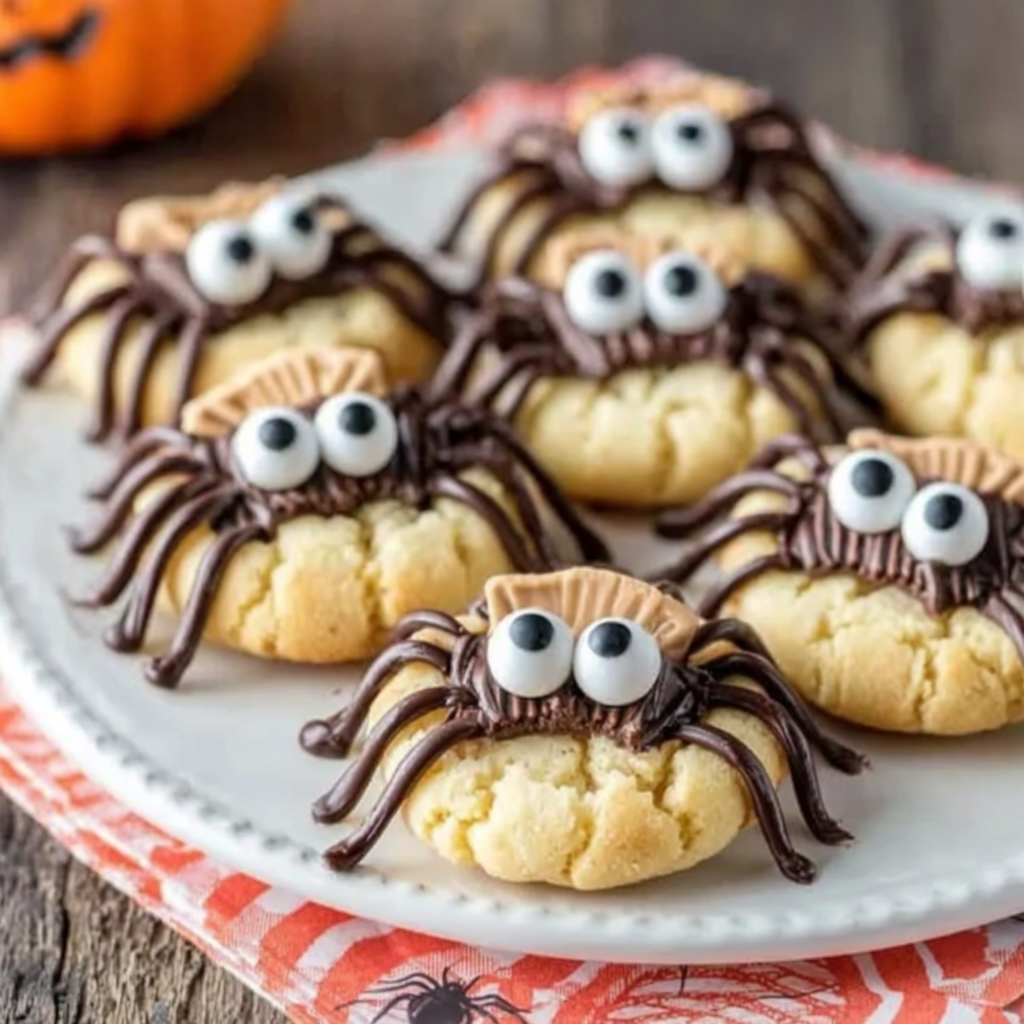
Present pops upright in a shallow tray filled with sugar, crushed cookies, or decorative paper filler so they stand like a little forest of treats. Pair with a warm caramel dip or small ramekins of extra melted chocolate for dunking, and arrange a platter of whole seasonal fruits and candy for color contrast. These pops also fit nicely into individual cello bags tied with ribbon for party favors. Garnish with edible eyes for a spooky effect or dust with edible glitter to make them shine on a dessert table.
Chocolate-dipped fruit has a long history as a simple luxury: from chocolate-covered strawberries to candied fruits, the combination of fruit and chocolate draws on the complementary balance of sweet and tart across many cuisines. Apples have been associated with harvest celebrations in American culture and pairing them with chocolate for Halloween is a modern twist on older autumn traditions of caramel apples. Turning slices into pops is an evolution designed for convenience and family fun, staying true to the seasonal spirit while reducing the mess of traditional whole dipped apples.
For autumn variations try swapping orange wafers for caramel-colored melts and sprinkle with toasted pecans for a rustic version. For winter holidays use red and green wafers or white chocolate with crushed peppermint. In spring, pastel colors and edible flower petals create a bright option. Adjust decorations to suit the event: metallic sprinkles for elegant parties or candy eyes for kid-focused gatherings. Changing the wafer color and sprinkle type instantly alters the mood without changing the core technique.
Prep apple slices and insert sticks up to three hours before coating; keep them in a bowl of lightly acidulated water (1 tablespoon lemon juice per quart of water) to prevent browning, then pat dry thoroughly before dipping. Melt wafers just before you begin to maintain smooth viscosity. Set up an assembly line with bowls for coating, a spoon for drizzling, and sprinkles in shallow dishes so multiple decorators can work together. Clean-up is minimal: warm water dissolves excess melted wafers from bowls and spoons if washed promptly.
These chocolate covered apple pops are a small project with a big payoff: they look festive, are easy to share, and invite creativity from guests. Make a double batch for larger groups, keep a few extras chilled for later, and most of all enjoy the laughter that comes from a craft-style dessert everyone can personalize.
Dry apple slices thoroughly before dipping to help chocolate adhere and prevent slipping.
Use 50 percent microwave power and small increments when melting wafers to avoid scorching.
Apply sprinkles immediately after dipping while the chocolate is still wet so they stick.
This nourishing halloween chocolate covered apple pops recipe is sure to be a staple in your kitchen. Enjoy every moist, high protein slice — it is perfect for breakfast or as a wholesome snack any time.
Yes. Use a small paring knife to remove the core, then slice each apple into quarters and push the stick into the center of each slice.
Place finished pops on a parchment-lined tray in a single layer and refrigerate for up to 24 hours. For longer storage, freeze layered with parchment up to 3 months.
Recipe data validation failed
Please check the recipe data format. See console for details.
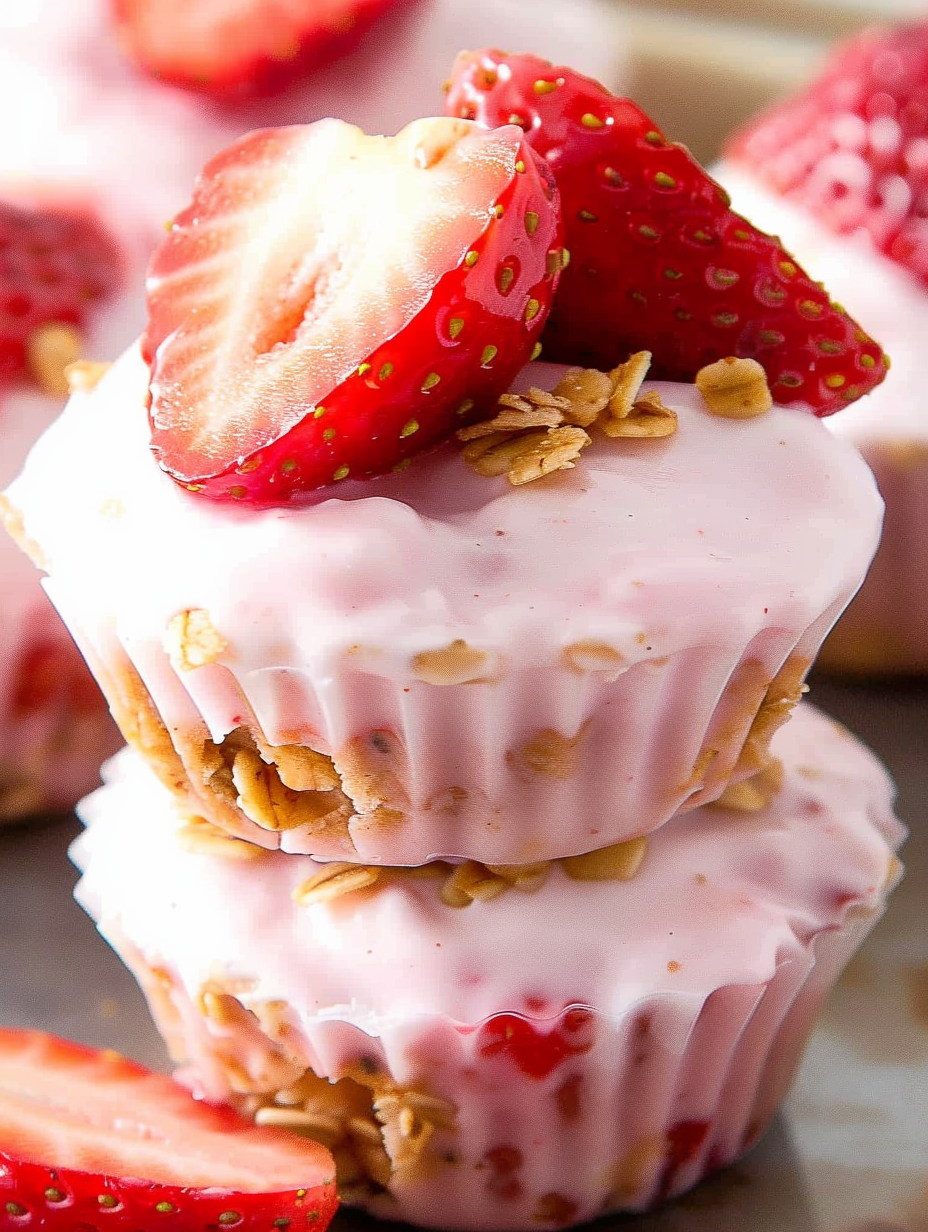
Fresh strawberries, creamy vanilla yogurt, and crunchy granola come together in these portable frozen bites. A simple three ingredient snack that is perfect for breakfast, lunch boxes, or an icy treat.

A cozy, 30-minute chickpea and tomato coconut curry soup made with pantry staples — creamy, vibrant, and naturally vegan and gluten free.
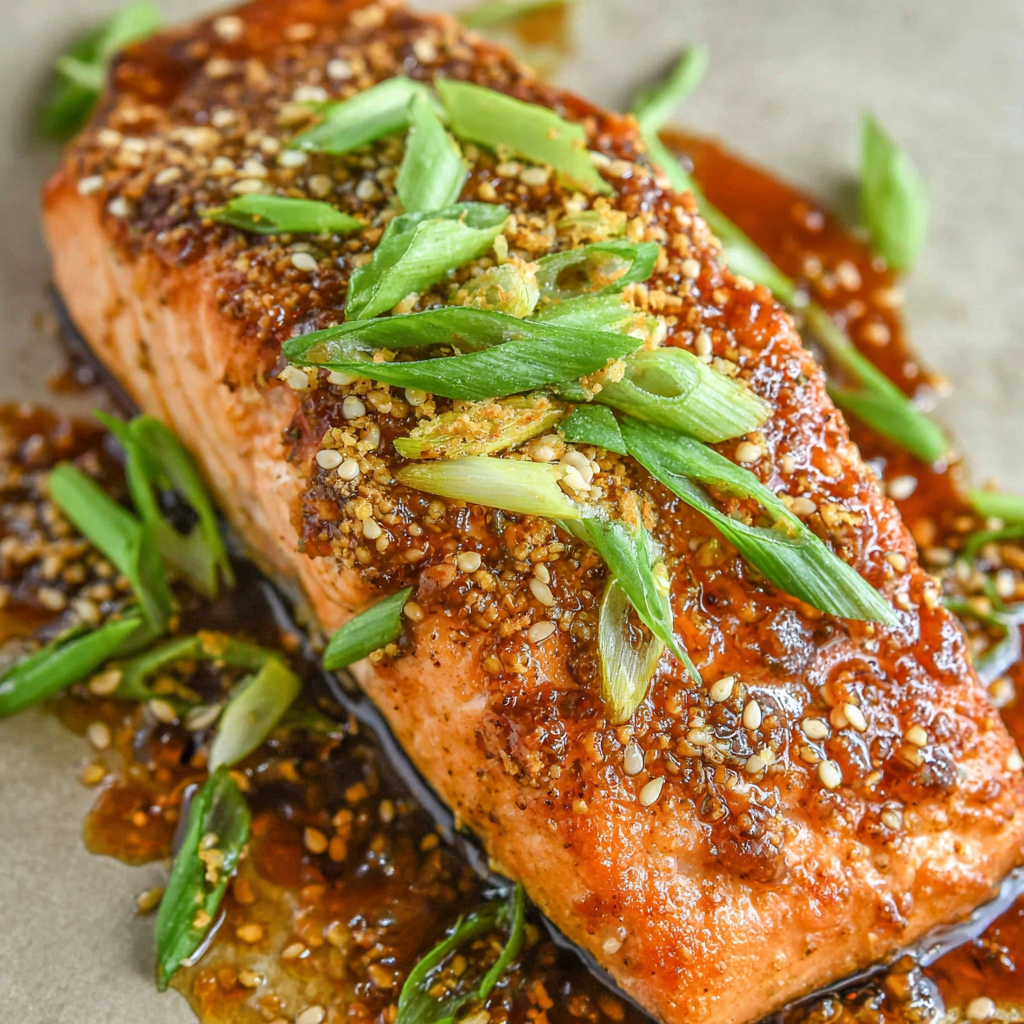
A quick, pantry-friendly garlic-ginger glazed salmon that’s gluten free, soy free (when using coconut aminos), and naturally sweetened with honey — ready in 30 minutes and perfect for weeknight dinners.

Leave a comment & rating below or tag @velvetyum on social media!
Enjoyed this recipe? Share it with friends and family, and don't forget to leave a review!
This recipe looks amazing! Can't wait to try it.
Comments are stored locally in your browser. Server comments are displayed alongside your local comments.
Join to receive our email series which contains a round-up of some of our quick and easy family favorite recipes.