
No-Bake Cherry Cheesecake Jars

Silky no-bake cheesecake set in individual jars with a buttery graham crust and bright cherry topping — simple, make-ahead, and crowd-pleasing.
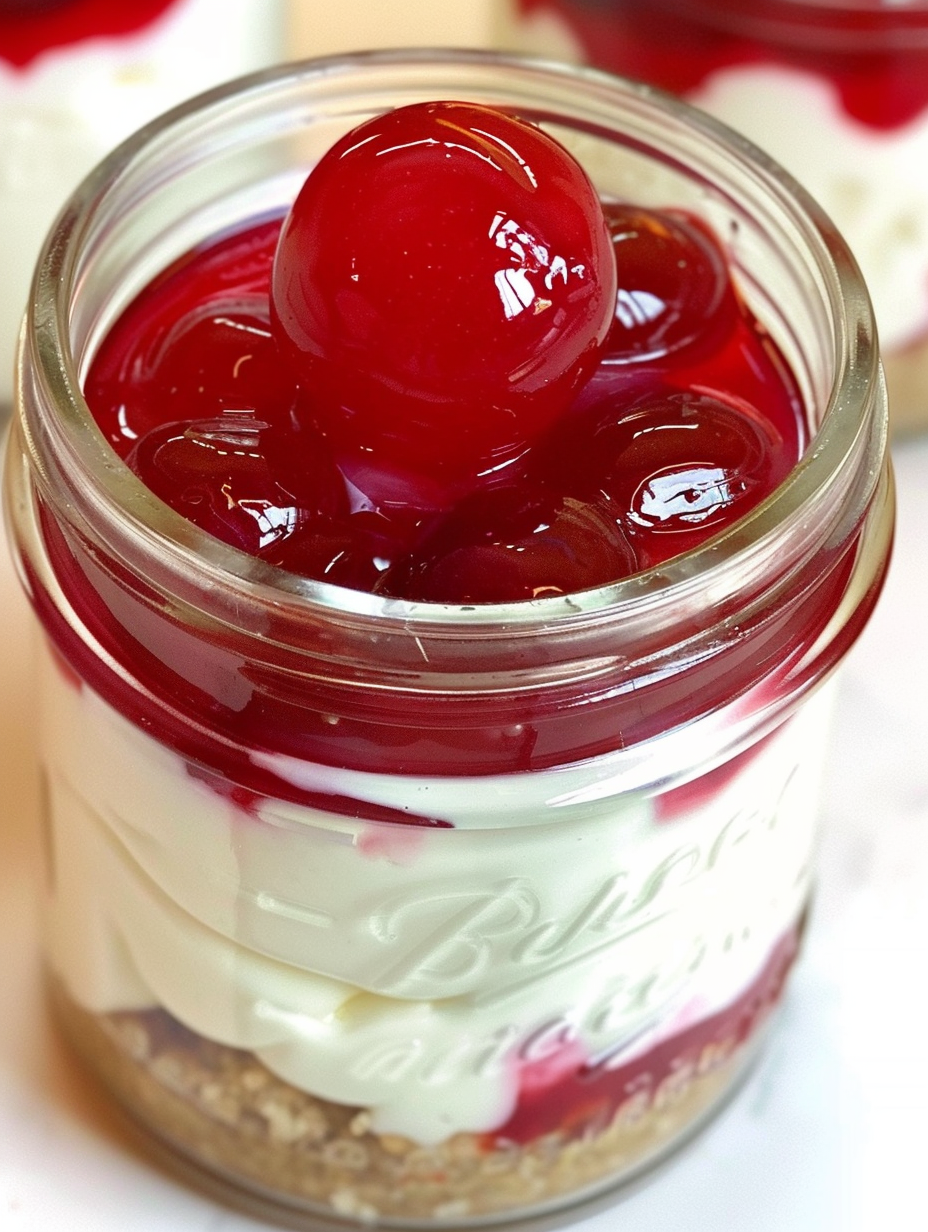
This no-bake cherry cheesecake has been a staple for summer gatherings and last-minute celebrations at my house for years. I first put it together one humid July when the oven felt unbearable and a friend brought a jar of cherry pie filling that begged for company. The result — cool, tangy, and creamy layers in a portable jar — became an instant favorite. Texturally, the firm but tender cream cheese filling plays against the crisp, buttery crumb and the glossy, tart-sweet cherries on top. Every spoonful delivers familiar comfort with a grown-up lift from lemon juice and vanilla.
I love that this version is flexible: it scales easily, requires minimal equipment, and travels well. I typically assemble a batch in under 20 minutes and let the refrigerator do the rest. The jars keep portions tidy for picnics or for gifting to neighbors, and picky eaters often eat the cherries first and return for the filling. The bright cherry topping and the buttery crust make it a nostalgic treat, while the no-bake method keeps the kitchen cool and stress minimal.
Why You'll Love This Recipe
- Quick to assemble — about 20 minutes of active time and a 2 to 3 hour chill for set-up, perfect for last-minute plans.
- Uses pantry staples: graham crumbs, sweetened condensed milk, cream cheese, lemon, and a can of cherry pie filling.
- No oven needed, so it’s ideal for hot weather, dorm cooking, or when you don’t want to heat the house.
- Portion-controlled jars make it great for parties, gifting, and easy storage; you can make ahead and refrigerate for days.
- Flavor balance: sweet condensed milk and cherry topping offset the tang of lemon and cream cheese for a velvety finish.
- Customizable — swap berries, use different crusts, or layer with fruit compote for variety.
I still remember the first time I took a tray of these to a neighborhood potluck: the jar lids came off like little presents, and several people asked for the steps before they even finished the last spoonful. Over the years I refined the lemon measure and settled on 1/3 cup of fresh juice to give the filling a clean lift without curdling the condensed milk. It’s one of those small tweaks that makes the texture both airy and stable.
Ingredients
- Graham cracker crumbs: 1 to 1 1/2 cups finely ground crumbs. I use store-bought crumbs for convenience or pulse one full stack of graham crackers in a food processor until sandy. Choose original or honey graham for a slightly sweeter crust. The crumbs give a crisp base that contrasts with the creamy filling.
- White sugar: 1/3 cup. This small amount helps bind the crumbs and amplifies the buttery flavor of the crust; use granulated sugar for texture and balance.
- Melted butter: 6 tablespoons. Unsalted butter melted and cooled slightly binds the crumbs and delivers that rich, toasty flavor; if using salted butter, omit any extra salt in the filling.
- Philadelphia cream cheese: 1 package (8 ounces), softened. Full-fat gives the best mouthfeel and stability. Let it soften at room temperature for 30 minutes for the smoothest blend.
- Sweetened condensed milk: 1 can (14 ounces). This is the sweetener and stabilizer; it blends seamlessly into the softened cheese to create a silky filling without adding eggs or gelatin.
- Lemon juice: 1/3 cup freshly squeezed. Fresh lemon brightens and sets the filling slightly; avoid bottled juice for the brightest flavor.
- Vanilla extract: 1 teaspoon. Pure vanilla elevates the creamy base and pairs beautifully with cherries.
- Cherry pie filling: 1 can (about 21 ounces). Use a high-quality brand or homemade cherry compote if available; the glossy fruit topping finishes each jar with color and burstiness.
Instructions
Prepare the crust: In a medium bowl or in a stand mixer, combine 1 1/4 cups graham cracker crumbs with 1/3 cup white sugar and 6 tablespoons melted butter. Stir until the mixture holds together when pressed — the texture should be sandy but cohesive. Adjust crumb amount between 1 cup and 1 1/2 cups depending on desired crust thickness. Press crust into jars: Place approximately 2 to 3 heaping tablespoons of the crumb mixture into each jar or container, then press firmly and evenly into the bottom using the back of a spoon or a small measuring cup. The base should be compacted but not overly hard. Refrigerate the jars for about 1 hour to firm the crust and chill the base. Whip the cream cheese: Beat 8 ounces softened cream cheese on medium-high speed until fluffy and light, about 2 to 3 minutes. Scrape the bowl frequently to avoid lumps; the goal is a smooth, airy texture that will incorporate the condensed milk easily. Incorporate condensed milk: Gradually add the 14-ounce can of sweetened condensed milk in a slow, steady stream while beating on low to medium speed. Stop and scrape the bowl as needed. Beat until fully combined and glossy — take care not to overmix once combined, to preserve silkiness. Finish the filling: Add 1/3 cup fresh lemon juice and 1 teaspoon vanilla extract, then beat briefly until everything is homogenous. The lemon will slightly firm the mixture; if you see any separation, continue beating gently until smooth. Assemble and chill: Spoon the filling over the chilled crusts in each jar, smoothing the tops. Refrigerate the assembled jars for approximately 2 to 3 hours, or until the filling is set and chilled through. For best texture, refrigerate overnight. Top and serve: Just before serving, spoon cherry pie filling over each jar to taste. If preparing for travel, add the topping and seal with lids, then keep chilled until serving.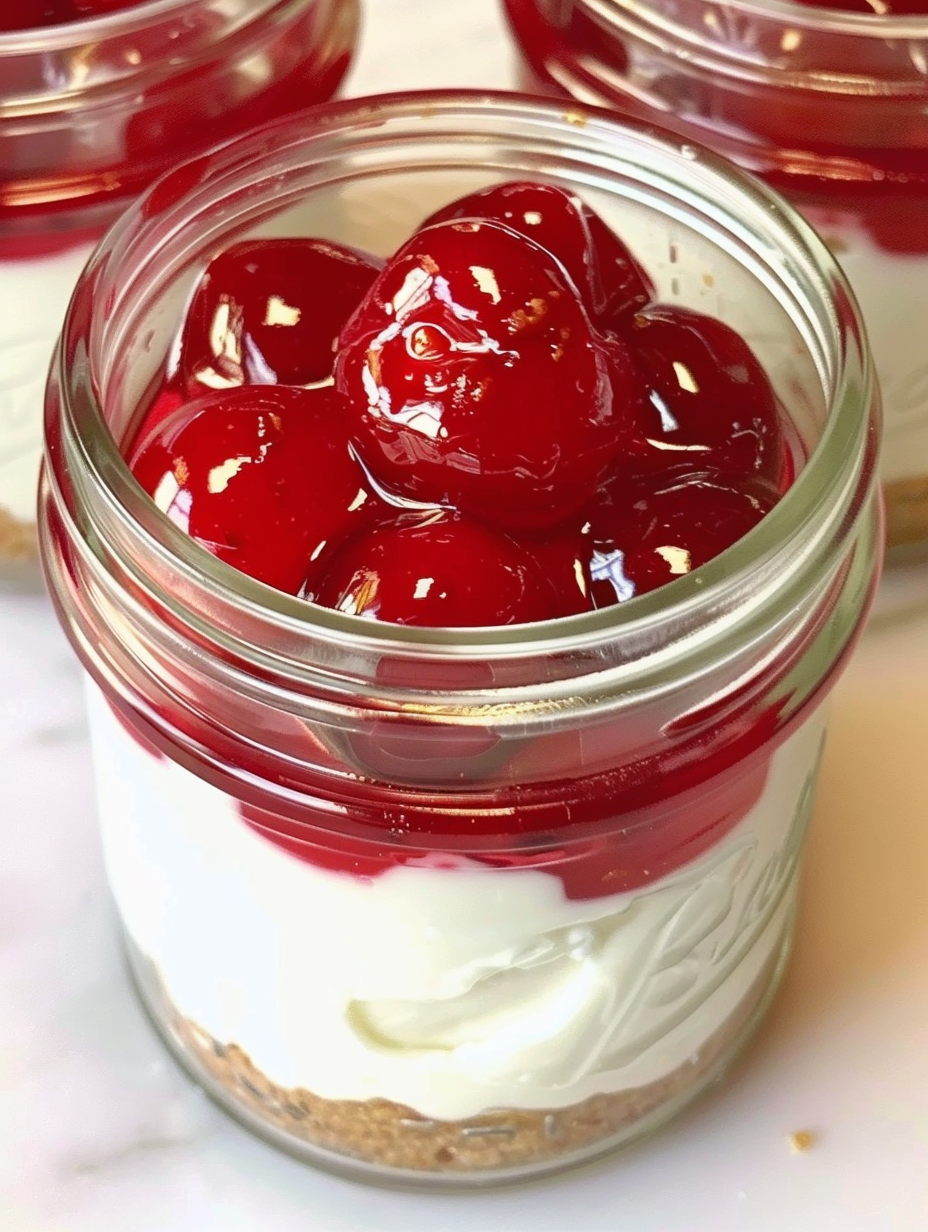
You Must Know
- These jars keep well in the refrigerator for up to 5 days; the crust softens over time but the flavor remains excellent.
- Freeze assembled jars without topping for up to 2 months; thaw overnight in the refrigerator before adding cherries.
- High in calcium and decadent in calories — the condensed milk and cream cheese contribute richness and energy per serving.
- Suitable for quick entertaining: make ahead the day before and top with cherries just before serving for the freshest appearance.
- For a lighter version, use low-fat cream cheese and a reduced-sugar crumb, but expect a softer texture.
My favorite aspect of this dessert is how small variations completely change the personality: a splash of almond extract brings a marzipan edge; swapping cherries for blueberry compote gives it a summery brightness. I’ve handed these jars out at block parties and used them for bridal showers — they’re reliably well-received because they look pretty and taste indulgent without fuss.
Storage Tips
Keep completed jars refrigerated in an airtight container or sealed with lids. Stored this way, they maintain texture for roughly 4 to 5 days; the crust will gradually soften as it absorbs moisture from the filling. For longer storage, omit the cherry topping and freeze jars upright for up to 2 months. Thaw in the refrigerator overnight, then add the topping before serving. Use glass jars or BPA-free plastic with tight seals to protect flavors and prevent odors from the fridge. When reheating is desired, let the jar sit at room temperature for 10 to 15 minutes to soften slightly — avoid microwaving sealed containers.
Ingredient Substitutions
If graham crumbs are unavailable, substitute crushed digestive biscuits or vanilla wafer crumbs at a 1:1 ratio. For a gluten-free option, use certified gluten-free crackers or almond flour; increase melted butter slightly to help bind the finer crumb. Replace sweetened condensed milk with a combination of 1 cup full-fat evaporated milk plus 1/2 cup sugar simmered until slightly thickened, but recognize the texture will be less dense. To make it lactose-free, use lactose-free cream cheese and evaporated milk substitute — expect a slightly different mouthfeel. For a tangier filling, increase lemon juice by 1 tablespoon, but don’t exceed 1/2 cup total or the filling may become looser.

Serving Suggestions
Serve chilled directly from the jar with a small dessert spoon. Garnish with a sprig of fresh mint, a dusting of finely grated lemon zest, or a crumble of extra graham crackers for contrast. These jars pair beautifully with black coffee or a semi-sweet sparkling wine for an elegant finish. For larger gatherings, arrange the jars on a tray with decorative doilies and small spoons. For a brunch twist, offer a topping bar with chopped nuts, toasted coconut, or dark chocolate shavings so guests can customize.
Cultural Background
No-bake cheesecakes are an American adaptation of classic European cheesecakes that traditionally bake with eggs and a water bath. The condensed-milk method simplifies the process and became popular in mid-20th century home cooking when convenience ingredients were embraced. Serving desserts in jars has roots in rustic European picnics and was revived recently as a contemporary presentation trend — portable, charming, and eco-friendly when using reusable jars.
Seasonal Adaptations
In summer, replace cherry topping with macerated fresh berries and a touch of lemon zest. For autumn, swap cherries for spiced apple compote and add a pinch of cinnamon to the crumbs. Holiday versions benefit from a cran-apple topping with orange zest and a splash of brandy. For Valentine’s Day, use dark chocolate shavings and switch to raspberries for a romantic color palette. The base filling is a great canvas for seasonal flavors without altering technique.
Meal Prep Tips
To meal-prep, assemble crusts and store them covered in the refrigerator for up to 24 hours before adding filling. Mix the filling in one large bowl and portion into jars to save time. Label jars with the assembly date and intended serving date. If transporting, pack jars in a cooler with ice packs and add the cherry topping on arrival to prevent leakage during transit. For office treats, prepare two or three days ahead and keep refrigerated until ready to gift.
These little jars are a reminder that uncomplicated techniques and a few good ingredients can make a memorable dessert. Whether you’re feeding a crowd or treating yourself, this no-bake cherry cheesecake delivers charm, convenience, and comforting flavors that invite sharing.
Pro Tips
Soften cream cheese at room temperature for about 30 minutes for a lump-free filling.
Press crusts firmly and chill before adding filling to prevent sogginess.
Always add lemon juice gradually — it firms the filling and brightens flavor without curdling.
This nourishing no-bake cherry cheesecake jars recipe is sure to be a staple in your kitchen. Enjoy every moist, high protein slice — it is perfect for breakfast or as a wholesome snack any time.
FAQs about Recipes
Can I freeze these?
Yes. Store assembled jars without the cherry topping in the freezer for up to 2 months. Thaw overnight in the refrigerator and add topping before serving.
How long does it take to set?
Aim for 20 minutes active mixing and 2 to 3 hours chill time; overnight refrigeration yields the best texture.
Tags
No-Bake Cherry Cheesecake Jars
This No-Bake Cherry Cheesecake Jars recipe makes perfectly juicy, tender, and flavorful steak every time! Serve with potatoes and a side salad for an unforgettable dinner in under 30 minutes.
Ingredients
Crust
Filling
Topping
Instructions
Combine crust ingredients
In a medium bowl or stand mixer, mix graham crumbs, white sugar, and melted butter until the mixture holds together when pressed. Adjust crumbs to reach desired thickness.
Press crust into jars
Divide the crumb mixture and press approximately 2 to 3 heaping tablespoons into the bottom of each jar. Refrigerate for about 1 hour to firm the crust.
Beat cream cheese
Beat softened cream cheese on medium-high speed until fluffy and smooth, about 2 to 3 minutes, scraping the bowl as needed to avoid lumps.
Add condensed milk
Gradually add the sweetened condensed milk to the whipped cream cheese while mixing on low to medium speed until fully incorporated and glossy.
Add lemon and vanilla
Add fresh lemon juice and vanilla extract, then beat briefly until evenly combined and smooth. The lemon will slightly firm the filling.
Assemble and chill
Spoon the filling over the chilled crusts in jars, smooth the tops, and refrigerate for 2 to 3 hours or until set. Top with cherry pie filling before serving.
Last Step: Please leave a rating and comment letting us know how you liked this recipe! This helps our business to thrive and continue providing free, high-quality recipes for you.
Nutrition
Did You Make This?
Leave a comment & rating below or tag
@velvetyum on social media!
Categories:
You might also like...

Cheesy Zucchini Rollatini
Tender grilled zucchini rolled with a basil-kissed ricotta filling, nestled in marinara, and baked until the mozzarella bubbles and turns golden.

Crispy Zucchini and Squash
Golden, garlicky rounds with a deep-fried crunch made lighter in the air fryer. A fast, vitamin-packed side everyone devours.

Chicken Parmesan Meatballs
Tender chicken meatballs simmered in marinara, finished with melted mozzarella and basil for cozy, weeknight Italian comfort in every bite.
Did You Make This?
Leave a comment & rating below or tag @velvetyum on social media!
Rate This Recipe
Share This Recipe
Enjoyed this recipe? Share it with friends and family, and don't forget to leave a review!
Comments (1)
This recipe looks amazing! Can't wait to try it.
Comments are stored locally in your browser. Server comments are displayed alongside your local comments.

Hi, I'm Emma!
What's Popular

30-Minute Meals!
Join to receive our email series which contains a round-up of some of our quick and easy family favorite recipes.