
>>

Fudgy, chewy, and glossy-topped brownies made in a single bowl—no mixer, no fuss. Your new go-to homemade treat inspired by Two Peas and Their Pod.
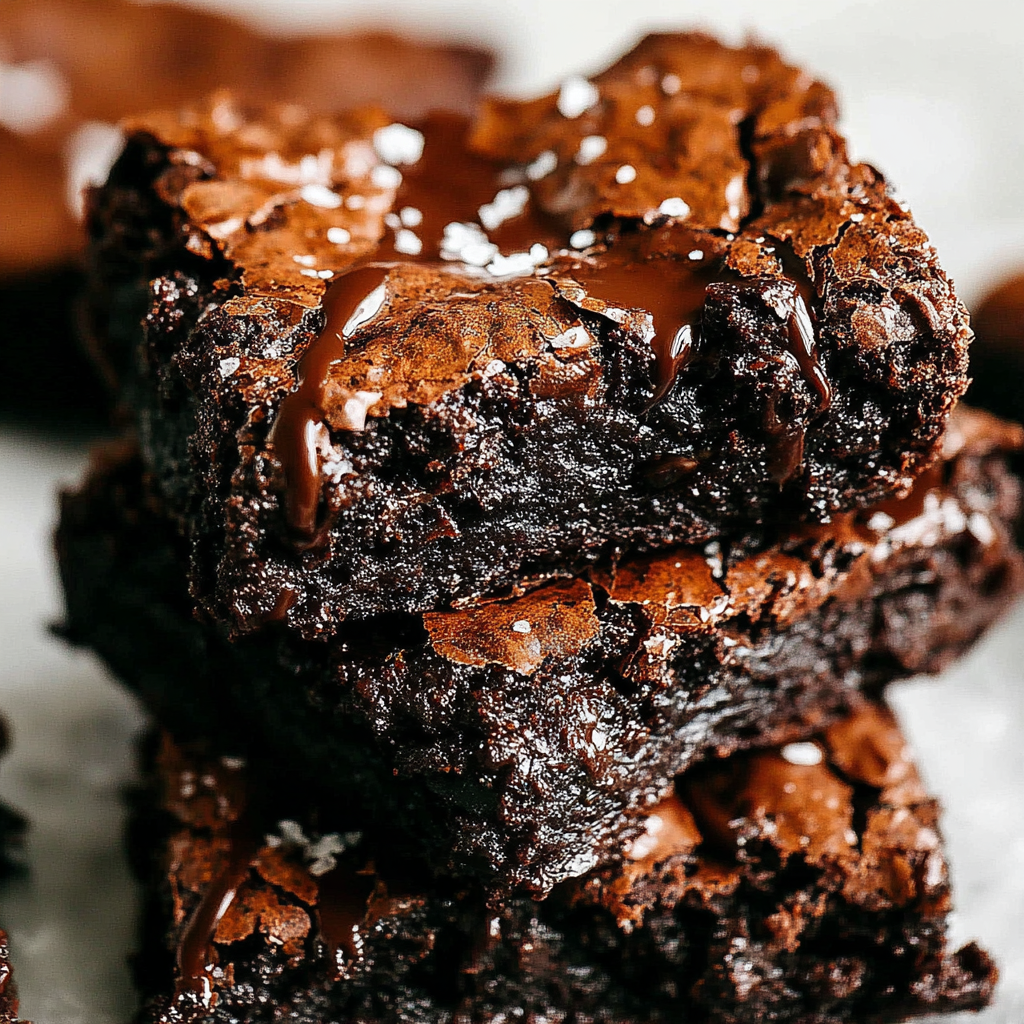
This is my go-to fudgy brownie that somehow always produces the perfect shiny crackle top and chewy, gooey interior. I first discovered this one-bowl method on Two Peas and Their Pod years ago during a weekend baking binge when I wanted something indulgent but simple enough to make between errands. The technique is deceptively straightforward: melted butter, sugars, eggs, and chocolate come together in one bowl to create a batter that's rich and glossy. The result is an intensely chocolatey square that delivers crisp edges and a tender middle every single time.
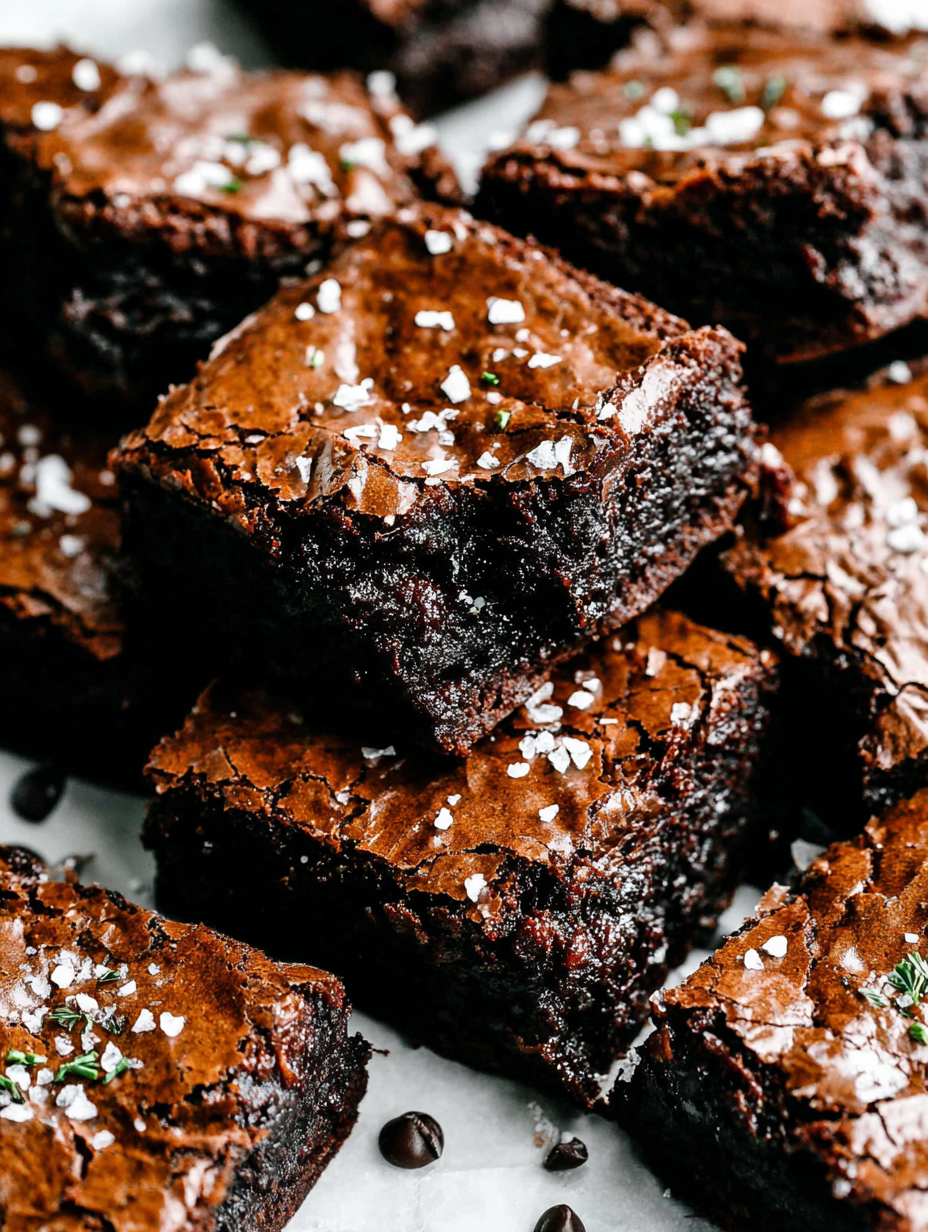
The memory that sticks is baking a full 9x13 pan for a housewarming party; guests kept asking if I had used a mix. When I said no, they were surprised—these brownies taste like they took much longer and more fuss than they actually did. They are perfect for holidays, potlucks, or those evenings when you need a comforting treat fast. This version stays true to the original: dark cocoa and chopped chocolate for texture, an optional kiss of espresso for depth, and a sprinkle of flaky sea salt to balance the sweetness. It’s reliable, forgiving, and endlessly adaptable.
In my kitchen this has replaced the boxed mix. Friends who have tried these often request the recipe, and I love that a single bowl delivers such consistently delicious results. It’s become a staple whenever I want to impress without the fuss.
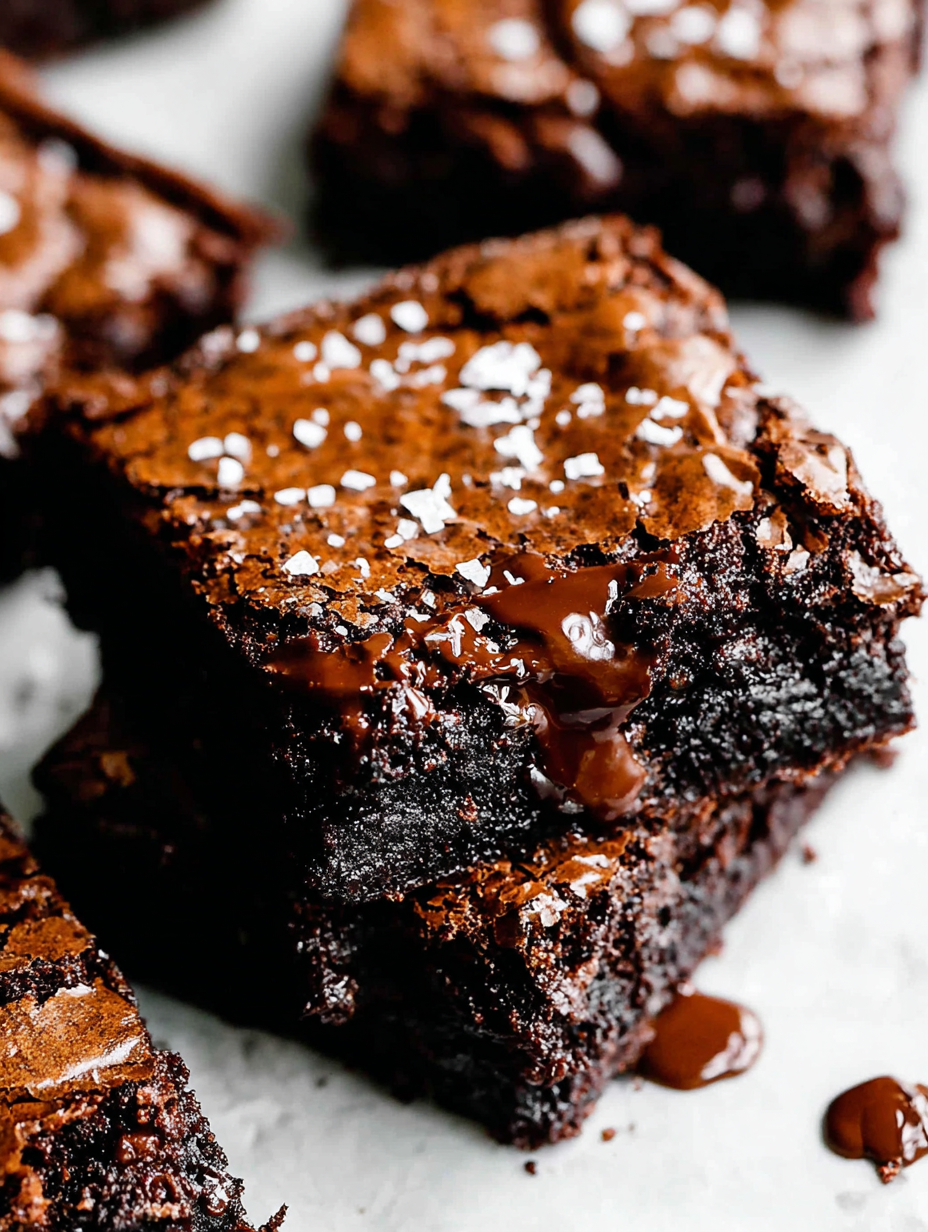
My favorite part is how a single technique—melting the butter and whisking with sugar—yields such a classic texture that rivals bakery brownies. Friends often comment on the glossy top and ask how I get that custardy-like interior. It’s simple science and technique, and once you get the timing right, results are consistent. This combination has made these brownies a repeat request at family gatherings.
Store cooled brownies in a single layer in an airtight container at room temperature for up to four days. If you need to keep them longer, freeze in a resealable freezer bag or wrapped tightly in plastic wrap and foil for up to three months. Thaw at room temperature for a couple hours before serving. For the crispiest edges, leave slices uncovered for 15 minutes after thawing; for a softer bite, reheat briefly in a 325°F oven for 5–7 minutes.
If you don’t have Dutch-processed cocoa, use natural unsweetened cocoa and add 1/4 teaspoon baking soda to balance acidity—expect a slightly tangier chocolate flavor. Swap unsalted butter for salted by omitting or reducing the added kosher salt. To make a nut-free version, ensure your chopped chocolate is processed in a nut-free facility. For a lighter chew, replace 1/4 cup of flour with almond flour, noting the texture will be slightly different and richer.
Serve warm squares with a scoop of vanilla ice cream and a drizzle of warm caramel for an elevated dessert. For a simple presentation, dust with cocoa or sprinkle flaky sea salt to highlight the chocolate. These work beautifully on dessert platters alongside fruit or whipped cream for contrast. Cut into smaller bite-sized pieces for parties or leave as generous squares for comforting weekend treats. Pair with coffee, cold milk, or a bold port for an adult twist.
In fall, fold in 1 teaspoon ground cinnamon and a handful of toasted pecans for a spice-forward version. During winter holidays, swirl in peppermint ganache or top with chopped candied orange peel for brightness. In summer, serve chilled brownie icebox bars layered with fresh berries and whipped cream. Small changes in mix-ins—nuts, dried cherries, or toffee—let you tailor the flavors to the season without changing the core technique.
For grab-and-go snacks, cut brownies into smaller squares and layer between parchment in a shallow container. Store in the refrigerator if you prefer firmer squares for lunches, but let them come to room temperature before eating for best texture. Bake a double batch and freeze half for future use—label the date and reheat individual pieces in the microwave for 10–15 seconds or in a low oven for a few minutes to regain that freshly baked warmth.
These brownies are simple, comforting, and endlessly adaptable—once you try the one-bowl method, you’ll understand why it’s a permanent staple in my repertoire. Share them, gift them, or keep them all to yourself; either way, they bring people together over a love of good chocolate.
Final tip: let the slab cool fully before slicing for the cleanest squares and the most satisfying texture contrast between the shiny top and fudgy interior. Happy baking!
Bring eggs to room temperature before mixing to ensure a glossy, well-emulsified batter.
Dissolve sugar into the melted butter and whisk after adding eggs to create the crackly top.
Avoid overmixing after adding dry ingredients to keep the interior fudgy rather than cakey.
Use a good-quality chocolate bar for chopping instead of chips for better melting and texture.
This nourishing one bowl brownies recipe is sure to be a staple in your kitchen. Enjoy every moist, high protein slice — it is perfect for breakfast or as a wholesome snack any time.
Bake until the center is just set to the touch and a toothpick comes out with moist crumbs. They will finish setting as they cool.
Store cooled brownies in an airtight container at room temperature for up to 4 days or freeze up to 3 months.
This One Bowl Brownies recipe makes perfectly juicy, tender, and flavorful steak every time! Serve with potatoes and a side salad for an unforgettable dinner in under 30 minutes.
Preheat oven to 350°F. Spray a 9x13-inch pan with nonstick spray, line with parchment leaving an overhang, and spray parchment. Set aside.
In a large bowl whisk melted butter, granulated sugar, and dark brown sugar until the sugar starts to dissolve and the mixture looks slightly glossy.
Whisk in the eggs one at a time until smooth, then stir in vanilla. The batter should be glossy and well-emulsified.
Sift or whisk together flour and cocoa, add salt and optional espresso powder, then fold into the wet mixture gently until just combined—do not overmix.
Fold in 1 cup chopped chocolate, spread batter into prepared pan, top with remaining 1/4 cup chocolate, and bake for 25–30 minutes until center is just set.
Allow brownies to cool completely in the pan on a wire rack, lift out using parchment overhang, slice into 24 squares, and optionally sprinkle with flaky sea salt.
Last Step: Please leave a rating and comment letting us know how you liked this recipe! This helps our business to thrive and continue providing free, high-quality recipes for you.
Leave a comment & rating below or tag
@velvetyum on social media!

Tender grilled zucchini rolled with a basil-kissed ricotta filling, nestled in marinara, and baked until the mozzarella bubbles and turns golden.

Golden, garlicky rounds with a deep-fried crunch made lighter in the air fryer. A fast, vitamin-packed side everyone devours.

Tender chicken meatballs simmered in marinara, finished with melted mozzarella and basil for cozy, weeknight Italian comfort in every bite.
Leave a comment & rating below or tag @velvetyum on social media!
Enjoyed this recipe? Share it with friends and family, and don't forget to leave a review!
This recipe looks amazing! Can't wait to try it.
Comments are stored locally in your browser. Server comments are displayed alongside your local comments.

Join to receive our email series which contains a round-up of some of our quick and easy family favorite recipes.
