
>>

Fudgy chocolate squares topped with a swirl of vanilla frosting and a fresh strawberry cap — festive, simple, and perfect for holiday gatherings.
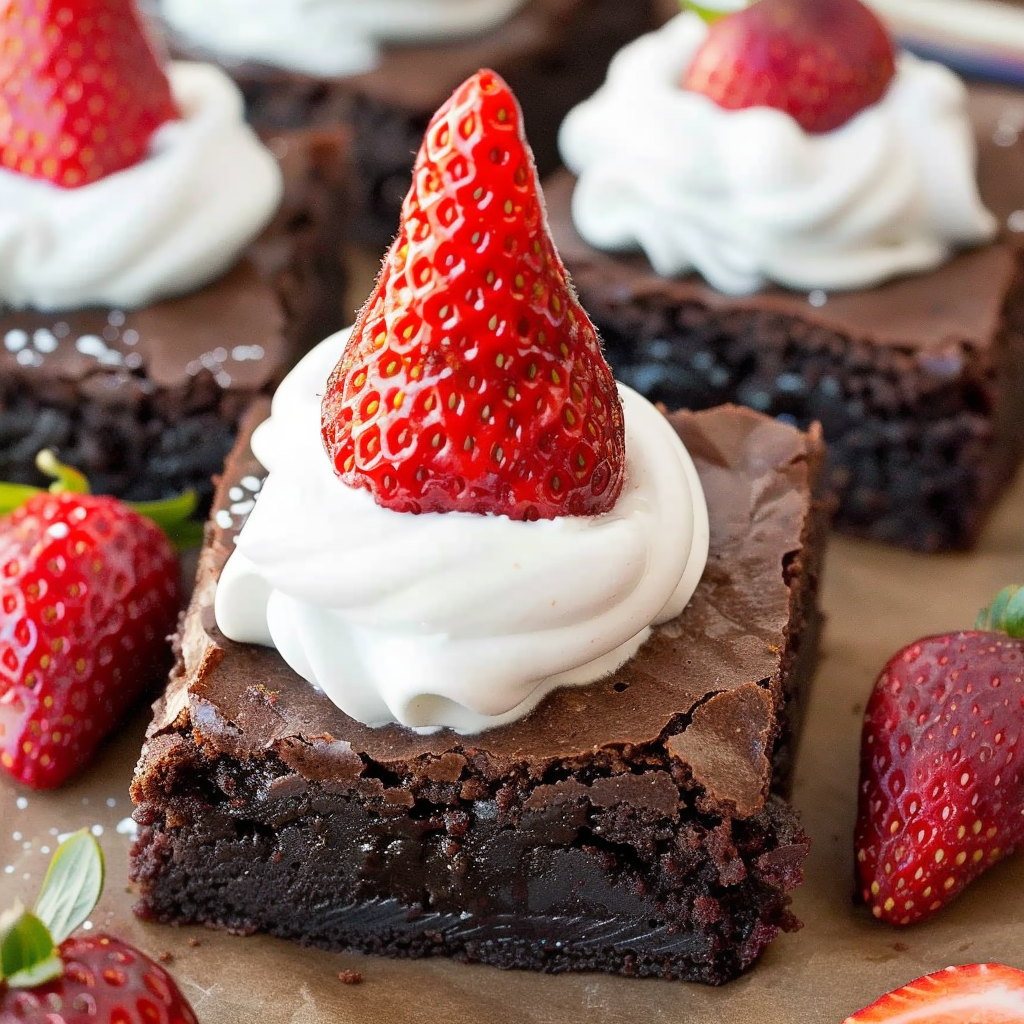
This tray of Santa Hat Brownies became my holiday must-bake the first year I decided to bring something homemade to our neighborhood cookie swap. I discovered the idea while scrolling through festive dessert ideas and adapted it to make a dense, fudgy base that could hold a piped ring of frosting and a fresh strawberry without collapsing. The result is rich chocolate squares with a slightly crackly top, soft, fudge-like middles, and a bright, juicy burst of strawberry that reads like a Santa hat at first glance. Every bite balances deep chocolate, a hint of caramel from light brown sugar, and a glossy vanilla accent on top.
What makes these particularly special is how approachable they are. The batter comes together in one bowl, cooks in an 8x8 pan, and transforms into party-ready little hats with minimal decorating skill. I remember my niece’s face the first time she opened the tin — she declared them magical and insisted each brownie must have a different nose. They travel well, hold up in a holiday box, and even picky chocolate lovers tend to ask for seconds. This version yields 9 generous squares, but you can stretch to 16 smaller hats if you want lots of tiny treats for a crowd.
I’ve made these for several holiday gatherings and they always disappear quickly. Family members often ask for the recipe because the contrast between warm, fudgy brownie and cool strawberry is unforgettable. Once I learned to slice the strawberry stems flat for a neat seat on the frosting ring, assembly became a five-minute operation.
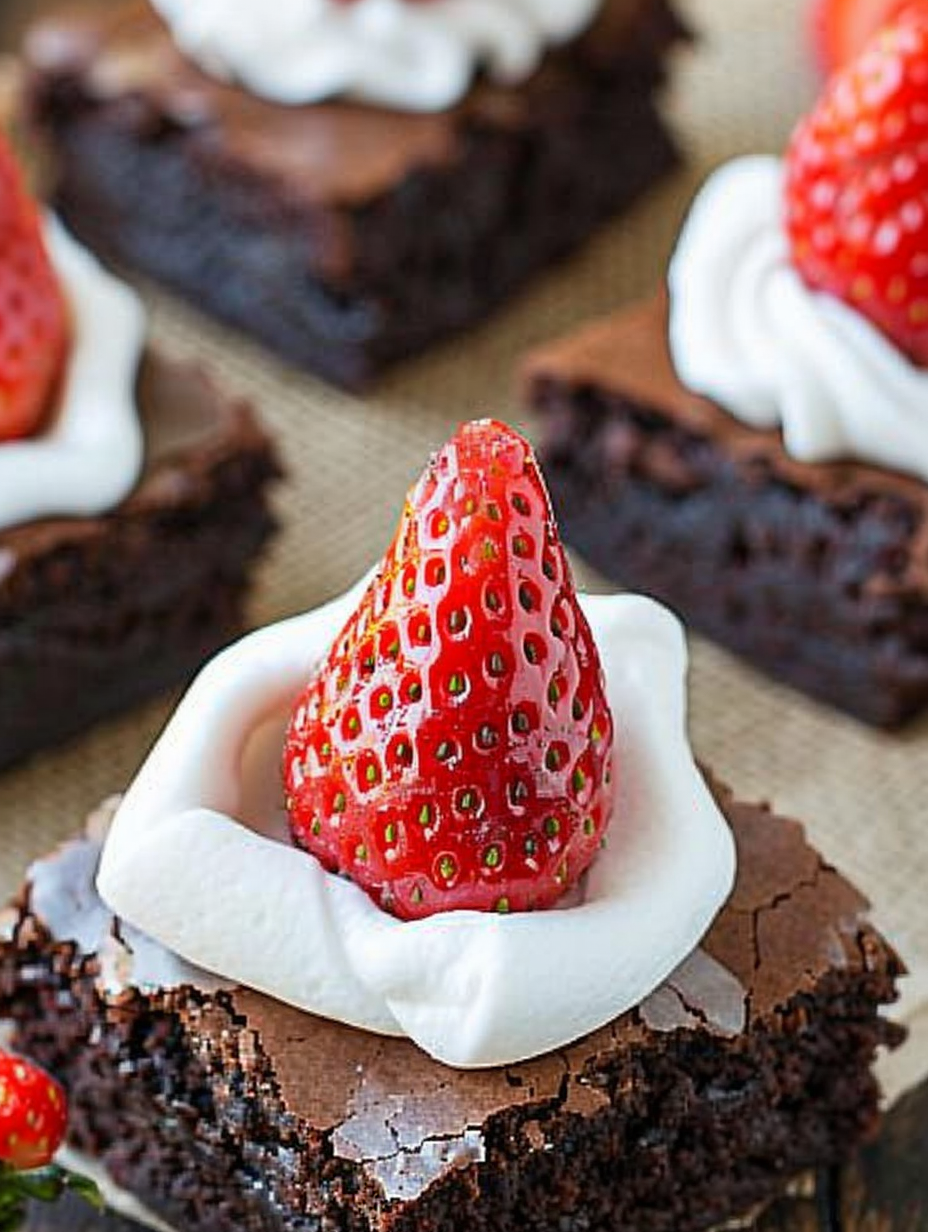
My favorite part is how the fresh strawberry lifts the dense chocolate, adding brightness and a light texture contrast. Decorating with kids is wonderful because piping a ring and placing a berry is satisfying and fast. I often make the brownie base a day ahead, then finish the hats the morning of the event so the strawberries are at their freshest.
Store assembled hats in a single layer in the refrigerator on the day you serve to preserve strawberry freshness. For transport, place the brownies in a shallow box lined with parchment and use mini cupcake liners between layers if stacking. If you plan to freeze, freeze only the unadorned brownie squares wrapped tightly in plastic and foil. Thaw in the refrigerator overnight and add frosting and berries just before serving to avoid soggy fruit and runny frosting.
Swap vegetable oil for melted coconut oil if you want a subtle tropical note, keeping the same measurement. Use dark brown sugar in place of light for deeper molasses flavor, and swap semi-sweet chips for bittersweet if you prefer a less sweet result. For a dairy-free option, use dairy-free chocolate chips and a vegan frosting, and check the label on store-made frosting for non-dairy alternatives.
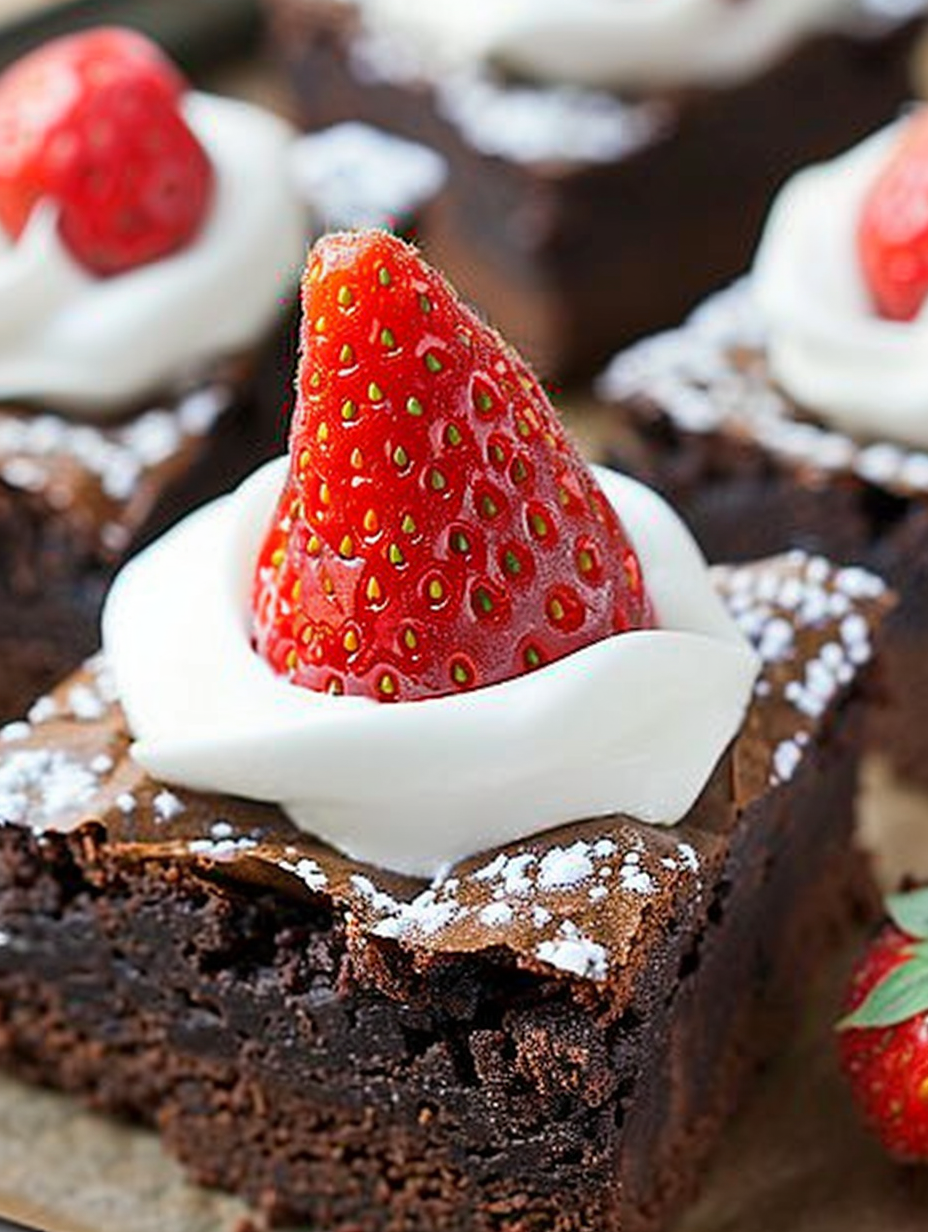
These are delightful on a holiday platter with other small bites. Serve slightly warmed with a scoop of vanilla ice cream for adults, or pair with peppermint hot chocolate for a festive touch. Garnish with a light dusting of powdered sugar for snowy effect and pair with mint leaves for color contrast. For a brunch-friendly dessert table, arrange them next to mini cheesecakes and shortbread.
The concept of turning classic confections into holiday-themed shapes is common across many cuisines; in North America, festive transformations of brownies and cupcakes are popular for school parties and family gatherings. This idea likely evolved from the tradition of decorating sugar cookies and cupcakes, marrying the ease of brownies with the visual impact of a decorated cookie. Using strawberries as caps gives a fresh, seasonal twist that harkens to classic fruited desserts.
In winter use raspberries or a small piece of candied cherry for a similar look when strawberries are out of season. For Valentine’s Day, make heart-shaped brownies and top with a strawberry heart. In summer, swap vanilla frosting for a whipped cream dollop and use very ripe strawberries for extra sweetness. Add spices such as cinnamon or orange zest to the batter for holiday warmth.
Make the brownie base up to two days ahead and store wrapped in the refrigerator. On the day of serving, warm briefly in a low oven, let cool slightly, and then pipe frosting and top with berries. If you need strict timing, assemble the frosting rings in advance on parchment and chill, then transfer to each brownie just before placing the strawberry to avoid smudging.
These Santa Hat Brownies are an easy, joyful way to bring homemade cheer to the holidays. They strike a lovely balance between showy and simple, and I hope they become part of your seasonal rotation as they are in mine.
Whisk the eggs, sugar, and oil for two minutes to help the top develop a thin crackle and to dissolve sugar for a smooth batter.
Allow the brownies to cool completely before slicing for cleaner edges and to prevent frosting from melting.
Use room-temperature eggs for better emulsion and a glossier batter.
If using store-bought frosting, warm it slightly by kneading the tub for easier piping into tidy rings.
To freeze, cut unfrosted squares, wrap individually, and freeze up to three months; finish with frosting and berries after thawing.
This nourishing santa hat brownies recipe is sure to be a staple in your kitchen. Enjoy every moist, high protein slice — it is perfect for breakfast or as a wholesome snack any time.
This Santa Hat Brownies recipe makes perfectly juicy, tender, and flavorful steak every time! Serve with potatoes and a side salad for an unforgettable dinner in under 30 minutes.
Preheat the oven to 350 degrees F and line an 8x8 baking pan with parchment paper so you can lift the brownies out after baking.
Whisk together the flour, salt, and baking soda in a small bowl and set aside to ensure even distribution.
In a large bowl, whisk the eggs, brown sugar, and vegetable oil vigorously for two minutes to dissolve sugar and aerate the batter.
Whisk in the water and vanilla extract until fully incorporated to help the melted chocolate blend smoothly into the batter.
Fold the dry ingredients into the wet mixture using a spatula until no streaks of flour remain, taking care not to overmix.
Microwave 1 cup of the chocolate chips in 30-second intervals, stirring between, until melted and smooth, about 60 seconds total.
Whisk the melted chocolate into the batter until glossy and uniform, then fold in the remaining 1/2 cup chocolate chips for pockets of melty chocolate.
Pour batter into the prepared pan and bake for 50 to 55 minutes at 350 degrees F. The center should have moist crumbs when tested with a toothpick.
Cool the brownies completely on a rack, cut into 9 squares, pipe a ring of vanilla frosting on each, top with a sliced strawberry, and add a frosting dot at the berry tip.
Last Step: Please leave a rating and comment letting us know how you liked this recipe! This helps our business to thrive and continue providing free, high-quality recipes for you.
Leave a comment & rating below or tag
@velvetyum on social media!

Tender grilled zucchini rolled with a basil-kissed ricotta filling, nestled in marinara, and baked until the mozzarella bubbles and turns golden.

Golden, garlicky rounds with a deep-fried crunch made lighter in the air fryer. A fast, vitamin-packed side everyone devours.

Tender chicken meatballs simmered in marinara, finished with melted mozzarella and basil for cozy, weeknight Italian comfort in every bite.
Leave a comment & rating below or tag @velvetyum on social media!
Enjoyed this recipe? Share it with friends and family, and don't forget to leave a review!
This recipe looks amazing! Can't wait to try it.
Comments are stored locally in your browser. Server comments are displayed alongside your local comments.

Join to receive our email series which contains a round-up of some of our quick and easy family favorite recipes.
