
>>

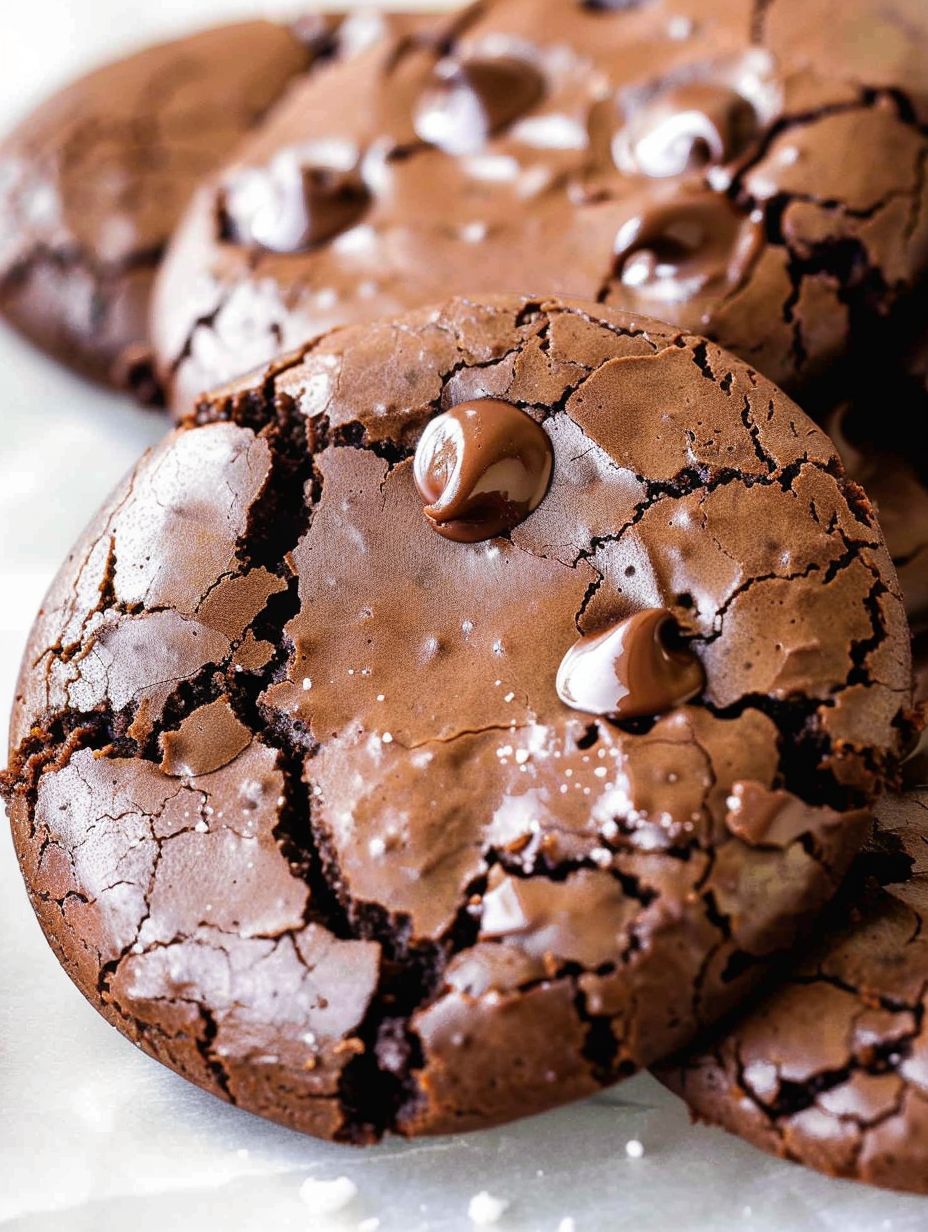
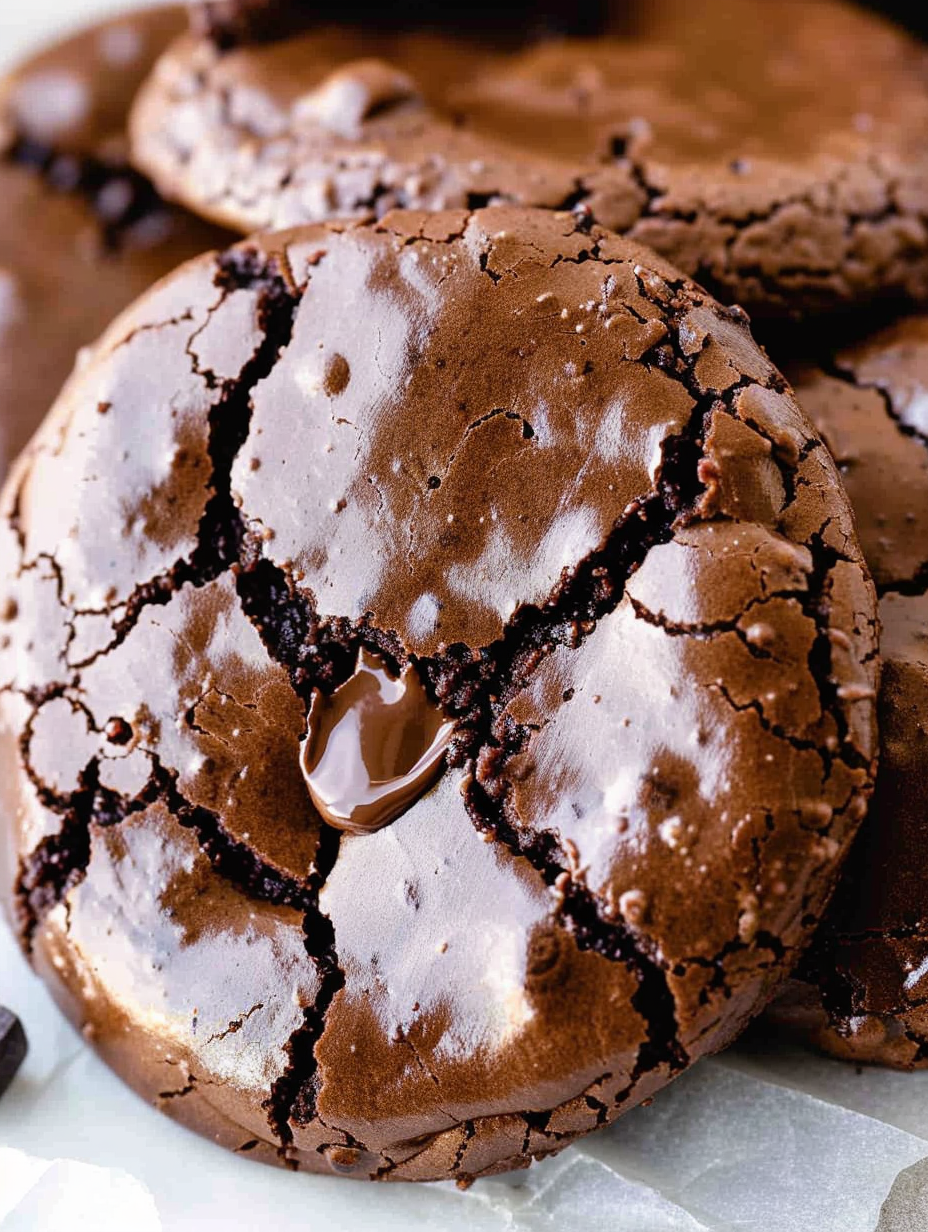
Decadently fudgy, naturally gluten-free flourless chocolate cookies made in a small batch—chewy brownie-like centers with a crisp crinkle top. Ready in 22 minutes.
In my experience these cookies reliably impress guests: they think I spent longer than I did and they love the surprise fudgy interior. I often double the batch for parties, but for a cozy evening I prefer the modest yield so they don’t all disappear at once.
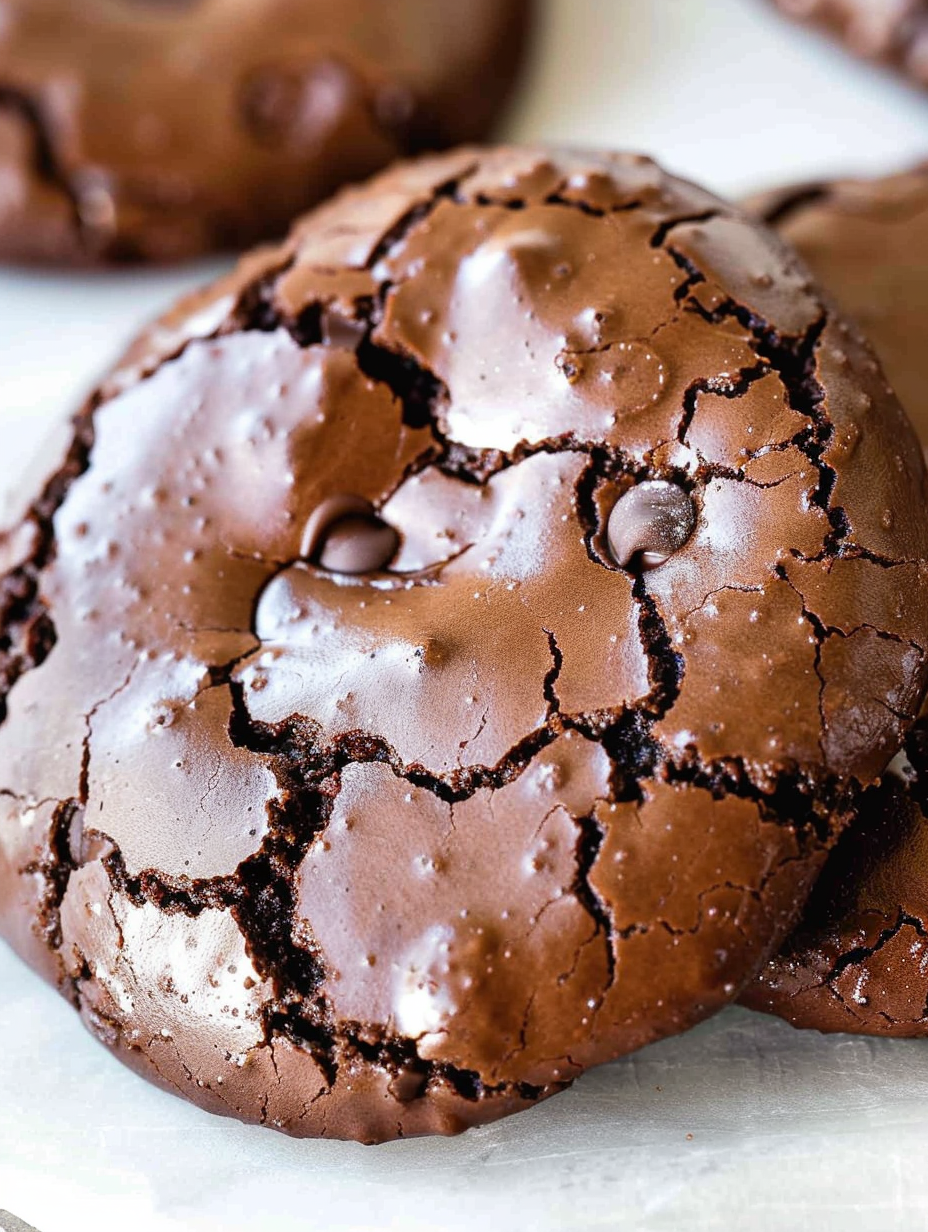
My favorite part is the crinkle-top: it signals a glossy, well-whipped batter and means the inside will be properly fudgy. I once served these warm, paired with a spoonful of salted caramel ice cream for a tiny but dramatic dessert that guests still mention.
Store cooled cookies in an airtight container at room temperature for up to 3 days. To maintain a slight chew, layer the cookies between sheets of parchment and keep them in a cool dry place away from direct sunlight. For longer storage, freeze in a single layer on a tray until firm, then transfer to a freezer-safe bag for up to 2 months; thaw at room temperature for 20–30 minutes before serving. Avoid refrigeration—it tends to dry these cookies out quickly.
To make these dairy-free, swap semi-sweet chips for vegan chocolate chips—look for brands specifically labeled dairy-free. If you only have natural cocoa, the cookies will still work but the color will be lighter and the flavor slightly more acidic; add an extra 1/8 teaspoon vanilla to round the flavor. Egg alternatives are not recommended as the whipped egg white provides essential structure; however, aquafaba (chickpea brine) can sometimes be whipped as a vegan substitute—expect slightly different texture and a longer whipping time.
Serve warm with a dusting of additional powdered sugar or alongside a scoop of ice cream for contrast—salted caramel or vanilla bean pairs beautifully. For a grown-up finish, drizzle with espresso-infused chocolate sauce or sprinkle flaky sea salt over warm cookies. These also make a lovely accompaniment to coffee for a small gathering or boxed into a gift with a handwritten note.
Crinkle-style cookies have long been a classic in American cookie traditions, often associated with festive baking. This flourless variation draws on techniques used in meringue-based and brownie-style confections, combining whipped egg-white lift with dense cocoa for a hybrid texture. The result nods to both fudgy European confections and American home-baked cookies, marrying a crinkled appearance with an almost molten center.
In cooler months, stir in a pinch of ground cinnamon or a teaspoon of instant espresso for depth. For spring or summer, add 1/2 teaspoon orange zest for brightness or fold in chopped toasted hazelnuts for a nutty contrast. Holiday variations include adding peppermint extract (use sparingly) or rolling dough into small balls and topping with a festive sprinkle before baking.
Mix the dry ingredients and whip the egg white in separate containers ahead of time; store each covered in the fridge for a few hours and fold together when ready to bake. Alternatively, make the batter and chill it for up to 24 hours before scooping and baking—cold batter will spread slightly less and can help control cookie size for consistent batches. Label and date any frozen cookies and use within two months for best quality.
These little cookies are proof that a short ingredient list and a small batch can still produce something memorable—rich, textural, and easy to share. Try them once and you’ll find reasons to make them again and again.
Use a #50 small cookie scoop (about 1.5 tablespoons) for even cookies that spread properly.
Lightly spray the parchment to help cookies release; remove to a cooling rack after 1–2 minutes to avoid sticking.
If powdered sugar is clumped, sift it with the cocoa for a smooth batter and reliable crinkle tops.
Beat the egg white to soft peaks—overwhipping can dry the batter and reduce fudginess.
Check cookies at 10 minutes; look for crinkled tops and set edges as your doneness cues.
This nourishing small batch flourless chocolate cookies recipe is sure to be a staple in your kitchen. Enjoy every moist, high protein slice — it is perfect for breakfast or as a wholesome snack any time.
If your batter is too loose add unsweetened cocoa powder 1 tablespoon at a time until it thickens to a sticky, brownie-like consistency.
Yes—these are naturally gluten-free, but check chocolate chips for cross-contact warnings if you need strict gluten-free.
This Small Batch Flourless Chocolate Cookies recipe makes perfectly juicy, tender, and flavorful steak every time! Serve with potatoes and a side salad for an unforgettable dinner in under 30 minutes.
Preheat oven to 350°F and place the rack in the middle. Line a baking sheet with parchment lightly sprayed with cooking spray or use a silicone mat.
Whisk 3/4 cup powdered sugar with 1/4 cup Dutch-process cocoa and 1/8 teaspoon salt. Sift if powdered sugar is lumpy.
In a clean bowl, beat 1 room-temperature egg white with a pinch of cream of tartar and 1/2 teaspoon vanilla until soft peaks form.
Add dry ingredients in three additions, folding gently each time until no dry streaks remain and batter is thick and sticky; add cocoa by tablespoon increments if too loose.
Stir 4 tablespoons semi-sweet chips into the batter, keeping total chips under 1/3 cup for best structure.
Scoop 6–7 portions with a 1.5-tablespoon scoop onto prepared sheet, spacing 2 inches apart. Bake 10–12 minutes until tops are crinkly and edges set.
Let rest on the baking sheet 1–2 minutes, then use a sturdy spatula to transfer cookies to a wire rack to cool completely. Store airtight up to 3 days.
Last Step: Please leave a rating and comment letting us know how you liked this recipe! This helps our business to thrive and continue providing free, high-quality recipes for you.
Leave a comment & rating below or tag
@velvetyum on social media!

Tender grilled zucchini rolled with a basil-kissed ricotta filling, nestled in marinara, and baked until the mozzarella bubbles and turns golden.

Golden, garlicky rounds with a deep-fried crunch made lighter in the air fryer. A fast, vitamin-packed side everyone devours.

Tender chicken meatballs simmered in marinara, finished with melted mozzarella and basil for cozy, weeknight Italian comfort in every bite.
Leave a comment & rating below or tag @velvetyum on social media!
Enjoyed this recipe? Share it with friends and family, and don't forget to leave a review!
This recipe looks amazing! Can't wait to try it.
Comments are stored locally in your browser. Server comments are displayed alongside your local comments.

Join to receive our email series which contains a round-up of some of our quick and easy family favorite recipes.
