
>>

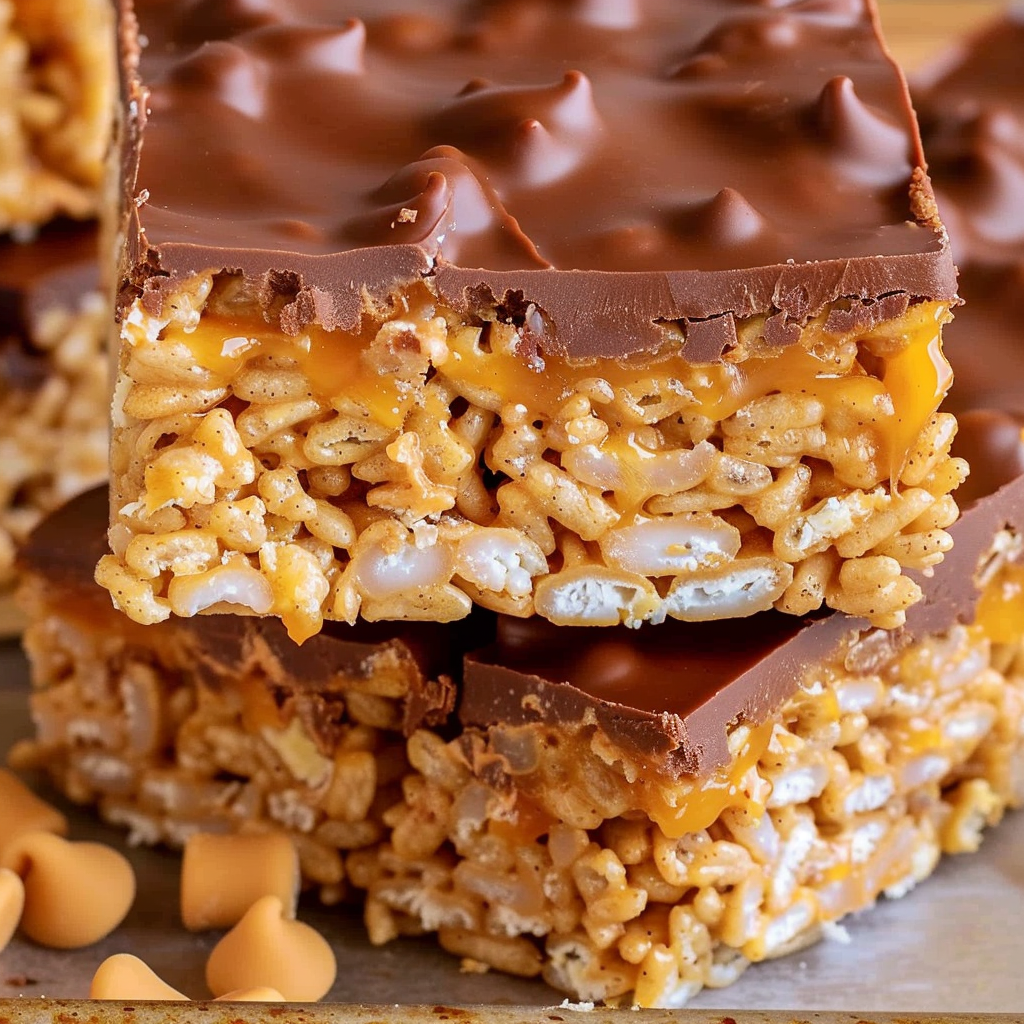
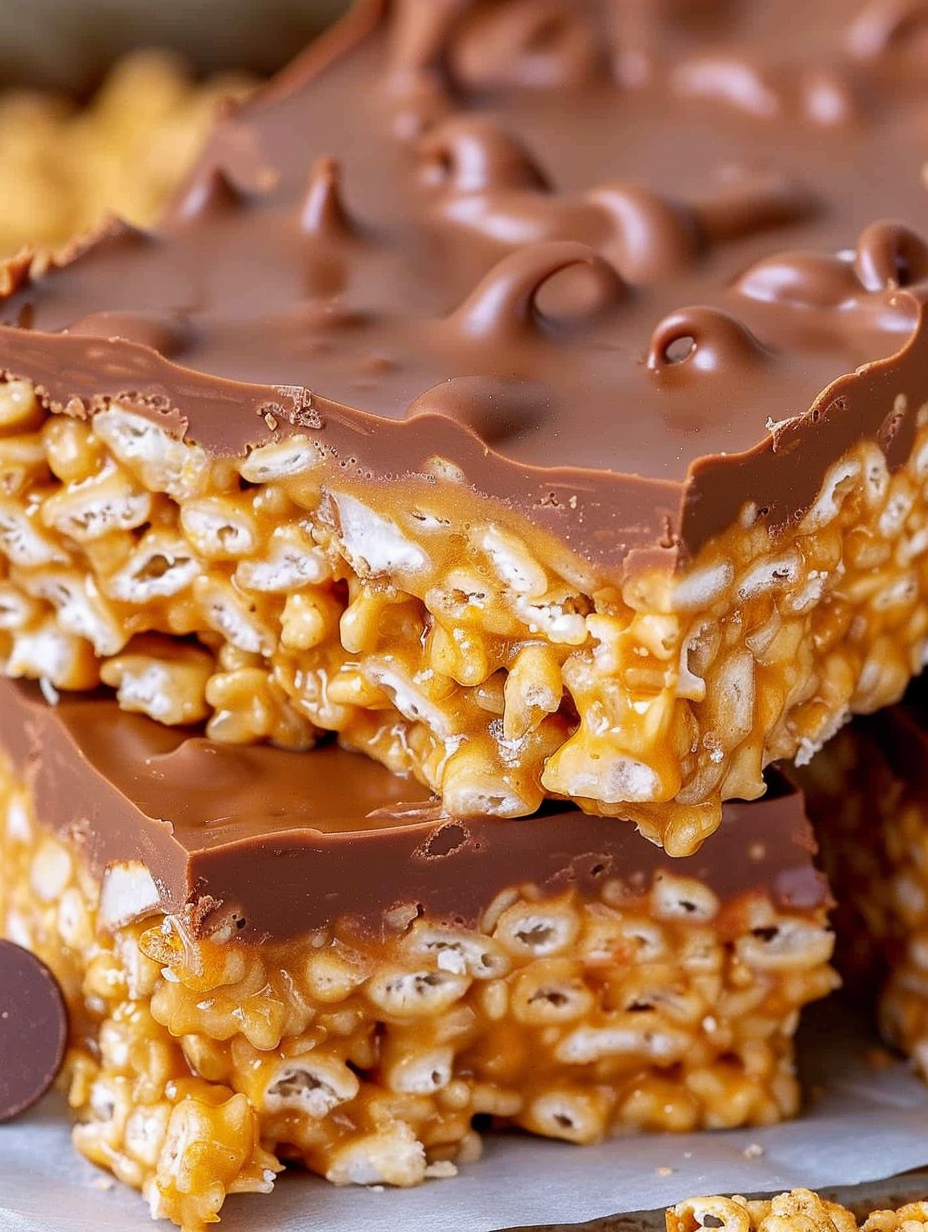
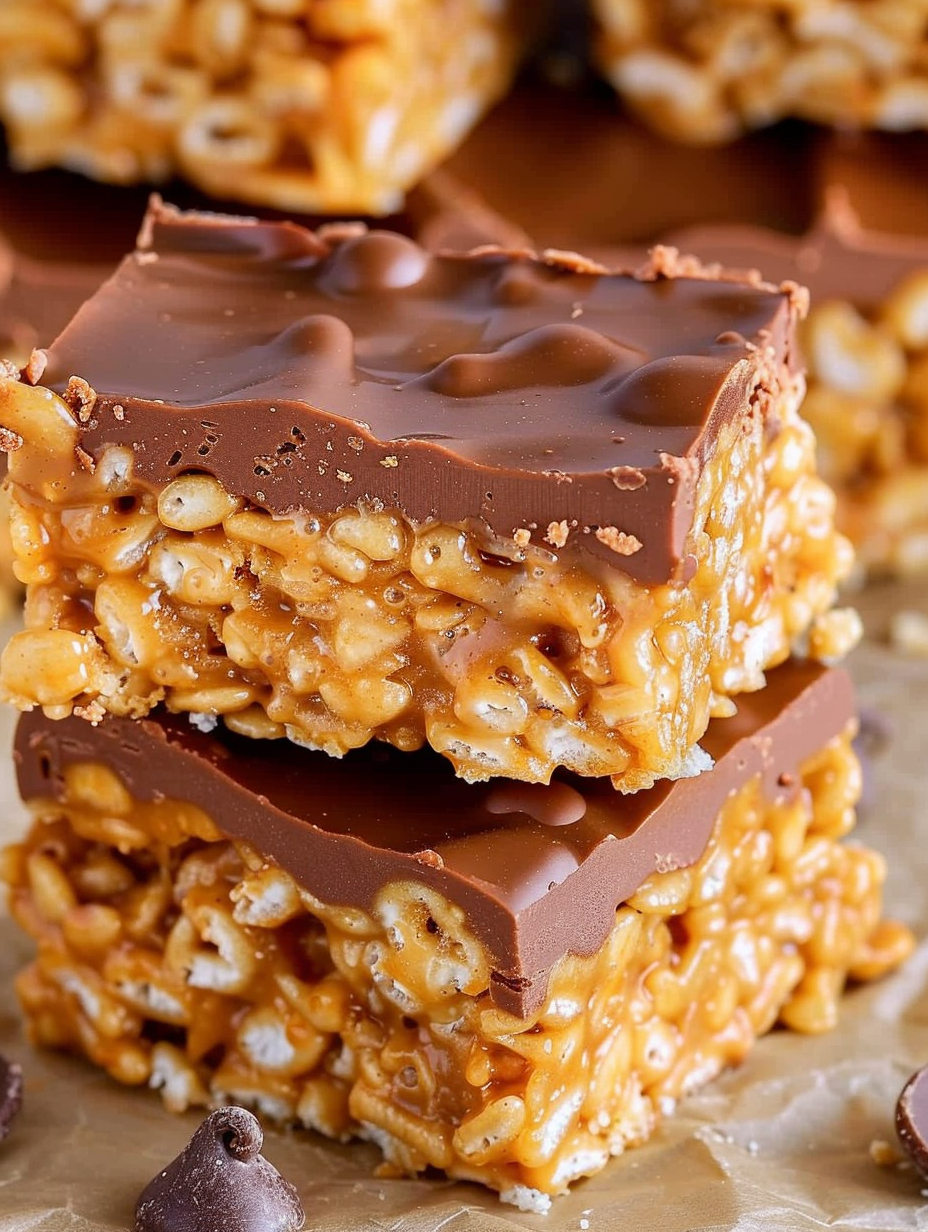
Rice Krispies bars layered with a creamy peanut butter base and a glossy butterscotch–chocolate topping—an irresistible, nostalgic treat for any occasion.
This recipe is my family's golden ticket to nostalgia: chewy, slightly sticky bars with that unmistakable peanut butter-and-buttery-sweet butterscotch pairing. I first learned this version at a summer potluck years ago when a neighbor passed me a square and I instantly asked for the recipe. Since then, it has become our go-to dessert for bake sales, holiday cookie exchanges, and last-minute gatherings.
The texture is what keeps everyone coming back—Rice Krispies provide a light, airy crunch that contrasts beautifully with the smooth, slightly gooey peanut butter binder. Topped with a glossy layer of melted butterscotch and semi-sweet chocolate, the bars set to a firm but tender finish that slices cleanly when chilled. The balance of sweet and salty is precise: enough sugar for a dessert, but peanut butter and salt cut through the sweetness so the flavor never becomes cloying.
I vividly remember bringing a tray to a PTA bake sale and watching them disappear within an hour—teachers, parents, and kids kept coming back for second pieces. Making the mixture while the syrup is warm taught me a simple rhythm: melt, stir, coat, press, and top. That cadence is satisfying and allows even nervous bakers to produce consistently excellent results.
What I love most about these is how reliably they reproduce the same crowd-pleasing flavor every time. Over the years I’ve learned to trust a low, consistent heat when melting the syrup and chips—high heat scorches sugar and chocolate very quickly. Bringing the syrup to a smooth shine and adding the vanilla off the heat preserves its aroma, and pressing the cereal gently ensures the right mouthfeel between tender and crunchy.
For short-term storage, keep the bars in an airtight container at room temperature for up to three days; place parchment between layers to prevent sticking. For longer storage, refrigerate up to one week—wrap tightly so they do not absorb fridge odors. To freeze, cut into portions and wrap each individually in plastic wrap, then place in a freezer-safe container for up to three months. Thaw in the refrigerator overnight, and bring to room temperature before serving for the best texture. If the topping cracks after freezing, a quick five-minute rest at room temperature will help the surface relax.
If you need to adapt, swap creamy peanut butter for almond or cashew butter for a different nutty profile, but expect a slightly different mouthfeel. For a nut-free version, sunflower seed butter works well though it can darken in flavor when warmed. If you prefer a different sweetener, light corn syrup is difficult to replace without altering chewiness—use golden syrup for a closer match; honey will make the mixture softer and more aromatic. To make the topping more chocolate-forward, increase semi-sweet chips and reduce butterscotch by the same weight.
Serve slices on a simple platter garnished with flaky sea salt for contrast, or drizzle additional melted chocolate in a zigzag for a decorative touch. These bars pair beautifully with a cold glass of milk, a robust coffee, or a creamy iced latte. For parties, cut smaller two-bite squares and place next to fresh berries to balance the sweetness. They also pair well with vanilla ice cream—serve a warm bar (slightly warmed under a low broiler) with a small scoop on top for an indulgent treat.
Scotcheroos are an American confection born from mid-century convenience-baking traditions that celebrated quick, no-oven desserts using shelf-stable ingredients. The combination of crisp cereal bound with sweetened syrup and topped with chips became a staple at potlucks and school bake sales across the United States, prized for portability and crowd appeal. Variations have appeared regionally—some prefer butterscotch-only toppings, others swirl peanut butter into the top—but the core idea remains a nostalgic, homey sweet.
Adapt for holidays by mixing in festive sprinkles into the warm topping before it sets or stirring in chopped toasted pecans for autumn gatherings. For summer, make smaller bars and serve chilled for a refreshing texture. During winter celebrations, add a pinch of ground cinnamon or nutmeg to the syrup for warmth, or top with crushed peppermint candies for a holiday twist. Swapping semi-sweet for dark chocolate creates a richer, more grown-up contrast suitable for dinner parties.
Prepare the base and topping separately and assemble the day before an event to save time—warm the topping slightly to re-liquefy before spreading. Cut bars with a sharp knife warmed under hot water and wiped dry between cuts to achieve clean edges. Portion into quarter-sheet containers for grab-and-go breakfasts or snacks, and label with date if freezing. Because these bars are dense in calories, portion control is helpful when packing for lunches or office treats.
I’ve gifted these bars dozens of times and one memorable success was at a community fundraiser where they sold out twice—folks said they reminded them of childhood treats. Another time, swapping in almond butter created a delightful twist that earned a friend’s seal of approval despite her peanut allergy concerns (she tolerated almond). The most common comment: "It tastes like home." That simple reaction is why I keep making and sharing them.
These bars are comforting, effortless, and endlessly adaptable—once you make a pan, you’ll find reasons to double the batch next time. Share a tray with neighbors and savor the small moments that homemade sweets create.
Warm your knife under hot water and dry it between cuts to get clean-edged bars.
Avoid high heat when melting chips; low, consistent heat prevents seizing or scorching.
Press the cereal base gently—over-compressing will make bars dense instead of light and chewy.
Add a sprinkle of flaky sea salt on top just before the topping sets to balance sweetness.
This nourishing the best scotcheroos recipe is sure to be a staple in your kitchen. Enjoy every moist, high protein slice — it is perfect for breakfast or as a wholesome snack any time.
Yes, you can use creamy natural peanut butter but the texture may be a bit softer and you should stir well before measuring.
They keep at room temperature for about 3 days or in the refrigerator up to 1 week; freeze neatly wrapped for up to 3 months.
This The Best Scotcheroos recipe makes perfectly juicy, tender, and flavorful steak every time! Serve with potatoes and a side salad for an unforgettable dinner in under 30 minutes.
Spray a 9x13-inch baking dish with cooking spray or line with parchment. Measure and place 6 cups Rice Krispies into a large bowl so everything is ready for quick assembly.
In a medium saucepan combine 1 cup light corn syrup, 1 cup peanut butter, 1/2 cup packed light brown sugar, 1/2 cup granulated sugar and 1/2 teaspoon salt. Warm over medium-low heat, stirring constantly until fully melted and smooth, about 4–6 minutes. Remove from heat and stir in 1 teaspoon vanilla extract immediately.
Pour the hot syrup over the Rice Krispies and stir quickly and thoroughly with a wooden spoon until all cereal is evenly coated. Work while the syrup is warm so it spreads easily and coats each flake without crushing them.
Transfer the coated cereal into the prepared pan and gently press it down with a parchment-covered spatula or the back of a spoon. Do not press hard—press evenly just until the surface is smooth and slightly springy.
Combine the 11-ounce bag of butterscotch chips and 1 1/2 cups semi-sweet chocolate chips in a medium saucepan. Melt over medium-low heat, stirring constantly until smooth and glossy. If needed, add 1 teaspoon neutral oil or a splash of corn syrup to loosen the mixture.
Pour the melted chip mixture evenly over the pressed cereal base and smooth with an offset spatula. Allow to set at room temperature for at least 2 hours or refrigerate 30–60 minutes for quicker setting. Cut into 15 squares and serve.
Last Step: Please leave a rating and comment letting us know how you liked this recipe! This helps our business to thrive and continue providing free, high-quality recipes for you.
Leave a comment & rating below or tag
@velvetyum on social media!

Tender grilled zucchini rolled with a basil-kissed ricotta filling, nestled in marinara, and baked until the mozzarella bubbles and turns golden.

Golden, garlicky rounds with a deep-fried crunch made lighter in the air fryer. A fast, vitamin-packed side everyone devours.

Tender chicken meatballs simmered in marinara, finished with melted mozzarella and basil for cozy, weeknight Italian comfort in every bite.
Leave a comment & rating below or tag @velvetyum on social media!
Enjoyed this recipe? Share it with friends and family, and don't forget to leave a review!
This recipe looks amazing! Can't wait to try it.
Comments are stored locally in your browser. Server comments are displayed alongside your local comments.

Join to receive our email series which contains a round-up of some of our quick and easy family favorite recipes.
